The Rubik’s Cube is a timeless and iconic puzzle that has captivated minds for generations, providing a satisfying challenge for enthusiasts of all ages. While the standard 3×3 cube presents a complex and daunting challenge, the 2×2 version serves as a more accessible entry point into the world of cube solving and offers a less intimidating introduction for beginners. This guide aims to unveil a beginner-friendly method to conquer the 2×2 Rubik’s Cube, allowing enthusiasts to transform the initially jumbled and perplexing state of the puzzle into a perfectly solved arrangement. By providing clear, step-by-step instructions and strategies tailored to novices, this guide aims to demystify the process of solving the 2×2 Rubik’s Cube, making it an enjoyable and achievable challenge for those new to cube solving. With thoughtful guidance, even beginners can gain a sense of accomplishment and mastery as they conquer the 2×2 Rubik’s Cube.
Part 1: Understanding the Cube
1.1 The Building Blocks:
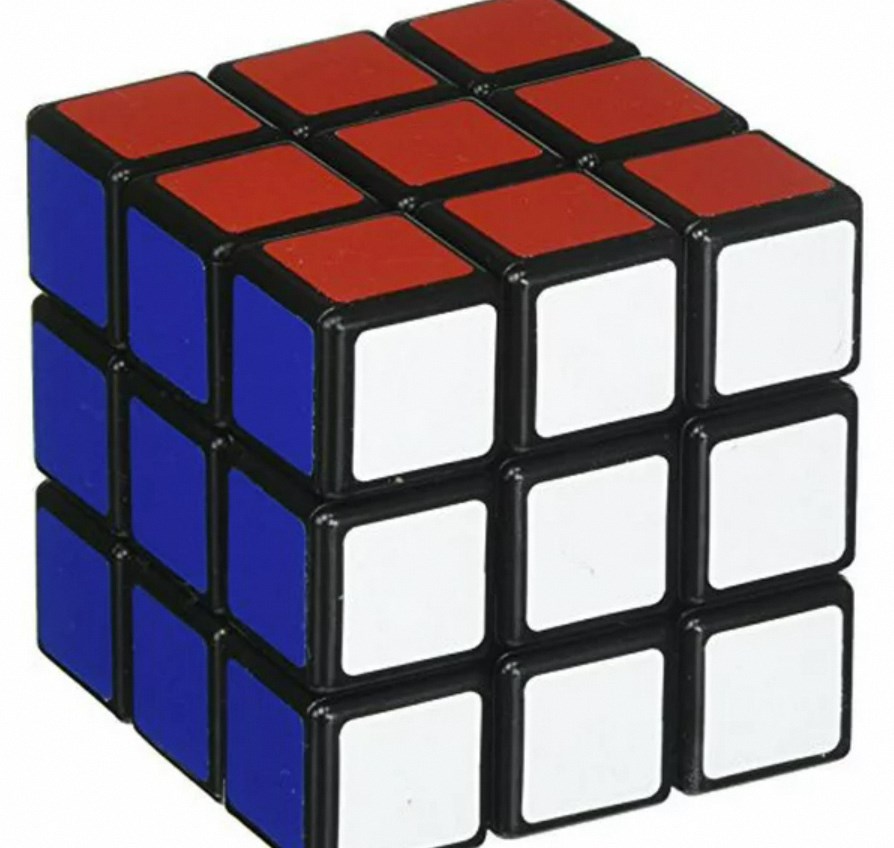
The 2×2 Rubik’s Cube, known as the Pocket Cube, comprises six faces, each adorned with four colored stickers. Unique to the 2×2 cube compared to its 3×3 counterpart are the presence of only four center pieces, fixed singularly to a single face and representing a specific color. In addition, the cube consists of eight corner pieces with two colored stickers each, representing two distinct colors. This simpler structure provides a more manageable yet still intricate puzzle to solve. The reduced number of pieces, particularly center pieces, allows for a more condensed focus, creating a more structured approach to understanding the cube’s mechanics. With a smaller number of pieces and a more straightforward configuration, the 2×2 Rubik’s Cube serves as an excellent stepping stone for mastering the solving techniques needed for more complex cubes while still presenting an engaging and challenging puzzle to enthusiasts at all skill levels.
1.2 Notation for Clear Communication:
To communicate specific moves and strategies effectively, the Rubik’s Cube community utilizes a standardized notation system. Here’s a breakdown of the basic notations:
F: Front face clockwise
F’: Front face counter-clockwise
B: Back face clockwise
B’: Back face counter-clockwise
U: Top face clockwise
U’: Top face counter-clockwise
D: Down face clockwise
D’: Down face counter-clockwise
R: Right face clockwise
R’: Right face counter-clockwise
L: Left face clockwise
L’: Left face counter-clockwise
Part 2: Solving the First Layer
2.1 Completing a Corner:
To tackle the Rubik’s Cube, start by solving one corner piece. First, locate a corner piece on the cube that already has a matching colored sticker on the bottom face (D) of the cube. Once located, use the notation system to rotate the cube until the other colored sticker on the corner piece aligns with the color of the face it’s facing. For instance, if the corner piece has a blue sticker on the bottom and a yellow sticker on the side, perform moves to position the yellow sticker directly above the yellow face on the cube. This alignment of the stickers will set the groundwork for the subsequent steps in solving the cube, gradually building toward completing each layer and ultimately achieving the complete resolution of the puzzle.
2.2 Positioning the Corner Piece:
Once the desired color is aligned with the corresponding face, use the following algorithm to position the corner piece in its correct location:
R U R’ U’ (Repeat this sequence two more times)
This algorithm will move the corner piece to its rightful position on the bottom layer, with both colored stickers matching the adjacent faces. Repeat this process for the remaining three corner pieces, completing the first layer of the cube.
Part 3: Solving the Second Layer

3.1 Identifying the Misplaced Edge Piece:
Moving on to solving the second layer (middle layer) of the Rubik’s Cube, begin by identifying an edge piece that is placed incorrectly. This edge piece should feature two colored stickers, with one color matching the top face (U) and the other color not aligning with any of the four colors on the second layer. Once this edge piece is identified, devise a strategy to reposition it into its correct location. By focusing on the edge pieces that are in the wrong place, you’ll pave the way for properly aligning the middle layer of the cube. Precision and attention to the position of the colors on the cube’s faces are crucial during this phase, as these elements will guide you in accurately repositioning the edge pieces and advancing closer toward solving the Rubik’s Cube layer by layer.
3.2 Positioning the Edge Piece:
Here’s the algorithm to position the misplaced edge piece on the second layer:
U R U’ R’ F R F’
Perform this sequence, and you’ll notice the edge piece has moved from the second layer to the top layer while another edge piece from the top layer has taken its place in the second layer. Repeat this process for the remaining three edge pieces, ensuring each edge piece has one color matching the top face (U) and another color matching a face on the second layer.
Part 4: Solving the Top Layer
4.1 Orientating the Top Layer:
After successfully solving the first two layers of the Rubik’s Cube, the next step involves tackling the top layer. At this stage, it’s common to encounter situations where some of the stickers on the top layer are positioned incorrectly. The primary objective now is to strategically rotate the top layer pieces until all four colors on the top face mirror their corresponding stickers on the completed first and second layers. This requires a systematic approach to rearranging the stickers on the top layer. Aligning them with precision to ensure that the colors are properly matched across the entire cube. By focusing on organizing the top layer stickers to correspond with the already completed layers. The Rubik’s Cube resolution progresses steadily. Bringing you closer to achieving the ultimate goal of fully aligning all sides and solving the challenging puzzle layer by layer.
4.2 The Final Algorithm:
Use the following algorithm to rotate the top layer pieces until the entire top face is solved:
U R U’ R’ F R F’ U2 (Repeat this sequence two more times)
This algorithm will systematically rotate the top layer pieces until they fall into their correct positions, completing the Rubik’s Cube!
Congratulations! You’ve successfully conquered the 2×2 Rubik’s Cube. With practice and repetition, you’ll be able to solve this puzzle in no time. Once you’ve mastered the 2×2, consider graduating to the more challenging 3×3 Rubik’s Cube and expanding your cube-solving skills!