The Magic of Outdoor Play for Children
Children possess a boundless imagination. Consequently, providing them with a dedicated space to explore their creativity is essential for their development. An outdoor kids playhouse serves as the perfect catalyst for this type of imaginative play. It offers a sanctuary where stories come to life. Furthermore, it encourages children to step away from screens and enjoy the fresh air. Parents often search for ways to enhance their backyard environment.
Therefore, investing time in a DIY project can be incredibly rewarding. Not only does it add value to your property, but it also creates lasting memories for the entire family. The process of building a play structure fosters teamwork. Additionally, it allows parents to customize the design to suit their child’s unique interests. Whether your child dreams of a fairy tale cottage or a rugged fortress, the possibilities are endless. This article will guide you through the essential steps of creating a safe and enchanting retreat. We will cover planning, materials, and construction techniques. By the end, you will be ready to embark on this exciting journey.
Planning Your Backyard Project Meticulously
Every successful construction project begins with a solid plan. Therefore, before you purchase any lumber, you must assess your backyard space. Look for a level area that provides adequate drainage. Consequently, this ensures the longevity of the structure. You should also consider the direction of the sunlight. Placing the outdoor kids playhouse in a shaded area can prevent it from becoming too hot during the summer months. However, you want to ensure it remains visible from the house for safety supervision. Additionally, check with your local homeowner’s association or city council regarding building permits. Some areas have specific regulations regarding the height and placement of outdoor structures.
- Measure the Space: Use stakes and string to outline the proposed footprint. This visual aid helps you understand the scale. Furthermore, it prevents you from building something too large for the yard.
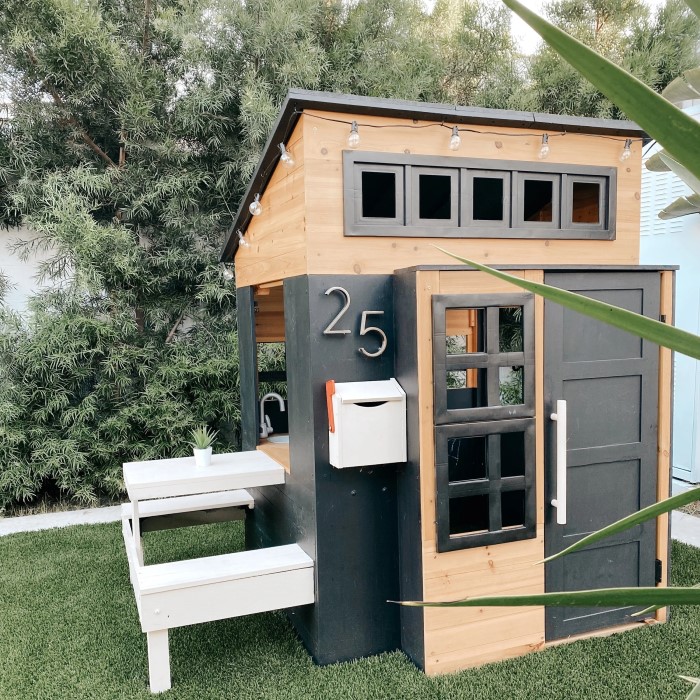
- Choose a Style: Does your child want a modern tiny home? Perhaps they prefer a rustic log cabin. Discussing the design with your child gets them involved early. Consequently, they feel a sense of ownership over the project.
- Create a Budget: Determine how much you are willing to spend. A detailed budget prevents overspending on unnecessary features. Therefore, list every item from nails to paint.
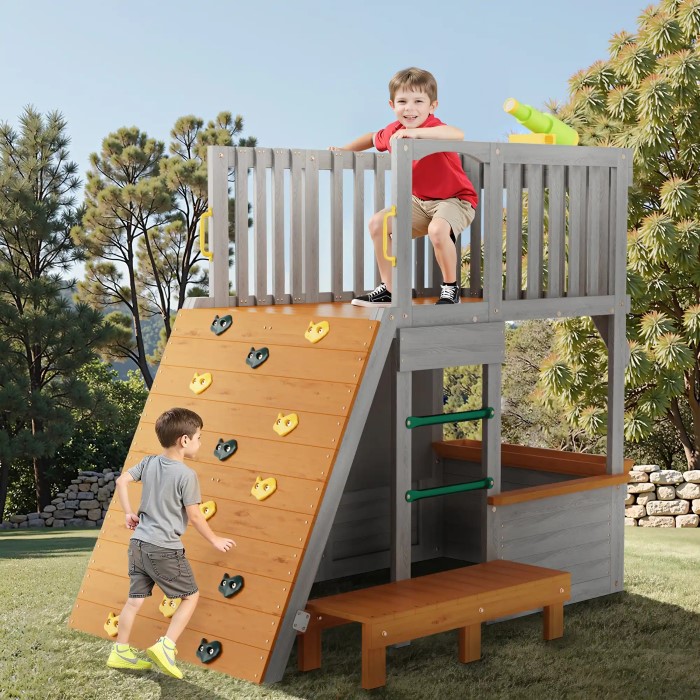
Transitioning to the design phase, consider the future. Children grow quickly. Consequently, a structure that suits a toddler might not interest a pre-teen. Designing a playhouse that can adapt is a smart strategy. For instance, you could build a loft area that serves as a storage space now. Later, it can become a secret hideout. Thinking ahead saves you time and money in the long run. Moreover, a well-designed playhouse can eventually become a garden shed. This versatility adds long-term value to your home.
Selecting the Best Materials for Durability
The choice of materials determines the lifespan of your project. Therefore, selecting the right wood is crucial. Cedar and redwood are excellent choices for outdoor construction. They naturally resist rot and insect damage. Furthermore, they possess a beautiful natural grain that looks great with a simple clear sealant. However, these woods can be more expensive. If you are working with a tighter budget, pressure-treated pine is a viable alternative. It is chemically treated to withstand the elements. Nevertheless, ensure the chemicals used are safe for children. You must verify that the wood is rated for ground contact if the posts touch the soil.
- Lumber Grades: Select premium or select grade lumber. This wood has fewer knots and warps. Consequently, it is easier to work with and looks better.
- Fasteners: Always use galvanized or stainless steel screws and bolts. Standard steel nails will rust quickly outdoors. Rusty nails weaken the structure and can cause injuries. Therefore, invest in high-quality hardware.
- Roofing Materials: You can use standard asphalt shingles to match your home. Alternatively, cedar shakes provide a more rustic aesthetic. Metal roofing is another durable option. It sheds water and leaves easily.
Transitioning to the interior, think about the flooring. An elevated wooden floor keeps the children dry. However, you must ensure proper ventilation underneath. This prevents mold and mildew growth. Additionally, consider using composite decking for the porch or deck area. It requires less maintenance than wood. While the upfront cost is higher, you save time on staining and sealing. Ultimately, the materials you choose reflect your commitment to quality. A sturdy structure invites years of play. Conversely, a flimsy build poses safety risks. Therefore, prioritize quality over cost-cutting wherever possible.
Essential Tools for the DIY Builder
Having the right tools makes the job significantly easier. Therefore, gather your equipment before the first cut. A circular saw is indispensable for making straight cuts. However, a miter saw is even better for angled cuts on trim and rafters. It provides precision and speed. Additionally, a high-quality drill is a must-have. You will drive hundreds of screws during this project. Consequently, a cordless drill with extra batteries is highly recommended. You do not want to be tethered to an outlet while working in the yard.
- Measuring and Marking: A tape measure, speed square, and carpenter’s pencil are fundamental. Measure twice and cut once. This old adage prevents costly mistakes. Furthermore, a long level ensures your structure is plumb and true.
- Safety Gear: Never compromise on safety. Safety glasses protect your eyes from flying sawdust. Ear defenders protect your hearing from loud power tools. Additionally, work gloves prevent splinters and blisters.
- Ladders and Scaffolding: You will need to reach the roof. A sturdy stepladder is sufficient for single-story playhouses. However, if you build a loft, consider using scaffolding for stability.
Transitioning to the assembly phase, organization is key. Keep your tools in a central location. A portable workbench provides a stable surface for cutting. Furthermore, it keeps your tools off the ground. Tripping over a power cord is a common hazard. Therefore, use cord management systems or battery-operated tools exclusively. If you lack a specific tool, consider renting it. Renting a nail gun or a power miter saw for a weekend is cost-effective. It allows you to use professional-grade equipment without the full purchase price. Proper preparation ensures a smooth workflow. Consequently, the building process becomes an enjoyable experience rather than a frustrating chore.
Constructing a Solid and Safe Foundation
The foundation is the most critical part of the build. It supports the entire weight of the outdoor kids playhouse. Therefore, it must be perfectly level and stable. There are several methods to create a base. One popular option is concrete piers. These are poured concrete footings that extend below the frost line. They provide exceptional stability. However, they require significant effort to install. Another common method is using concrete deck blocks. These sit on top of the ground. They are easier to install but may shift over time due to soil movement.
- Ground Preparation: Clear the area of grass and rocks. Lay down a layer of landscape fabric to prevent weeds. Then, spread a layer of gravel. This improves drainage around the foundation.
- Floor Framing: Construct a frame using pressure-treated lumber. Use joist hangers for added strength. This creates a rigid platform. Furthermore, it allows air to circulate under the floor.
- Flooring Material: Attach exterior grade plywood to the frame. Ensure the plywood is thick enough to support active children. Screws hold better than nails in this application.
Transitioning to safety, check for any sharp edges or protruding screws. The floor should not bounce or squeak. If it does, add additional blocking between the joists. A solid foundation prevents the walls from twisting. Consequently, the windows and doors will operate smoothly for years. Additionally, consider anchoring the playhouse to the ground. High winds can topple lightweight structures. Straps and ground anchors provide extra security. This is especially important in areas prone to storms. A well-built foundation is invisible once the project is complete. Yet, it is the reason the outdoor kids playhouse stands strong.
Framing Walls and Installing Windows
Once the floor is ready, you can start framing the walls. This stage is where the structure takes shape. Consequently, it is very exciting. Wall framing consists of a bottom plate, studs, and a top plate. You should frame each wall on the flat ground first. Then, lift them into place. This method is safer and more accurate. Ensure you frame openings for windows and doors. The rough opening sizes are usually specified on the window packaging. Therefore, check these dimensions carefully before cutting lumber.
- Wall Sheathing: Attach plywood or OSB to the exterior of the frame. This provides rigidity. It also creates a nailing surface for the siding. Furthermore, it blocks wind and rain.
- Windows: Acrylic or polycarbonate sheets are safer than glass for playhouses. They are shatter-resistant. However, you can also use real glass if you prefer. Just ensure it is tempered safety glass.
- Siding Options: You can use T1-11 siding for a textured look. Alternatively, board and batten siding creates a charming rustic appearance. Paint or stain the siding before installation. This saves time and ensures complete coverage.
Transitioning to the installation, use temporary braces to hold the walls upright. Do not rely on the nails alone until the roof connects everything. Check the walls for plumb frequently. If the walls are out of alignment, the roof will not fit correctly. Consequently, take your time during this phase. Additionally, consider adding decorative shutters or window boxes. These small details add immense charm. They transform a simple shed into a cozy home. Children love realistic features. Therefore, invest effort into the aesthetics as well as the structure.
Building the Roof and Weatherproofing
The roof protects the interior from the elements. Therefore, it must be watertight. Start by installing the ridge board. This horizontal beam runs along the peak of the roof. Then, attach the rafters. You can cut birdsmouth notches where the rafters sit on the wall plates. This provides a secure seat. Alternatively, you can use metal rafter ties for easier installation. Once the frame is complete, cover it with roof sheathing. Plywood is the standard choice here.
- Flashing: Install drip edge flashing around the perimeter. This directs water away from the fascia boards. Consequently, it prevents rot. Also, apply roofing felt or synthetic underlayment before shingling.
- Shingling: Start from the bottom edge and work your way up. Overlap each row of shingles. Use roofing nails to secure them. Follow the manufacturer’s instructions for the specific nailing pattern.
- Caulking: Seal all exterior gaps with high-quality exterior caulk. Pay special attention to the windows and corners. This prevents drafts and water leaks. Furthermore, it improves energy efficiency if you choose to insulate later.
Transitioning to the final touches, add fascia boards to cover the rafter tails. This gives the roof a finished look. Gutters are not usually necessary for a playhouse. However, you might add a simple rain chain for a decorative touch. It teaches children about water flow. Moreover, ensure the roof slope is steep enough to shed water efficiently. A flat roof can lead to pooling water. Eventually, this causes leaks. A well-built roof ensures the playhouse remains a dry and comfortable retreat. Consequently, children can play inside even during light rain showers.
Interior Design and Creative Decoration
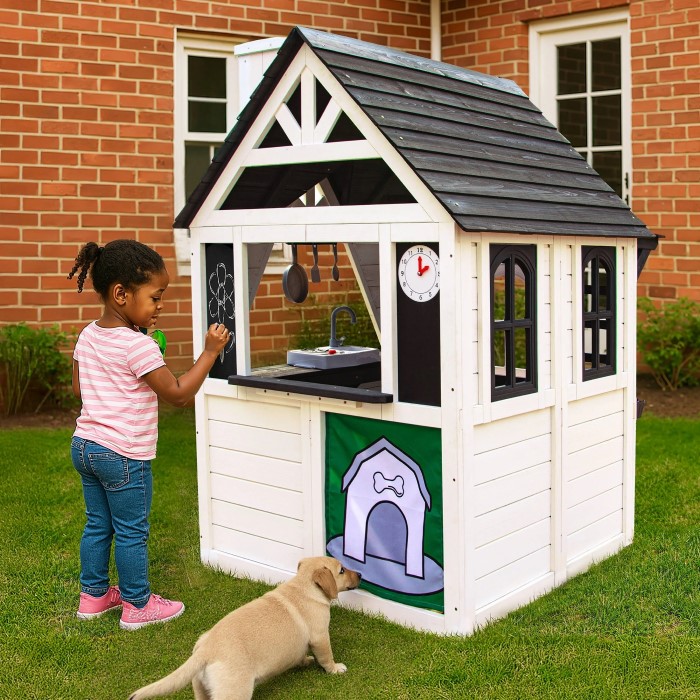
The interior design brings the playhouse to life. This is where your creativity shines. You do not need to spend a fortune on decor. Many items can be repurposed or DIYed. For instance, a small table and chairs set is perfect for tea parties. You can build these from scrap wood. Additionally, consider painting the interior walls. Light colors make the small space feel larger. Furthermore, they brighten up the room. You can use chalkboard paint on one wall. This provides an ever-changing canvas for the young artists.
- Storage Solutions: Install low shelves or hooks for toys. This encourages children to tidy up. A clean space is a safe space. Therefore, integrate storage into the design.
- Lighting: Solar powered lights are a safe option. They do not require wiring. Alternatively, battery-operated LED push lights work well. They provide enough illumination for evening play.
- Themes: Decorate according to a specific theme. A nautical theme might include a ship’s wheel and porthole mirrors. A fairy theme could involve twinkling lights and tulle curtains. Let your child’s imagination lead the way.
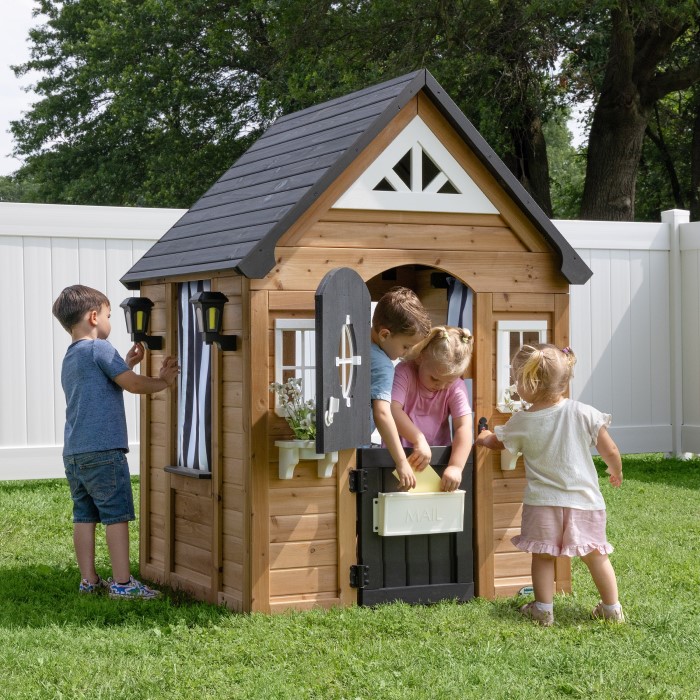
Transitioning to the exterior, landscaping enhances the outdoor kids playhouse. Planting flower beds around the base softens the transition to the grass. It also teaches children about gardening. A small pathway leading to the door invites guests. Furthermore, a mailbox allows children to receive “mail” from parents. These small interactive elements enrich the play experience. The goal is to create a space that feels separate from the adult world. It should be a kingdom where children rule. Consequently, the memories created here will last a lifetime.
Summarize
Building a play structure is a labor of love. It requires planning, effort, and patience. However, the result is a magical space for your children. An outdoor kids playhouse provides endless hours of entertainment. It fosters creativity and independence. Furthermore, it enhances the beauty of your backyard. We have covered the essential steps from planning to decoration. You now have the knowledge to begin. Therefore, gather your tools and materials. Start creating a haven for your little ones today. The smiles on their faces will be your greatest reward. This project is more than just construction. It is an investment in your family’s happiness.