Introduction to Quilting: Unleash Your Creativity
Quilting is an age-old craft that combines artistry and functionality, and it serves as a wonderful outlet for creativity. If you’ve ever wanted to learn how to quilt, now is the perfect time! In this blog post, we’ll explore various beginner-friendly quilting projects, essential tips, and basic techniques to help you start your quilting journey. Whether you’re looking for a simple quilt or wanting to dive into more intricate designs, there’s something for everyone in the world of quilting.
Why Start Quilting?
There are numerous benefits to picking up quilting, which makes it a beloved hobby for many. Here are a few reasons why you should consider starting your quilting journey:
- Creative Expression: Quilting allows you to express your creativity through your choice of fabric, colors, and patterns. Each quilt you create is a unique piece that reflects your personality and artistic vision.
- Sense of Accomplishment: Completing a quilt can provide a strong sense of achievement. Watching your fabric transform into a beautiful finished product is both satisfying and rewarding.
- Custom Gifts: Handmade quilts make incredible gifts for friends and family. You can create personalized pieces that hold sentimental value and showcase your efforts and creativity.
- Therapeutic Benefits: Many find quilting to be a relaxing and therapeutic activity. The repetitive motions and focus required can help clear the mind and reduce stress.
- Community Engagement: Quilting has a thriving community. Joining local quilting clubs, attending classes, or participating in online forums can connect you with fellow quilters who share your passion.
Essential Tools for Quilting
How to quilt? Before diving into your first project, it’s important to gather the right tools to ensure a smooth quilting experience:
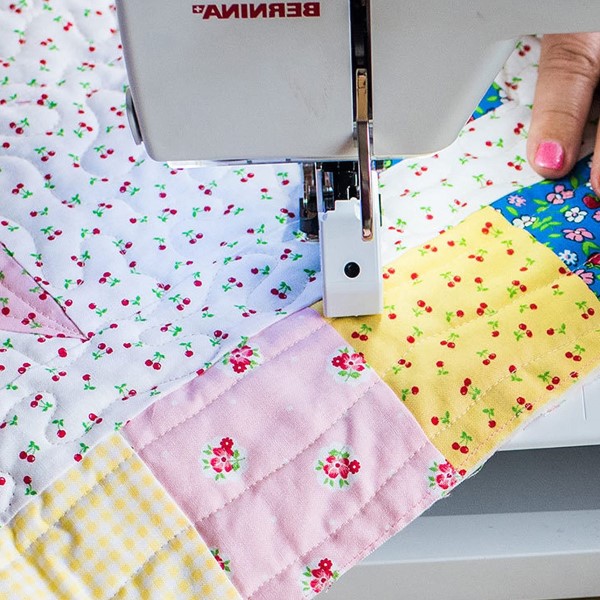
- Sewing Machine: Investing in a reliable sewing machine is essential for making the quilting process efficient. Look for a machine that offers various stitches and easy threading options.
- Rotary Cutter and Mat: A rotary cutter is perfect for cutting fabric with precision, while a self-healing cutting mat protects your surfaces and prolongs the life of your cutting tools.
- Quilting Ruler: A clear acrylic quilting ruler helps with measuring and cutting straight lines, ensuring your pieces are uniform in size.
- Fabric Scissors: Sharp fabric scissors are essential for clean edges. Always use fabric scissors solely for cutting fabric to maintain their sharpness.
- Quality Thread: Choose high-quality thread suitable for quilting. Polyester or cotton threads are ideal, as they are strong and durable, ensuring your quilt remains intact over time.
Planning Your First Quilt
Step 1: Selecting a Simple Pattern
How to quilt? It’s important to choose a simple pattern for your first quilt to build confidence. Consider patterns such as:
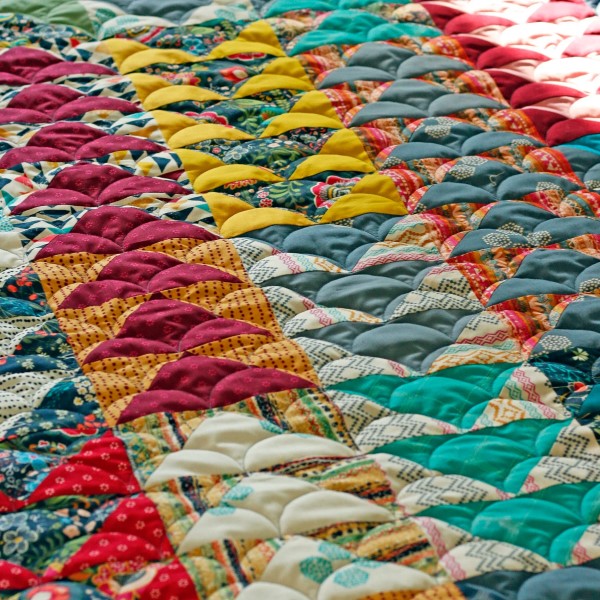
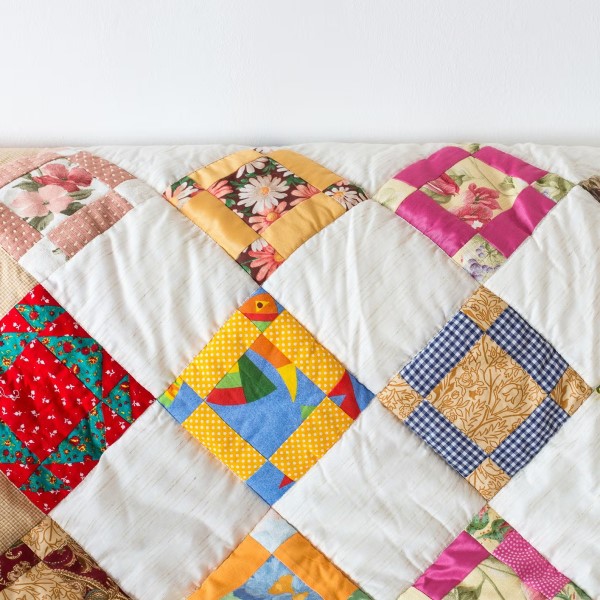
- Patchwork Quilts: These are often made from squares of fabric sewn together in a predetermined pattern. They are straightforward and provide plenty of room for creativity.
- Strippy Quilts: Using strips of fabric sewn together in rows can create eye-catching designs with minimal cutting.
- Panel Quilts: These quilts use printed fabric panels as the focal point and can be quickly completed by adding borders and quilting around the edges.
Step 2: Gathering Materials
Once you’ve selected your pattern, gather the necessary materials:
- Fabric: Purchase fabric that fits your chosen design. If you’re unsure, start with a few coordinating cotton fabrics. Pre-cut fabric packs can be a great alternative for beginners.
- Batting: Batting provides insulation and thickness in the quilt. You can find various types available—cotton, polyester, or a blend. Choose one based on the feel and warmth you want for your quilt.
- Backing Fabric: Your quilt’s backing fabric should be chosen with care, as it can add a new dimension to your design. Choose a fabric that complements the quilt top.
Step-by-Step Guide for Quilting Your First Project
Cutting the Fabric
- Measure Accurately: Use your quilting ruler and rotary cutter to cut your fabric according to the dimensions specified in your pattern. Precision is key.
- Organizing Pieces: Label your cut pieces if necessary, to keep track of the assembly order. This will save time and reduce any potential confusion during the sewing process.
Piecing Together the Quilt Top
- Sew the Pieces Together: Following your pattern, start sewing the fabric pieces together. Use a quarter-inch seam allowance to create neat and consistent seams.
- Pressing Seams: After sewing each seam, press them open or to one side. This helps the fabric lay flat, resulting in a more professional appearance.
- Assemble the Quilt Top: Continue sewing until all pieces are joined to create the quilt top. Ensure everything is properly aligned and lay it out flat to check for any discrepancies.
Layering the Quilt
- Assemble the Layers: Once your quilt top is complete, lay it on a flat surface. Place the batting on top, followed by the backing fabric, right side down.
- Pinning or Basting: Use safety pins or basting spray to hold the three layers together. Ensure they are secure to prevent shifting during the quilting process.
Quilting
- Choosing a Quilting Method: You can opt for straight-line quilting, free-motion quilting, or use channel quilting techniques to add texture. Choose a method that suits your comfort level and the design of your quilt.
- Start Quilting: Begin quilting from the center of your quilt and work your way outwards. This ensures the layers remain flat and helps avoid puckering.
- Finishing the Edges: Once the quilting is complete, trim any excess batting and backing, leaving enough material for binding.
Binding the Quilt
- Creating the Binding: Cut strips of fabric to make the binding. The strips should typically be 2.5 inches wide. Sew these strips together until they are long enough to go around the entire perimeter of your quilt.
- Attaching the Binding: Open the binding in half lengthwise and align the raw edges with the edge of the quilt. Sew it in place, and then fold it over to the back of the quilt, hand-stitching or machine-sewing it down for a clean finish.
Enjoy Your Quilt
- Final Touches: Inspect your completed quilt for any loose threads or imperfections, and clean it appropriately for future use. Your artwork is complete!
- Showcase Your Quilt: Share your finished project with friends and family or use it as a cozy addition to your home. Remember that every quilt tells a story, so take joy in your creation!
Expanding Your Quilting Skills: Advanced Techniques
Once you’ve completed several beginner projects, consider exploring more advanced techniques:
- Paper Piecing: This technique allows for intricate designs and precision, helping to create detailed quilt patterns that are difficult to achieve with traditional sewing.
- Quilt-as-You-Go: This method creates smaller quilted sections that can be pieced together, making it easier to manage large quilts.
- Curved Piecing Techniques: These skills allow you to create finished quilts with rounded shapes and designs, adding depth and uniqueness to your work.
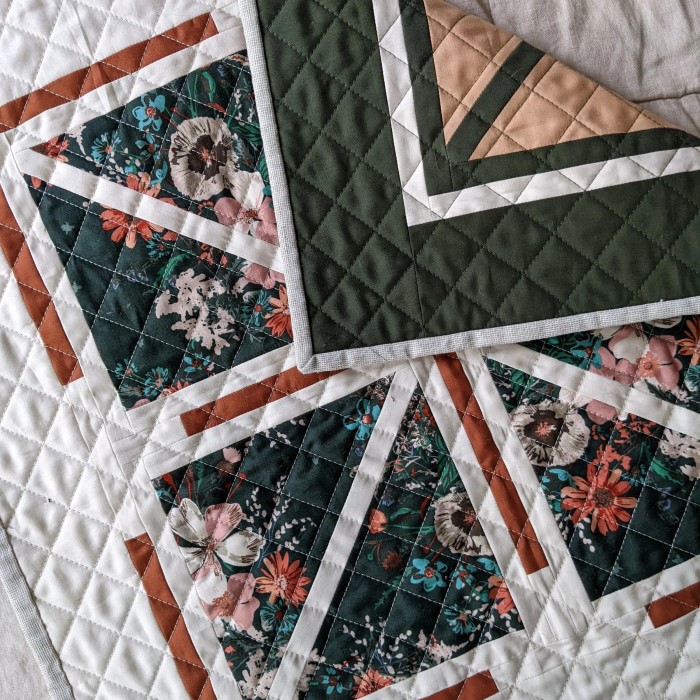
- Appliqué Designs: Adding fabric shapes to your quilt top creates beautiful designs and can complement the quilt’s overall theme.
- Custom Quilting Designs: As you become more experienced, consider drawing your quilting patterns on paper before executing them. This can enhance creativity and lead to unique finished works.
Frequently Asked Questions (FAQs)
What is the basic rule of quilting?
The basic rule of quilting is to accurately measure and cut all fabric pieces before sewing them together. Properly aligning seams and maintaining quilting standards are essential for a successful project.
Is quilting hard for beginners?
Quilting can be challenging but is not impossible for beginners. Starting with simple patterns and following clear instructions helps build skills and confidence.
What is the golden rule of quilting?
The golden rule of quilting is, “measure twice, cut once.” This adage emphasizes the importance of accuracy in fabric measurements to avoid waste and errors.
What is the best way to start quilting?
The best way to start quilting is by selecting a beginner-friendly pattern, gathering essential tools, and carefully following tutorials or attending workshops to learn foundational skills.

Conclusion: Your Quilting Adventure Awaits!
In conclusion, learning how to quilt opens the door to a fulfilling and creative hobby. From selecting materials and tools to completing your first projects, quilting provides an excellent way to express yourself while creating beautiful, functional art. With time and practice, you can master the techniques that best suit your style, allowing you to make quilts that are uniquely yours. So gather your supplies, follow the steps outlined in this guide, and embark on your quilting adventure today! Each stitch you make brings you closer to creating something truly special, adding warmth and personality to your home and life. Enjoy the journey!


