Introduction to Soap Making
Soap making is a fun and creative hobby. It lets you personalize products based on your needs. You can choose ingredients suited for your skin type or preferences. This craft also reduces reliance on commercial soaps, which may include harsh chemicals. Soap making involves combining fats or oils with a chemical called lye. The process, known as saponification, transforms these ingredients into soap. With practice, you can master soap textures, fragrances, and shapes. Homemade soap is eco-friendly and cost-effective. You can reduce waste by avoiding excess packaging. Plus, controlling the ingredients means you can make gentle, skin-friendly soaps. By learning soap making recipes, you explore endless customization options. You can experiment with natural colorants, essential oils, and herbal infusions. Crafting your own soap ensures high quality while delivering personal satisfaction.
Essential Ingredients and Tools for Soap Making
To start soap making, you’ll need specific ingredients and tools. These are vital for successful results and smooth processes. Gathering all necessary items beforehand ensures you work efficiently and safely.
Key Ingredients for Soap Making
- Fats and Oils: These are the main components. Common choices include olive oil, coconut oil, and shea butter.
- Lye (Sodium Hydroxide): This chemical is crucial for the saponification process. Handle it carefully.
- Distilled Water: It’s used to dissolve lye and create a smooth mixture.
- Essential Oils: Choose these for fragrance. Popular ones include lavender, peppermint, and lemon.
- Natural Additives: Use oatmeal, dried flowers, or honey for texture and skin benefits.
- Colorants: Include natural options like mica powder or activated charcoal for vibrant soap.
Necessary Tools for Soap Making
- Mixing Bowls: Use heatproof and non-metal bowls for mixing ingredients.
- Silicone Molds: Select molds for shaping soaps. Ensure they are flexible for easy removal.
- Stirring Utensils: Include stainless steel or silicone spatulas for mixing and scraping.
- Digital Scale: Measure ingredients accurately to maintain consistency.
- Thermometers: Monitor temperatures of both lye solution and oils.
- Safety Gear: Essential items include goggles, gloves, and aprons to protect your body.
- Immersion Blender: Speeds up mixing for perfect texture.
- Soap Cutter: Use for uniform soap bars after setting.
Equipping yourself with high-quality tools and ingredients simplifies the process. Ensuring safety and precision also enhances your soap recipes. With the right materials, you’ll enjoy making homemade soaps as a fulfilling craft.
Safety Tips for Soap Making at Home
Soap making can be enjoyable, but safety is crucial to protect yourself. Follow these safety tips to ensure a safe and successful soap-making experience.
- Wear Protective Gear: Always wear safety goggles and gloves to prevent lye burns and skin irritation.
- Work in a Ventilated Space: Lye fumes can be harmful. Ensure good airflow while working with lye.
- Handle Lye Carefully: Measure lye accurately. Add lye to water, not water to lye, to avoid splashes.
- Keep Children and Pets Away: Soap making involves caustic chemicals. Keep your workspace free from distractions.
- Use Heat-Resistant Equipment: Avoid using glass for lye mixtures. Use heatproof bowls and tools instead.
- Monitor Temperatures: Check lye solution and oils with a thermometer. Maintain safe temperatures while mixing.
- Be Prepared for Spills: Keep vinegar nearby to neutralize lye spills. Clean spills immediately for safety.
- Follow Recipes: Stick to tested soap making recipes to avoid undesired reactions or results.
- Label Ingredients and Tools: Clearly mark all soap making supplies to avoid accidental misuse.
- Store Chemicals Safely: Keep lye and other materials in sealed containers away from heat and moisture.
By prioritizing safety, you can enjoy soap making as a fun and rewarding craft. Following these precautions will help you create beautiful homemade soaps without risks.
Different Types of Soap Bases to Start With
Choosing the right soap base is essential for successful soap making recipes. Soap bases serve as the foundation of homemade soaps and determine texture, hardness, and other properties. Below are the different types of soap bases you can start with when making your own soap.
1. Melt and Pour Soap Base
- Ideal for beginners due to its simplicity.
- Pre-made base that can be melted, customized, and poured into molds.
- Available in varieties like glycerin, shea butter, or goat milk.
- Allows quick creative designs with colors and fragrances.
2. Cold Process Soap Base
- Made from scratch using lye and oils.
- Requires curing for 4 to 6 weeks.
- Offers creative flexibility with ingredients and designs.
- Produces long-lasting, firm soap bars.
3. Hot Process Soap Base
- Uses heat to speed up saponification.
- Ready to use in a shorter time than cold process.
- Creates rustic soaps with a textured finish.
- Highly customizable with natural additives.
4. Glycerin Soap Base
- Creates transparent or semi-transparent soap bars.
- Gentle and hydrating, suitable for sensitive skin.
- Easy to melt and mold into different shapes.
- Can be infused with essential oils or colors.
5. Organic Soap Base
- Made from natural and chemical-free ingredients.
- Great for eco-conscious soap makers.
- Includes options like coconut oil or olive oil bases.
- Ensures a gentle final product with minimal additives.
6. Specialty Soap Bases
- Includes innovative bases like exfoliating or whipped soap bases.
- Provides unique textures and functions for your soap.
- Perfect for experimenting with advanced recipes.
Each soap base offers unique properties, making them suitable for different soap making recipes. Consider your experience level, skin type, and desired outcome when choosing a base. With these options, you’ll find plenty of room for creativity and customization.
Step-by-Step Guide to Basic Soap Making
Soap making may seem complex, but breaking it into steps makes it manageable. Follow this simple guide to craft your first bar of soap successfully using a cold process recipe.
Prepare Your Workspace
- Choose a clear, clean area that is free from distractions.
- Gather all necessary ingredients and tools listed in the “Essential Ingredients and Tools” section.
- Wear protective gear including goggles, gloves, and an apron for safety.
Measure Ingredients Precisely
- Use a digital scale for exact measurements. Accuracy ensures successful soap.
- Prepare required amounts of oils, lye, and distilled water.
- Measure each component in separate heatproof containers.
Mix Lye Solution
- Slowly add lye to distilled water (never the reverse) to avoid splattering.
- Stir gently until lye is fully dissolved. Avoid inhaling fumes.
- Let the lye solution cool to approximately 90–110°F.
Heat Oils
- Combine your chosen oils in a heatproof bowl.
- Heat the oils to the same temperature as the lye solution (90–110°F).
- Use a thermometer to monitor temperatures consistently.
Blend Oils and Lye Solution
- Gradually pour the lye solution into the oils.
- Use an immersion blender to mix until reaching “trace.” Trace is a pudding-like consistency.
- Avoid overmixing as it may affect the soap texture.
Add Fragrances or Additives
- Mix in essential oils, natural colorants, or exfoliating additives (e.g., oatmeal or dried flowers).
- Stir thoroughly to ensure even distribution of ingredients.
Pour Into Molds
- Carefully pour the soap mixture into silicone molds.
- Tap the mold to release air bubbles and smooth the surface.
Allow to Set and Cure
- Cover molds and let them sit undisturbed for 24-48 hours.
- Once firm, carefully remove the soap from the molds.
- Let the soap cure in a cool, ventilated area for 4-6 weeks. This hardens the soap and improves quality.
By following these steps, you can enjoy crafting high-quality, homemade soap. Practice ensures smoother processes and better results with each batch!
Popular Homemade Soap Recipes
Discover some easy and creative soap making recipes. These recipes are perfect for beginners and advanced soap makers alike. Experimentation is encouraged as you customize and personalize each batch with your preferred ingredients.
Moisturizing Oatmeal Soap Recipe
This soap recipe is ideal for soothing and hydrating the skin. The oatmeal provides gentle exfoliation, making it suitable for sensitive skin.
- Ingredients: Mix 1 cup of melted shea butter soap base, 2 tablespoons finely ground oatmeal, 10 drops of lavender essential oil, and 1 teaspoon honey.
- Instructions: Melt the soap base in a microwave-safe bowl. Stir in oatmeal, honey, and essential oil.
- Molding: Pour the mixture into silicone molds. Tap to remove air bubbles.
- Setting Time: Wait for 24 hours until soaps are firm before unmolding.
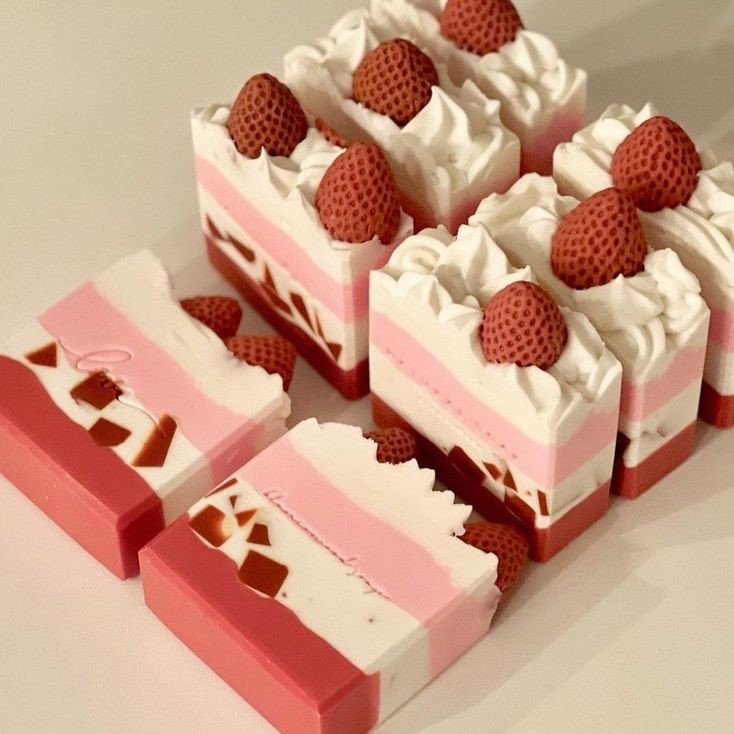
Lavender and Honey Soap Recipe
Lavender and honey create a soothing and aromatic soap.
- Ingredients: Use 1 cup of glycerin soap base, 1 tablespoon dried lavender, 10 drops lavender essential oil, and 1 tablespoon honey.
- Instructions: Melt the glycerin soap base. Add honey, dried lavender, and essential oil to the melted base.
- Molding: Pour the mixture into smooth molds. Let it settle for even texture.
- Setting Time: Allow the soap to cool for 24 hours.
Charcoal Detox Soap Recipe
This soap is perfect for purifying and detoxifying the skin. Activated charcoal draws out oils and impurities.
- Ingredients: Combine 1 cup of goat milk soap base, 1 teaspoon activated charcoal powder, and 10 drops tea tree essential oil.
- Instructions: Melt the soap base. Stir in charcoal powder and essential tea tree oil.
- Molding: Pour the soap into suitable molds. Ensure even spreading.
- Setting Time: Cool for 24 hours and remove from molds.
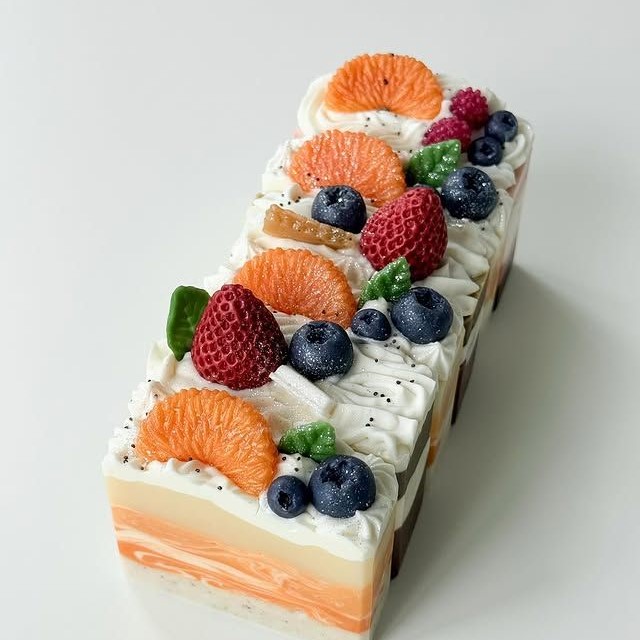
Fruit-Infused Glycerin Soap Recipe
This colorful soap is infused with natural fruit extracts for refreshing, fruity aromas.
- Ingredients: Prepare 1 cup clear glycerin soap base, 1 teaspoon fruit extract (e.g., strawberry or orange), and natural colorants.
- Instructions: Melt the glycerin soap base. Mix fruit extract and your preferred colorant.
- Molding: Pour into molds shaped like fruit slices for a creative design.
- Setting Time: Let the soaps set for 24 hours before using.
Each recipe is simple to follow yet offers endless possibilities for customization. Select your favorite and enjoy making soaps that suit your needs and preferences!
Tips for Customizing Your Soap Recipes
Customizing soap making recipes lets you create unique products tailored to your taste and needs. Here are some tips to help you personalize your homemade soaps and make them truly special.
1. Use Different Essential Oils
- Choose oils based on your preferences or desired benefits.
- Lavender oil offers relaxation, while tea tree oil adds an antibacterial touch.
- Experiment with blends like citrus and mint for refreshing fragrances.
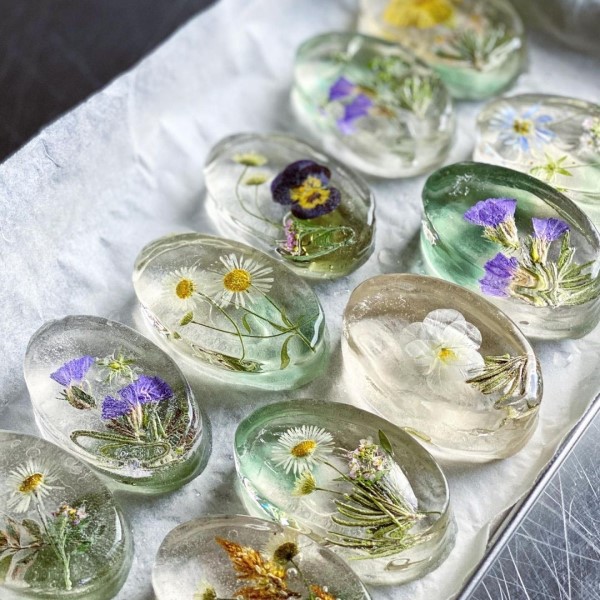
2. Add Natural Colorants
- Use natural powders or clays to create vibrant color.
- Activated charcoal creates a black hue and detoxes the skin.
- Beetroot powder offers pink tones, while turmeric gives a golden color.
3. Incorporate Natural Additives
- Add oatmeal for mild exfoliation and a soothing effect.
- Dried flowers, like lavender or rose petals, create a decorative and fragrant soap.
- Include aloe vera gel or honey for extra skin nourishment.
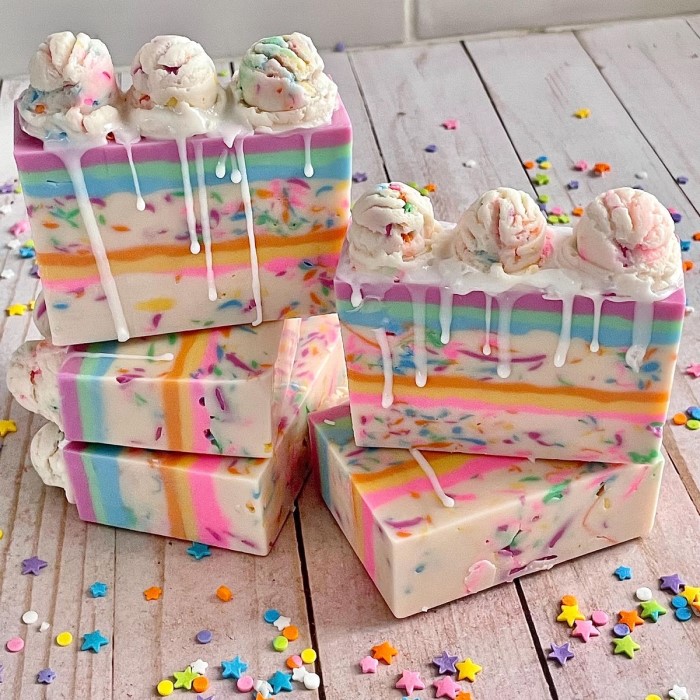
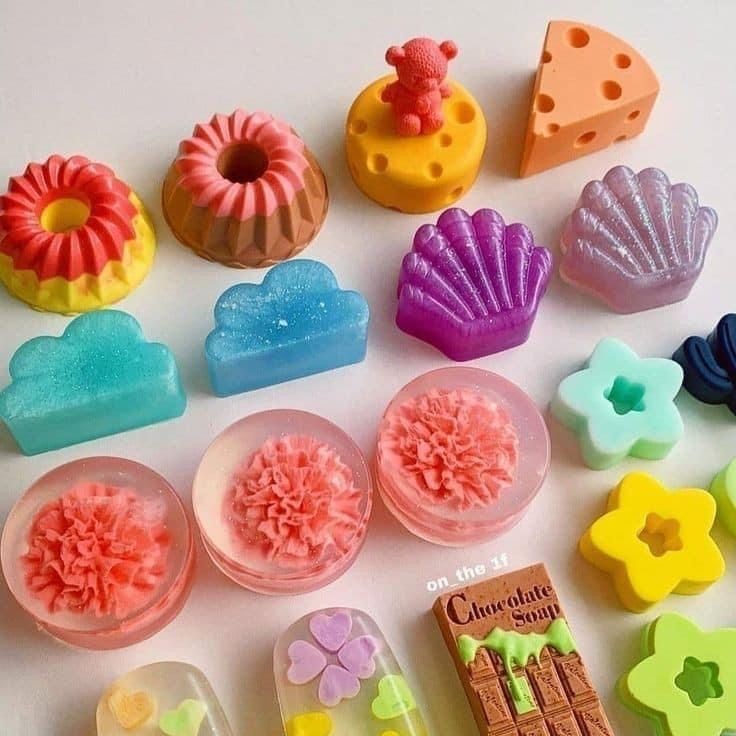
4. Explore Unique Shapes and Molds
- Use silicone molds in fun shapes like hearts, animals, or flowers.
- Layer different colors or textures for eye-catching designs.
- Play with embeds like soap cubes or botanicals for a creative touch.
5. Adjust the Ingredients
- Select oils based on your skin’s needs, such as coconut oil for cleansing or shea butter for moisturizing.
- Replace water with herbal tea or milk for added benefits.
- Modify the oil ratio for softer or harder bars.
6. Enhance with Exfoliants
- Choose natural exfoliants like coffee grounds or sugar for scrubbing properties.
- Add sea salt or jojoba beads for a more premium feel.
7. Experiment with Layering and Swirling
- Pour different colored soap batches at varying times for layered effects.
- Use a chopstick to create artistic swirls in the soap.
Customizing soap making recipes adds a personal touch and sets your soaps apart. Explore various combinations of ingredients, colors, and scents to find your favorite. This creativity makes your soap making experience even more enjoyable.
Wrapping and Storing Your Homemade Soap
Properly wrapping and storing your homemade soap is essential to maintain its quality and extend its lifespan. Here are some useful tips to help you keep your soaps fresh and beautiful for longer:
Wrapping Your Soap
- Choose Wrapping Materials: Use materials like paper, fabric, or shrink wrap. These preserve your soap’s appearance and scent.
- Wrap Tightly: Ensure the wrapping is snug to protect the soap from air and moisture. This prevents cracking and soft spots.
- Decorative Touch: Add labels, twine, or stickers for a personalized and professional look.
Storing Your Soap
- Cool, Dry Place: Store soaps in a dry environment away from excess moisture and heat.
- Use Airtight Containers: Seal your soaps in airtight bags or containers to lock in the fragrance.
- Avoid Sunlight: Keep soaps out of direct sunlight to prevent discoloration and scent loss.
- Separate Different Scents: Store soaps with distinct fragrances separately. This avoids mixing scents.
- Use a Shelf or Rack: Allow airflow around your soaps. This keeps them dry and firm.
Tips for Long-Term Storage
- Cure Fully Before Storing: Ensure that cold or hot process soaps have cured for 4-6 weeks.
- Check for Moisture: Regularly check stored soaps for signs of moisture or odor changes.
- Label and Date: Clearly label and date each soap batch for easy identification.
By wrapping and storing your soaps correctly, you can maintain their quality and enjoy them longer. These steps also help present your creations beautifully when used as gifts or sold.
Benefits of Making Your Own Soap
Creating your own soap offers many benefits that go beyond just cleanliness. Making your own soap can be a fun and rewarding journey.
1. Customization
- Tailor to your needs: Customize soap to suit your skin type and preferences.
- Choose ingredients: Select natural oils, scents, and additives that nourish your skin.
- Experiment: Mix and match colors, fragrances, and natural elements for unique designs.
2. Control Over Ingredients
- Avoid harmful chemicals: Eliminate unnecessary preservatives and artificial additives in your soap.
- Use natural products: Incorporate essential oils and natural colorants for safer, skin-friendly bars.
- Eco-friendly options: Select sustainable, biodegradable materials to protect the environment.
3. Health Benefits
- Gentle on sensitive skin: Homemade soap can reduce irritation and allergies.
- Add moisturizing agents: Use shea butter, coconut oil, or honey to keep skin hydrated and healthy.
- Include essential oils: Boost aromatherapy benefits to relax, energize, or address skin concerns.
4. Cost-Effective
- Save money: Buying soap can be more expensive than making it yourself over time.
- Reuse materials: Save money by reusing molds and containers for future batches.
5. Reduce Waste
- Minimal packaging: Avoid unnecessary plastic wrapping often used in commercial soaps.
- Eco-conscious choice: Use recyclable and reusable materials for sustainable soap making.
6. Creative Hobby
- Unleash your creativity: Soap making is an art form that allows for artistic expression.
- Relaxation time: Enjoy a stress-relieving activity while being productive.
- Unique gifts: Handcrafted soaps make thoughtful gifts for friends and family.
7. Personal Satisfaction
- Celebrate your work: Enjoy the feeling of accomplishment when using your handmade creations.
- Share with others: Create unique products that showcase your style and effort.
Making your own soap provides control, creativity, and well-being. Enjoy these benefits by starting your soap making journey today!


