Introduction
Making paper mache Christmas ornaments is not just a fun activity; it’s a creative way to bond with your family during the holiday season. This art form has been popular for many years, allowing families to explore their creativity while creating beautiful decorations. Using simple materials, you can craft stunning ornaments that are not just eye-catching but also eco-friendly. In this guide, we will explore techniques, ideas, and tips for making memorable ornaments that reflect your family’s uniqueness. Engage your children, encourage their imagination, and create lasting memories during the holiday season with this delightful craft.
The Benefits of Paper Mache Crafting
Engaging in paper mache projects comes with numerous benefits. First, it provides an excellent opportunity for family bonding. Working together on projects fosters communication, teamwork, and creativity. As family members share ideas and techniques, they create an environment of support and encouragement. Secondly, it’s a sustainable craft. By repurposing old newspapers and magazines, you reduce waste and make environmentally friendly ornaments. This teaches children about sustainability while having fun. Lastly, the process of making paper mache is therapeutic; it encourages mindfulness and relaxation, acting as a great way to unwind during the busy holiday season.
Getting Started: Materials You Need
Before diving into crafting your paper mache Christmas ornaments, gather the necessary materials. You will need:
- Newspaper or old paper: Recyclable materials are ideal as they promote eco-friendliness.
- Flour: This will be used to create the paste.
- Water: Mix it with flour to create the glue.
- Salt: A small quantity will help prevent mold.
- Balloons or molds for shaping: Balloons make perfect ornaments by providing a round shape and can be popped after drying.
- Paints and brushes: Acrylic paints work best for vibrant colors.
- Glitter, sequins, and other decorative elements: Get creative with embellishments to make your ornaments stand out.
- Varnish or sealant: Optional, but recommended if you want to make your ornaments more durable and waterproof.
These materials are inexpensive and easily obtainable. The process starts by preparing the glue, which involves mixing flour, water, and a pinch of salt. This simple mixture forms a sturdy paste that will hold your paper strips together.
Step-by-Step Guide to Making Paper Mache Ornaments
To create your beautiful paper mache Christmas ornaments, follow this step-by-step guide closely to ensure successful crafting:
- Prepare the Glue: Mix one part flour with two parts water. Stir until smooth, and let it cool. If you want to make a larger batch, adjust the quantities accordingly.
- Tear the Paper: Cut or tear the newspaper into strips approximately 1 inch wide and 6-8 inches long. Varying the sizes can add unique textures to your ornaments.
- Prepare Your Mold: Inflate a balloon or use other molds (like light bulbs or cookie cutters). Make sure the surface is smooth for easy removal later.
- Dip and Apply: Dip the paper strips into the glue mixture, remove excess glue, and lay them carefully over the mold. Overlap the strips for strength and ensure they smooth out to avoid air pockets.
- Drying Time: Allow the first layer to dry fully—this usually takes about 24 hours—before adding more layers. Aim for at least three layers for durability.
- Finishing Touches: Once dried, pop the balloon carefully if used, and start painting your ornaments. Use vibrant colors and let your kids get involved in the design process. Add any decorative finishes you like, such as glitter or sequins.
- Seal Your Ornaments: After painting is complete and fully dried, apply a waterproof sealant or varnish for extra protection against moisture and damage. This also adds a nice glossy finish.
Common Challenges: Why is My Paper Mache Not Hardening?
One common problem crafters face is that their paper mache isn’t hardening as expected. This can happen due to various reasons:
Glue Consistency
- Importance of Proper Consistency: The consistency of your glue mixture is crucial for creating strong bonds between the layers of paper mache. If the glue is too watery, it will not provide enough hold, and the layers may slip or separate during the drying process.
- Ideal Thickness: To achieve effective adhesion, your paste should have a pudding-like thickness. This ensures that the strips of paper stick well to each other and form a solid structure as they dry.
- How to Test Consistency: A simple way to test your glue’s consistency is to dip a strip of paper into the mixture. If it clings well and is not dripping excessively, you’re on the right track. If it feels too runny, consider adding more flour to thicken the paste.
Environmental Conditions
- Impact of humidity and temperature: Humidity and temperature play critical roles in the drying time of your paper mache creations. High humidity can slow down the drying process significantly, making it harder for the layers to set properly.
- Managing Drying Conditions: If you live in a particularly humid climate, be mindful of your working environment. Try placing your ornaments in a room with good ventilation or dehumidifiers to minimize moisture in the air.
- Using Fans and Heat Sources: Consider using a fan to circulate air around your ornaments or placing them near a warm (but not hot) source. This can promote quicker drying while still ensuring that the layers remain intact.
Insufficient Layers
- Structural Integrity: Applying too few layers of paper mache can compromise the structural integrity of your ornaments. Without enough strength, the ornaments may crumble or sag, leading to disappointment after they have been crafted.
- Recommended Layer Counts: Aim for at least three to four good layers of paper mache. This provides a robust framework that can withstand handling and the stresses of being hung on a tree.
- Visual and Textural Benefits: Beyond strength, additional layers can also enhance the visual appeal of your ornaments. Different textures can be achieved by using varied papers or paints, and a thicker ornament can be painted more effectively without the underlying surface showing through.
Understanding these challenges can help you troubleshoot effectively, ensuring your crafting experience is enjoyable and fulfilling.
The Difference Between Paper Mache and Papier-Mâché
Many people wonder about the difference between paper mache and papier-mâché. While both refer to the same technique of creating crafts with paper and paste, “papier-mâché” is the French term. This method has its roots in France and traditionally emphasizes texture and layering. The term also refers to techniques that may include different binding agents and more intricate designs. Regardless of the term, the core idea remains the same: crafting beautiful items from recycled materials that reflect your creativity.
Making Your Ornaments Waterproof
If you want your paper mache Christmas ornaments to withstand moisture and retain their beautiful appearance over time, there’s a simple solution. Once your ornaments are fully dried and painted, you can apply a waterproof sealer or varnish. This layer protects them from humidity and enables you to use them in various conditions, including hanging them outdoors. Ensure you choose a non-toxic sealant if children will handle or interact with the ornaments, especially if used as decorations around the holiday meal.
Creative Ideas for Decorating Paper Mache Ornaments
Once your basic ornaments are ready, let your creativity flow. Here are some exciting decoration ideas to inspire your crafting:
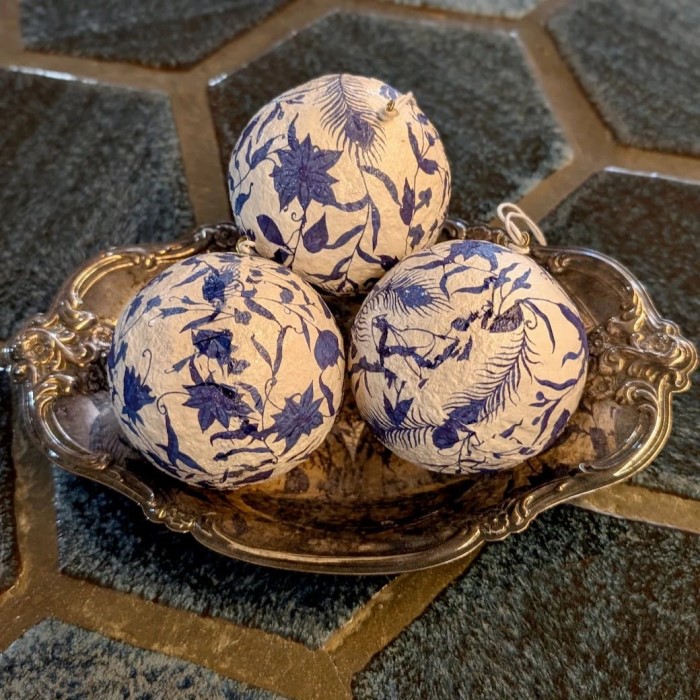
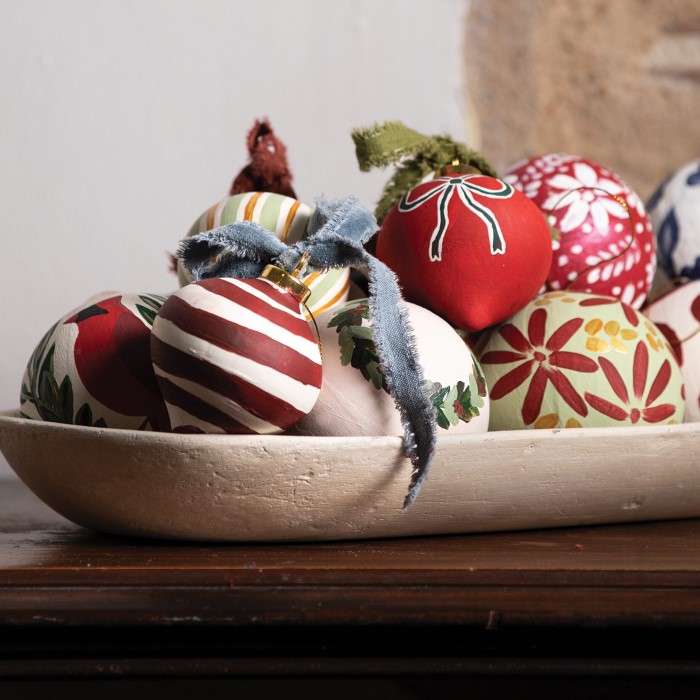
- Traditional Patterns: Use a mix of reds and greens, along with stickers and glitter, to create a classic Christmas look. This will resonate well with the holiday spirit.
- Nature-inspired Designs: Paint your ornaments in earthy tones, then add some natural elements like pressed leaves, flowers, or small twigs to give them a rustic charm.
- Modern Themes: For a chic, contemporary style, opt for metallic paints and geometric patterns. Silver, gold, and black are very trendy and visually striking when contrasted with typical holiday colors.
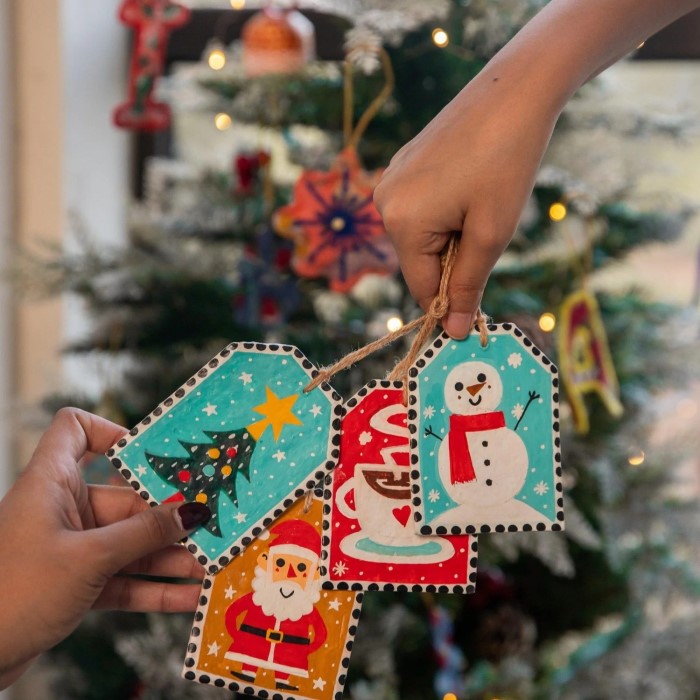
- Personalized Touches: Allow kids to add their names or special messages. You can use letter stickers or hand-paint them to create a unique keepsake.
- Themed Sets: Choose a specific theme for your ornaments, such as stars, animals, or winter scenes, and decorate accordingly to create a cohesive look.
- Interactive Ornaments: For fun, make some ornaments that are interactive! Introduce mini-games or puzzles that can be hung on the tree.
FAQ: How to Make Paper Mache Baubles?
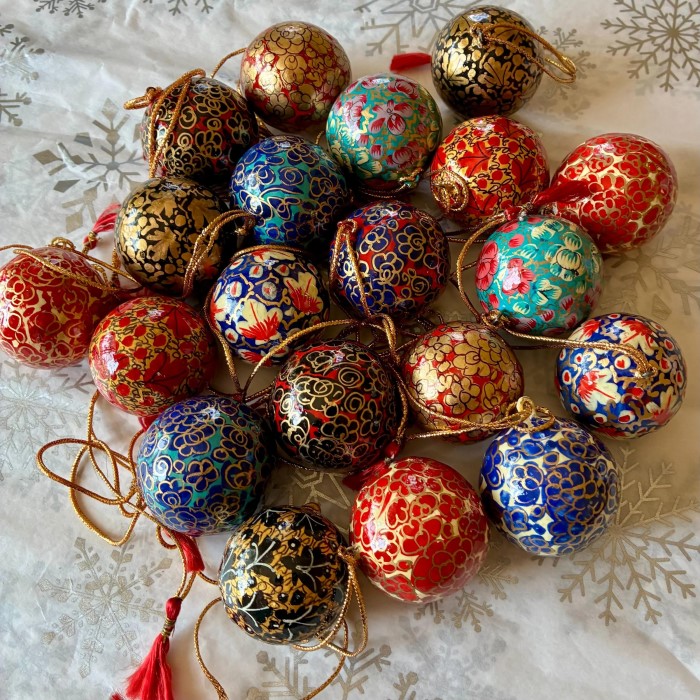
To make paper mache baubles, the process is similar to traditional ornament-making. Rather than using flat surfaces, the baubles require round molds for shaping. Here’s a simple outline:
- Inflate a balloon or get a round balloon, which will act as a mold.
- Follow the same method of layering paper strips over the form.
- Allow the layers to dry completely before removing the mold.
- Decorate as desired, ensuring that any paint or embellishments are fully dry before handling and hanging.
These beautiful baubles can be strung up with a ribbon to hang brighter on your tree, adding a unique flair to your holiday décor.
Conclusion: Enjoy Crafting Together
In conclusion, creating paper mache Christmas ornaments is a delightful way to foster creativity, build family traditions, and promote eco-friendliness. The joy of creating something beautiful together cannot be overstated. Engaging in crafting allows for open communication, laughter, and shared experiences that strengthen family bonds. Remember, whether you prefer traditional designs or aim for modern aesthetics, there’s no limit to what you can create as a family. So get started today, unleash your imaginations, and enjoy the fun of crafting together! Embrace the chance to create a lasting legacy while making beautiful memories this Christmas season.


