Introduction to Clay Crafting
Clay crafting is a delightful and creative activity for all ages. What to make with clay? It enables you to shape, mold, and design unique creations from a versatile medium. Artists and hobbyists often appreciate working with clay due to its flexibility and ease of use.
Benefits of Clay Crafting
- Boosts Creativity: Clay crafting allows you to explore your imagination and create personal designs.
- Enhances Motor Skills: Working with clay improves hand coordination and fine motor skills.
- Provides Relaxation: Manipulating clay is therapeutic and helps reduce stress.
- Offers Endless Possibilities: Clay can be used to create jewelry, pottery, figurines, and more.
Types of Clay
- Air-Dry Clay: Best for beginners, it hardens without a kiln.
- Polymer Clay: Ideal for detailed projects and jewelry, requires baking.
- Potter’s Clay: Used for functional pottery pieces; needs a kiln to fire.
- Modeling Clay: Soft and reusable, great for temporary sculpting.
Step-by-Step Guide to Get Started
- Gather Materials: Choose the clay type and tools suitable for your project.
- Prepare the Workspace: Keep your area clean and organized.
- Learn Techniques: Familiarize yourself with basic techniques like rolling, pinching, and coiling.
- Start Simple: Begin with small projects to build confidence and skills.
- Practice Regularly: Improve your crafting talent by experimenting frequently.
Clay crafting is a rewarding hobby full of endless possibilities. It is affordable, relaxing, and ideal for exploring your creative side.
Essential Tools and Materials for Clay Art
What to make with clay? To start clay crafting, some essential tools and materials are necessary. They help create precise and beautiful projects.
Basic Tools for Clay Art
- Rolling Pins: These help flatten the clay evenly for project preparation.
- Clay Cutters: Use cutters for shaping clay into neat forms and patterns.
- Modeling Tools: Modeling tools assist in detailing, carving, and shaping designs.
- Sculpting Tools: These are ideal for intricate designs and fine textures.
- Paintbrushes: Paintbrushes work well for cleaning, smoothing, and finishing touches.
- Sponges: Wet sponges help adjust moisture levels and smooth surfaces.
Essential Materials for Clay Art
- Clay: Choose from air-dry, polymer, potter’s, or modeling clay based on your project.
- Water: Water is vital for keeping clay moist and manageable during crafting.
- Sealants: Sealants protect finished clay pieces and extend their lifespan.
- Paints: Acrylic paints are perfect for adding colors to dried clay projects.
- Glazes: Glazes give pottery projects a durable finish and attractive shine.
Optional Supporting Materials
- Mats: Non-stick mats keep clay pieces clean and simplify handling.
- Storage Containers: Store clay safely to prevent drying and damage.
- Kiln: A kiln is essential for firing potter’s clay to harden and finalize pieces.
- Baking Sheet: Beginners using polymer clay can bake projects on standard trays.
Having the appropriate tools and materials is key to mastering clay crafting. Invest in high-quality supplies to ensure satisfying results.
Techniques for Working with Clay
What to make with clay? Mastering clay crafting requires learning and practicing various techniques. These techniques simplify your clay projects and enhance your skills.
Rolling and Flattening
Using a rolling pin, evenly flatten the clay to begin shaping your project. Ensure consistent thickness to avoid uneven designs.
Pinching Clay
Use your fingers to pinch and shape clay. This technique is ideal for creating bowls or small sculptures.
Coiling Clay
Roll clay into thin ropes and layer them to build structures like pots or vases. Smoothen edges for neat finishes.
Slab Building
Flatten clay into wide slabs and cut out shapes. Assemble the pieces to create functional items.
Carving and Detailing
Carve patterns using modeling tools or sculpting knives. Adding texture enhances the aesthetics of your creations.
Clay Scoring
Score the edges of clay before attaching pieces. Apply water or slip to ensure strong bonding.
Stamping and Imprinting
Use stamps or objects with patterns to create interesting textures or designs on the clay’s surface.
Glazing Techniques
After shaping and firing, glaze your project to achieve a glossy, durable finish.
Baking or Firing Your Clay
Bake polymer clay in a standard oven for curing. Fire potter’s clay in a kiln for durability.
Exploring these techniques will improve your clay crafting skills over time. Practice regularly and experiment with creative ideas to discover your signature style.
Fun and Simple Clay Project Ideas for Beginners
Clay crafting is an exciting and rewarding activity. Beginners can start with easy projects to build confidence and skills. These simple ideas are fun and suitable for all ages.
DIY Clay Jewelry
Creating jewelry with clay is both simple and enjoyable. You can craft unique and personal accessories.
- Clay Beads: Roll small, round clay pieces to make beads. Use a toothpick to create holes.
- Clay Pendants: Flatten clay and cut shapes like circles or hearts for necklace pendants.
- Textured Earrings: Use stamps or tools to add patterns to clay before shaping earrings.
- Customized Rings: Mold clay into fine rings and bake for a durable finish.
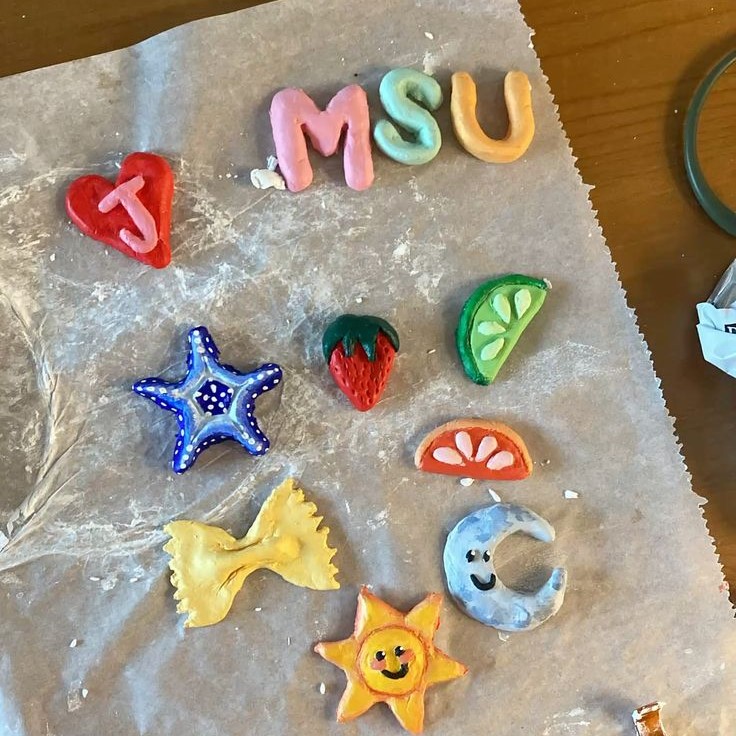
- Personalized Charms: Add initials or simple designs to create meaningful keychains or bracelet charms.
Choose bright colors or paints to further enhance your jewelry. Once baked or dried, seal your creations with a clear coat for extra durability.
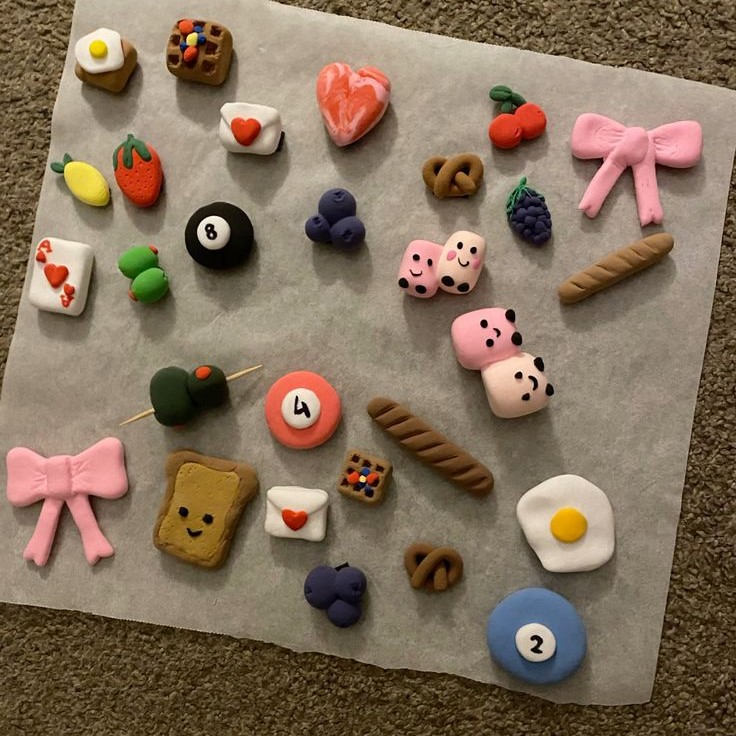
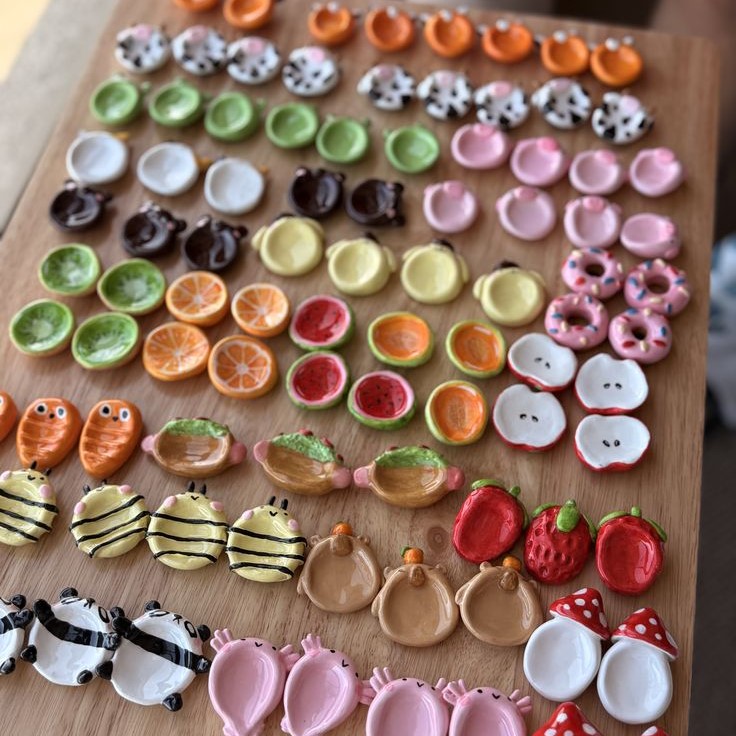
Cute Clay Figurines
Clay figurines are perfect for beginners. They allow you to explore creativity while practicing basic techniques.
- Animals: Sculpt small animals like cats, dogs, or turtles using simple shapes.
- Miniature Objects: Create mini versions of plants, houses, or everyday items for decorations.
- Characters: Craft quirky human or cartoon-like figures for fun desk ornaments.
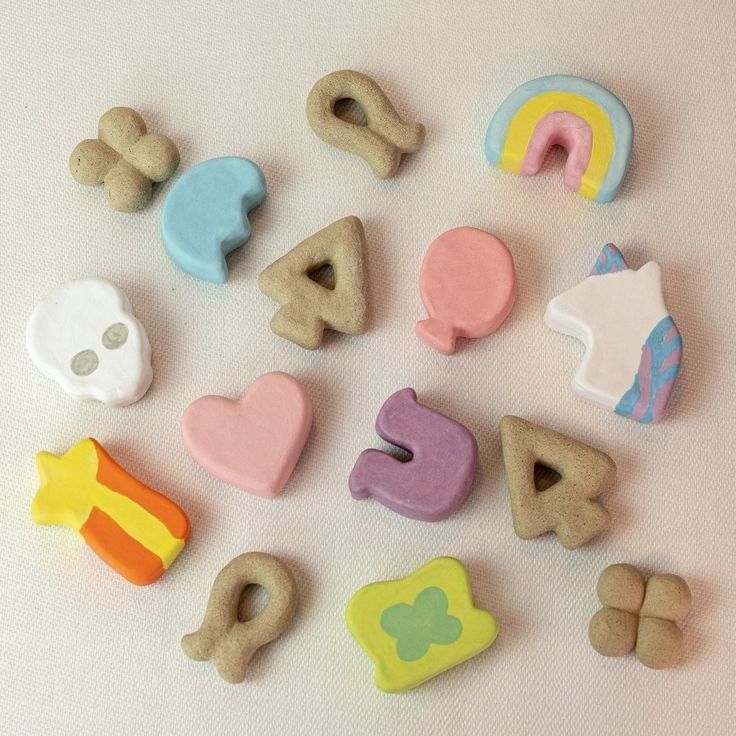
- Seasonal Decor: Make holiday-themed figurines, such as pumpkins for Halloween or snowmen for Christmas.
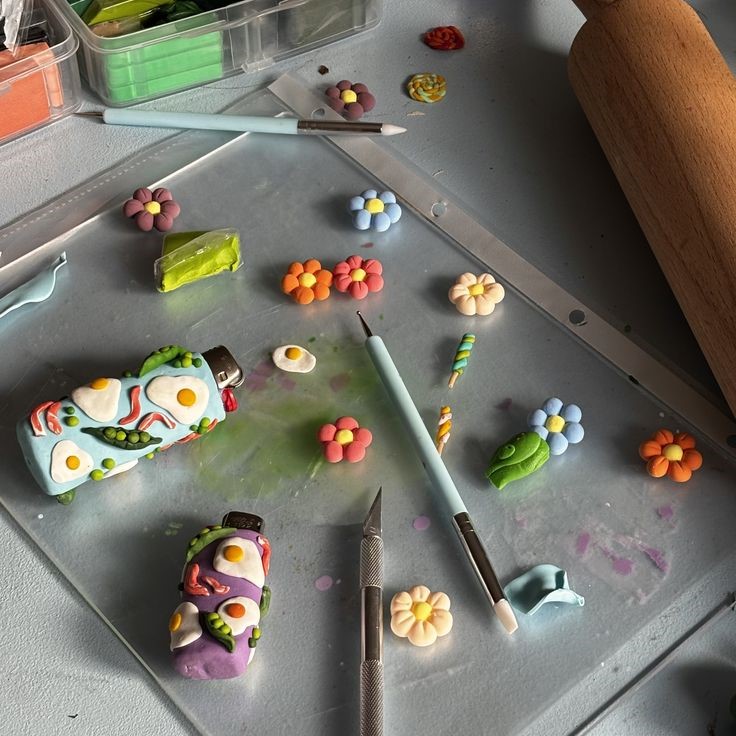
- Easy Flowers: Mold clay into petals and assemble them into beautiful flower shapes.
Enjoy painting and detailing your figurines after drying or firing. Seal them with glaze for a glossy and professional look.
Starting with these fun and simple projects will help you gain confidence. Experiment with creative ideas and enjoy the process of bringing your clay creations to life!
Advanced Clay Project Ideas
Taking your clay crafting skills to the next level requires exploring advanced and challenging projects. These ideas enhance creativity and craftsmanship.
Creating Functional Pottery
Functional pottery combines art and utility. It allows you to create items for daily use.
- Teapots: Sculpt teapots with handles, lids, and spouts. Ensure proper seals and smooth surfaces.
- Bowls: Craft deep or shallow bowls for serving, mixing, or displaying items.
- Plates: Shape flat and sturdy plates with polished or textured designs.
- Cups and Mugs: Add handles and customize shapes for unique coffee cups or mugs.
- Plant Pots: Create decorative pots for indoor and outdoor plants.
Focus on symmetry and smooth finishes. Fire the clay in a kiln to make it sturdy and durable. Add glazes for vibrant colors and glossy effects. Look into standard pottery techniques like throwing for accurate results.
Sculpting Artistic Masterpieces
Sculpting offers endless possibilities to showcase artistic talent and skill.
- Portrait Busts: Create lifelike representations of faces and expressions.
- Abstract Art: Experiment with unusual shapes and textures to convey emotions or themes.
- Large Sculptures: Challenge yourself with large pieces perfect for gardens or exhibitions.
- Intricate Reliefs: Carve detailed designs into clay slabs for amazing wall art.
- Figurative Sculptures: Sculpt realistic human and animal forms to fascinate viewers.
Advanced sculpting requires precision and imagination. Use additional tools like wire armatures for stability and modeling knives for fine detailing. Focus on proportions to produce well-balanced and striking designs.
Exploring functional pottery and artistic sculptures pushes boundaries and allows for unlimited creative expression. Practice consistently to refine techniques and achieve professional results.
Tips and Tricks for Perfecting Clay Creations
Perfecting your clay creations involves using specific tips and strategies to refine your craft skills. Whether you are a beginner or an advanced clay artist, these tips can help you create better results.
1. Keep Your Workspace Organized
- Use a clean, flat surface to work on your clay projects.
- Lay down a non-stick mat to prevent your clay from sticking.
- Keep your tools within easy reach to speed up your work process.
2. Maintain the Right Moisture
- Store your clay in an airtight container to avoid drying.
- Use a spray bottle to keep the clay soft and workable.
- Avoid overwatering to prevent clay from becoming too sticky.
3. Practice Consistent Thickness
- Use guide sticks or rolling pin rings while flattening your clay.
- Ensure evenly sized clay pieces to avoid imbalances when assembling.
4. Master Smoothing Techniques
- Use a wet sponge or damp fingers to smooth surfaces.
- Sand dried clay gently to remove imperfections before painting or glazing.
5. Handle with Care
- Always use clean hands when working with lighter clay to avoid dirt stains.
- Hold delicate pieces gently to avoid breaking or misshaping.
6. Focus on Details
- Use fine modeling tools to add intricate designs or textures.
- Pay attention to symmetry, especially for functional pottery.
7. Experiment with Colors
- Try mixing two or more colors to create unique shades for your project.
- Avoid painting or adding glaze until the clay is completely dry or fired.
8. Preheat Your Kiln or Oven
- When firing clay, make sure the kiln or oven is preheated to the desired temperature.
- Follow the clay’s specific temperature and time guidelines to prevent cracks.
9. Be Patient
- Allow clay to dry fully before firing or painting.
- Rushing the process may lead to warping or cracking issues.
10. Learn and Improve
- Observe skilled artists and learn from their techniques.
- Practice regularly to enhance your creativity and craftsmanship.
By following these tips and tricks, you can take your clay creations to a higher level. Attention to detail, correct handling, and consistent practice are keys to success.
Troubleshooting Common Clay Crafting Issues
Clay crafting can be a creative and fulfilling hobby. However, challenges and issues may arise. Understanding these problems and solutions will help you create better projects.
Cracking During Drying or Firing
- Cause: Uneven thickness or insufficiently mixed clay.
- Solution: Keep clay thickness consistent and knead thoroughly before starting any project.
Clay Sticking to Surfaces
- Cause: Working on porous or sticky surfaces.
- Solution: Use a non-stick mat or wax paper under the clay.
Uneven Baking or Firing
- Cause: Incorrect temperature or improper placement in the oven or kiln.
- Solution: Preheat the oven, verify temperature, and use a baking sheet for stability.
Formation of Air Bubbles
- Cause: Trapped air during molding.
- Solution: Knead the clay to remove air bubbles before shaping.
Fragile Clay Pieces
- Cause: Pieces are too thin or improperly attached.
- Solution: Pay attention to joints and use scoring and slip for better adhesion.
Uneven Paint or Glaze
- Cause: Rough surfaces or wet clay.
- Solution: Sand and clean dried clay before painting. Ensure clay is fully dry.
Clay Becomes Hard During Use
- Cause: Exposure to air for an extended time.
- Solution: Store unused clay in airtight containers or wrap in moist cloth.
Difficulty in Smoothing Clay
- Cause: Lack of proper tools or technique.
- Solution: Use a damp sponge or water to smooth surfaces evenly.
Warping During Drying
- Cause: Uneven drying conditions.
- Solution: Let the clay dry slowly, covered with plastic, to prevent uneven shrinkage.
Breakage After Finishing
- Cause: Weak structure or lack of proper curing.
- Solution: Use appropriate clay types and fire or bake based on instructions.
By knowing these solutions, you can overcome common hurdles in clay crafting. Practice these methods to enhance your skills and enjoy seamless crafting sessions.
Inspiration and Resources for Clay Artists
Keeping creativity alive and finding inspiration is crucial for every clay artist. Whether you are a beginner or an expert, tapping into different sources of inspiration can enhance your skills. Additionally, having access to valuable resources can guide you through your creative journey.
Sources of Inspiration
- Nature: Observe plants, animals, and natural patterns to spark creative ideas for your clay projects.
- Art Galleries and Museums: Visit exhibitions to study different art forms and traditional styles.
- Social Media Platforms: Follow artists on platforms such as Instagram and Pinterest for fresh ideas.
- Books and Magazines: Read books and craft magazines dedicated to pottery and clay art.
- Everyday Objects: Look at household items, architecture, or cultural designs for imaginative concepts.
Online Resources for Learning
- YouTube Tutorials: Explore video guides and step-by-step instructions for various clay techniques.
- E-Courses: Enroll in online classes focused on specific skills like sculpting, glazing, or pottery.
- Crafting Blogs: Follow top blogs for tips, project ideas, and new techniques.
- Social Forums: Join crafting forums to exchange ideas and discuss challenges with other artists.
- Online Communities: Participate in groups to connect with international clay artists and gain feedback.
Useful Tools to Boost Creativity
- Mobile Apps: Use design apps to create digital sketches of your projects.
- Clay and Pottery Kits: Purchase kits with all tools and materials for specific projects.
- Color Charts: Experiment with color palettes to bring unique aesthetics to your work.
- Mold Libraries: Invest in molds to achieve intricate patterns effortlessly.
Join Art Communities
- Workshops and Classes: Attend local clay crafting workshops to learn from experts.
- Craft Fairs and Events: Showcase your work and gain new ideas from fellow artists.
- Social Media Groups: Engage in discussions and share your progress for constructive critique.
Drawing inspiration and leveraging these resources will elevate your clay crafting. They will also keep your creativity flowing while refining your skills.
Conclusion: Start Your Clay Crafting Adventure
In conclusion, understanding what to make with clay opens the door to creativity and personal expression. From making simple beads to complex figurines, the projects available for beginners are endless. With patience and practice, your clay crafting skills will flourish, allowing you to create unique pieces that reflect your personality and style.
Armed with the right tools, inspiration, and a willingness to experiment, you can dive into the rewarding world of clay crafting. So gather your supplies, unleash your imagination, and start creating beautiful projects today! Happy crafting!


