Introduction
Kinetic sand is a fascinating sensory material that captivates both children and adults alike. Its unique properties allow it to flow and mold without the mess of traditional sand. Making kinetic sand is typically done with finely ground sand mixed with special polymers. However, if you’re wondering how to make kinetic sand without sand, you’ve come to the right place! This article will guide you through exciting alternatives that are not only fun but also safe for kids.
Characteristics and Benefits
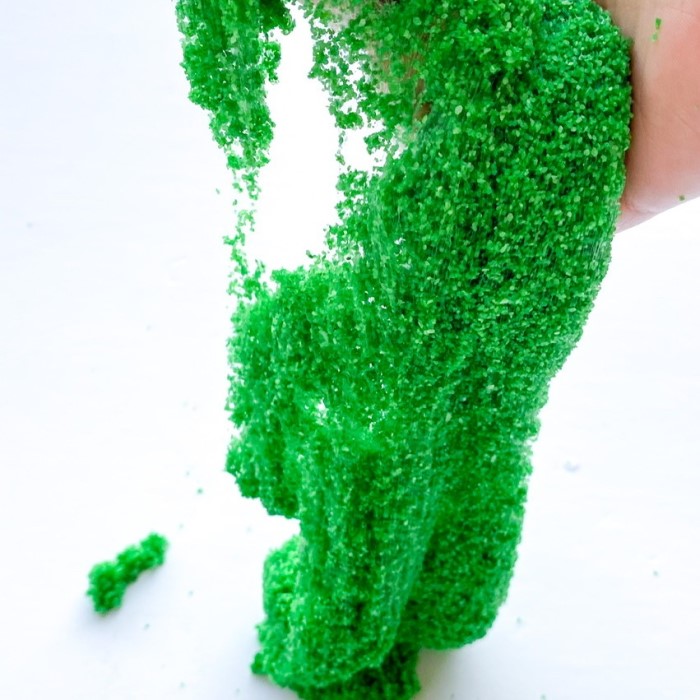
Kinetic sand is soft, stretchy, and easy to shape. Its texture is smooth and therapeutic. It encourages creativity and sensory play for children. Adults use it for relaxation and stress relief. Unlike other materials, it doesn’t crumble or leave a mess. Kinetic sand is reusable and stays moist for a long time, making it durable. Homemade versions are chemical-free and safer for kids.
Why Avoid Using Regular Sand?
Regular sand often contains impurities like dirt, debris, or harmful particles. It may pose health risks for children. Fine particles in sand can irritate skin or eyes. Sand might also harbor bacteria when mishandled. Using alternative, safe ingredients eliminates these risks. It also ensures a cleaner and more sustainable solution for making kinetic sand.
Alternative Ingredients
How to make kinetic sand without sand? Creating kinetic sand without regular sand is easy with substitute materials. The right base material and safe additives are key to achieving the perfect texture.
Choosing the Right Base Material
Finding a good alternative to sand ensures the best results. Consider the following options:
- Cornstarch: It provides softness and a smooth texture for kinetic sand. It is also widely available.
- Flour: This is a budget-friendly choice that shapes well and has a soft feel.
- Baking Soda: It adds a grainy texture similar to sand and is easy to obtain.
- Oat Flour: For those seeking eco-friendly options, oat flour is a biodegradable base material.
Each of these substitutes mimics the properties of sand while being safer and cleaner to use.
Safe and Non-Toxic Options
When making kinetic sand for children, prioritize safety. Use materials that are non-toxic and child-friendly:
- Baby Powder: It is soft, safe for children, and mimics the texture of sand.
- Shredded Coconut: A natural and safe choice, it adds texture and is biodegradable.
- Cream of Tartar: Often used in play dough recipes, it helps to create a moldable consistency.
- Epsom Salt: If you want a coarser texture, Epsom salt can be a safe and durable option.
By choosing safe and eco-friendly options, you ensure that your DIY kinetic sand is both fun and safe to play with. For the best results, test different materials to find the ideal combination.
Step-by-Step Guide to Making Kinetic Sand Without Sand
Making kinetic sand without sand is simple and fun. Follow this step-by-step guide to create your own safe and unique version at home.
Necessary Tools and Materials
Before starting, gather the following tools and materials:
- A mixing bowl for combining ingredients.
- Measuring cups and spoons for accuracy.
- A spatula or spoon for stirring.
- Cornstarch, flour, or baking soda as the base material.
- Baby powder or cream of tartar for texture adjustment.
- Water or an oil-based liquid like vegetable oil.
- Food coloring (optional) for added color.
- Glitter or sparkles (optional) for decorative effects.
Having all tools ready ensures a smooth preparation process.
Mixing the Ingredients
Follow these simple steps to mix the ingredients:
- Add 2 cups of your chosen base material into the mixing bowl.
- Add 1/2 cup of baby powder or a similar non-toxic additive.
- Slowly add 1/4 cup of water or oil while mixing continuously.
- If you want colored sand, mix in a few drops of food coloring.
- Mix the ingredients thoroughly until the texture becomes soft and moldable.
Adjust the amount of liquid as needed for the right consistency.
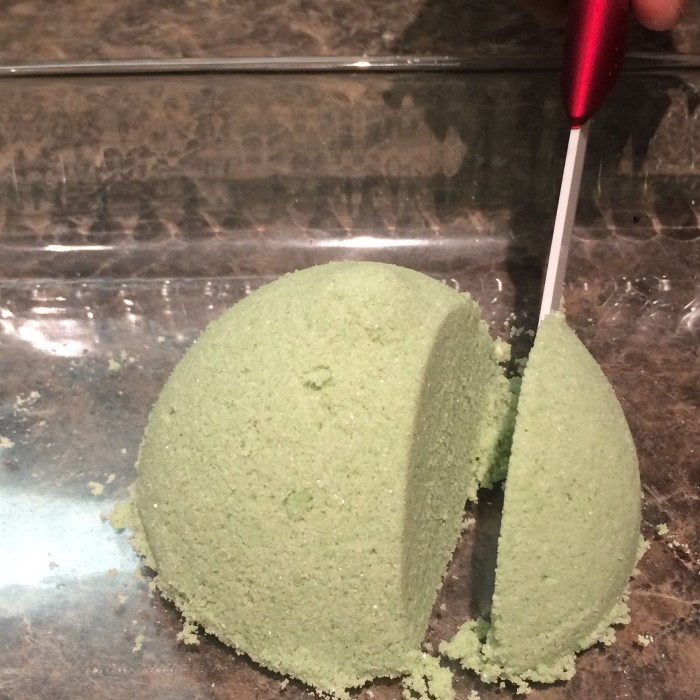
Achieving the Perfect Consistency
To make your kinetic sand perfect, ensure the consistency is just right:
- Test the mixture by molding it with your hands.
- If it crumbles, add a few more drops of water or oil.
- If it feels too sticky, sprinkle in a little more of the base material.
- Repeat the adjustments until the sand sticks together but doesn’t leave residue on your hands.
Once you achieve the ideal texture, your kinetic sand is ready for use. Enjoy customizing and playing with your creation!
Tips for Customizing Your Sand
Customizing your DIY kinetic sand makes it more enjoyable and personal. Add fun elements like colors, sparkles, or scents for a creative touch. These additions enhance sensory play and make the experience unique for both kids and adults.
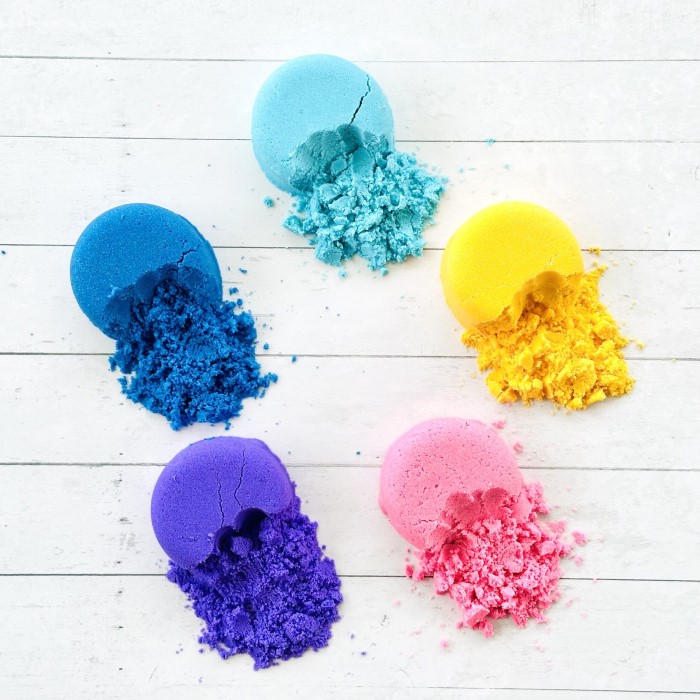
Adding Colors and Sparkles
Colors and sparkles can make your kinetic sand visually appealing. Here’s how to enhance it:
- Use Food Coloring: Add a few drops of food coloring to the mixture. Mix thoroughly for an even tone. Choose vibrant colors to make it stand out.
- Combine Colors: Try mixing different shades to create unique tones. Kids will love experimenting with color blends.
- Add Glitter or Sparkles: Sprinkle glitter into your kinetic sand for a shiny, eye-catching effect. Use different sizes or colors of glitter for variety.
- Be Cautious: Add sparkles in moderation to avoid making the sand messy or overwhelming.
Customizing with these elements boosts creativity and provides an exciting play experience.
Incorporating Scent for Sensory Play
Adding scent to your kinetic sand enhances sensory play for both kids and adults. Follow these tips:
- Choose Safe Scents: Use non-toxic, skin-safe essential oils like lavender, lemon, or peppermint. Avoid harsh chemicals.
- Start Small: Add 1-2 drops of essential oil to your sand. Mix well and adjust as needed.
- Match Colors and Scents: Combine scents with colors for thematic sand, like green with mint or yellow with lemon.
- Experiment: Blend different safe scents to create unique aromas. Make themed sensory sands, such as “spa” or “tropical.”
Personalizing your DIY kinetic sand with colors, sparkles, and scents makes it special. These customizations encourage creativity and sensory enjoyment while crafting and playing.
Storage and Maintenance
Proper storage and maintenance of your DIY kinetic sand ensure long-term usability and enjoyment. Follow these tips to keep your creation fresh and functional.
How to Store Your DIY Kinetic Sand
- Use an Airtight Container: Place your kinetic sand in a sealed container. This prevents it from drying out.
- Keep Away From Moisture: Store it in a dry area to avoid excessive moisture, which can alter its texture.
- Room Temperature: Keep the sand at room temperature. Avoid storing it in hot or cold places.
- Avoid Direct Sunlight: Exposure to sunlight can cause the colors to fade or change the texture.
- Clean Storage Area: Ensure the container and storage area are clean to avoid contamination.
Tips to Keep It Fresh and Usable
Regular Inspection:
-
- Make it a habit to check the kinetic sand frequently. This ensures you catch any changes that could affect the quality.
- Look for clumps or hard spots that could form due to moisture loss or storage conditions. If you find any, gently break them apart.
- Assess the overall texture of the sand; it should be soft and easily moldable.
If you notice any significant changes, take action to maintain the sand’s ideal consistency.
Add Moisture if Needed:
-
-
- Pay attention to how the sand feels during play. If it seems dry and crumbly, it may require additional moisture to restore its pliability.
- To rehydrate the sand, add just a few drops of water or a small amount of vegetable oil. Be careful not to overdo it, as too much moisture can make the sand overly sticky.
- Mix the moisture in thoroughly to ensure an even distribution throughout the sand. This will help restore its original texture.
-
Clean Hands:
-
- Before engaging with the sand, wash your hands thoroughly with soap and water. This practice helps prevent the introduction of germs or dirt into the sand.
- Encourage children to follow the same hygiene routine, reinforcing good practices for cleanliness during playtime.
- Consider using hand sanitizer if washing facilities are not readily available, though washing with soap is preferred.
Avoid Mixing with Dirt or Debris:
-
- Set up a designated play area that is free from dirt and debris to protect the quality of your sand.
- Explain to children the importance of keeping the sand clean and avoiding the introduction of outside materials.
- Use a dedicated container or trough for sand play, minimizing contact with other outdoor elements.
Refresh Texture:
-
- If you notice that the kinetic sand has begun to lose its moldability and is no longer easy to shape, it’s time to refresh its texture.
- Add a small amount of the base material (such as more flour or a similar ingredient you used in the original recipe).
- Mix this new ingredient in carefully until the sand reaches a consistent, moldable texture once again.
- Regularly refreshing the texture will help maintain the sand’s fun, tactile properties for longer playability.
By storing your DIY kinetic sand properly and maintaining its quality, you can enjoy a fun and mess-free experience for a long time!
Benefits of Homemade
Creating your own kinetic sand at home has several advantages. It is safe, eco-friendly, and affordable. Additionally, making sand provides a fun and engaging experience for all ages.
Safe for Kids and Environmentally Friendly
Homemade kinetic sand is non-toxic and safe for children. Using natural ingredients ensures no harmful chemicals are involved. This reduces health risks, such as skin irritation or respiratory issues caused by harmful particles.
Environmentally friendly options like oat flour or shredded coconut reduce waste. These biodegradable materials are kind to nature and promote sustainability. By avoiding regular sand, you eliminate impurities like dirt and microbes, keeping the sand clean and hygienic.
This makes homemade kinetic sand a safe and sustainable play material. It will provide peace of mind for parents and caregivers.
Cost-Effective and Fun Activity
Making kinetic sand at home is budget-friendly. The ingredients like cornstarch, flour, and baby powder are affordable and easily available. This saves money compared to buying pre-made kinetic sand from stores.
Creating kinetic sand is also an enjoyable activity. It encourages creativity and teamwork, making it perfect for family time or group projects. Children can participate in mixing, coloring, and decorating the sand, turning it into an interactive learning experience.
Homemade sand can be customized to suit preferences. Add colors, scents, or sparkles for unique creations. This makes the process not only fun but also educational. It improves sensory skills and promotes imaginative play.
Overall, making sand at home is economical, engaging, and rewarding, ensuring hours of safe and creative entertainment.
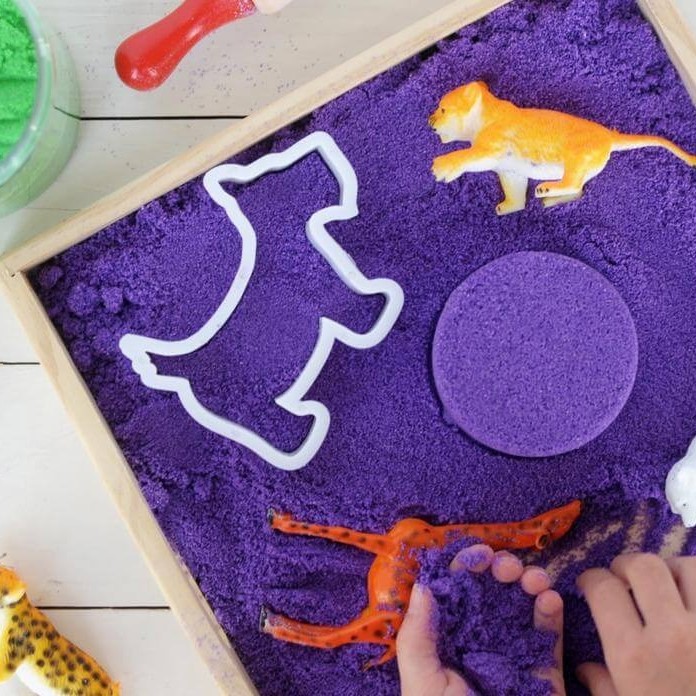
Fun Activities to Try with Your DIY Sand
DIY kinetic sand is not just a fun crafting project but also offers engaging activities for kids and adults alike. Its versatile properties inspire creativity and learning, making it ideal for various applications.
Creative Play Ideas
- Shape and Mold Creations: Use molds or your hands to create shapes and figures. Kids can mold animals, letters, or anything their imagination leads them to. This activity enhances motor skills and creativity.
- Sand Art: Flatten the sand to create designs or patterns. Introduce tools like toothpicks to fine-tune details. Add sparkles for more vibrant art pieces.
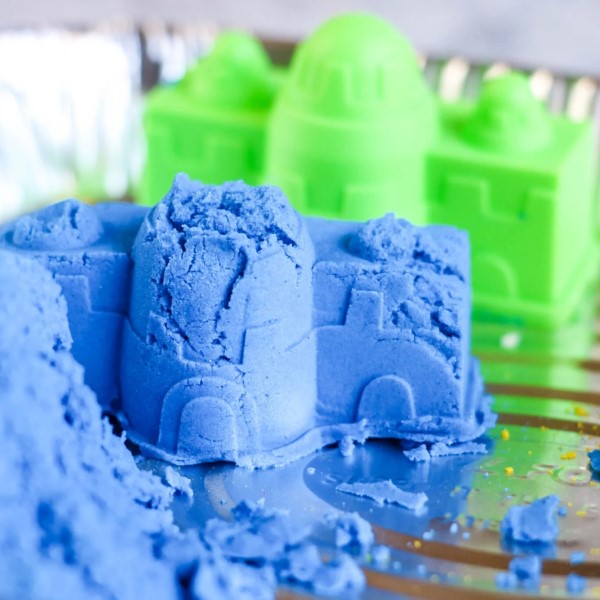
- Mini Scenery Projects: Build landscapes like tiny mountains, castles, or gardens. Incorporate toys like miniature characters or cars for imaginative play.
- Hide-and-Seek Objects: Bury small toys or items in the sand and challenge others to find them. This is a sensory exploration game that also improves problem-solving skills.
- Relaxation Play: Adult users can squeeze, press, and stretch the sand for stress relief. Its smooth texture is therapeutic and calming.
Educational Applications
- Letter and Number Recognition: Shape letters and numbers with the sand. Ask children to spell words or count using their creations.
- Science Lessons: Teach properties like solids and liquids by showing how kinetic sand flows and molds. Compare it to regular sand and discuss differences.
- Art Projects: Use colored sand to design creative artworks. Encourage kids to express their ideas uniquely using different shades.
- Teamwork Skills: Organize group activities like building large structures. These tasks promote collaboration and social skills.
- Story Creation: Ask kids to set up scenes with molded characters. Let them narrate stories based on their designs. This improves storytelling abilities and boosts imagination.
DIY kinetic sand is more than just a plaything. It invites creativity, learning, and relaxation. By exploring these activities, you can enjoy limitless fun while harnessing its potential for skill-building and educational growth.
Conclusion
Creating kinetic sand without sand opens up a world of possibilities for children and caregivers alike. From flour and oil to cornstarch and conditioner, these alternatives provide sensory-rich experiences that are both enjoyable and educational.
In summary, understanding how to make kinetic sand without sand presents an exciting opportunity for creativity and exploration. Encourage your kids to dive into these recipes and discover the joy of sensory play while crafting their very own kinetic sand. Gather your ingredients today, and start the adventure of making memorable, fun experiences for your kids!


