Introduction
Crafting has always been a fantastic way to express creativity, and glue paper mache is among the most enjoyable and versatile crafting techniques. This method is perfect for artists of all ages, providing endless possibilities for creating unique projects. In this article, we will explore a quick and easy glue paper mache recipe that all crafting enthusiasts can try at home. Whether you’re working on school projects, home decorations, or simply looking for a fun activity with friends or family, this recipe will guide you through every step.
What is Paper Mache?
Paper mache, which translates to “chewed paper” in French, is a crafting technique that involves using paper and a binding agent to create three-dimensional objects. This method is popular among artists and crafters due to its affordability and accessibility.
- Materials Used: Traditionally, paper mache involves strips of newspaper dipped in a mixture of flour and water. However, glue has become a preferred alternative for its durability and ease of use.
- Why Use Glue: Glue provides a stronger bond than flour paste and dries faster, allowing for quicker project completion. It also creates a smoother finish, making it suitable for a variety of artistic endeavors.
Quick and Easy Glue Paper Mache Recipe
To get started on your crafting journey, here’s a straightforward glue paper mache recipe that anyone can follow:
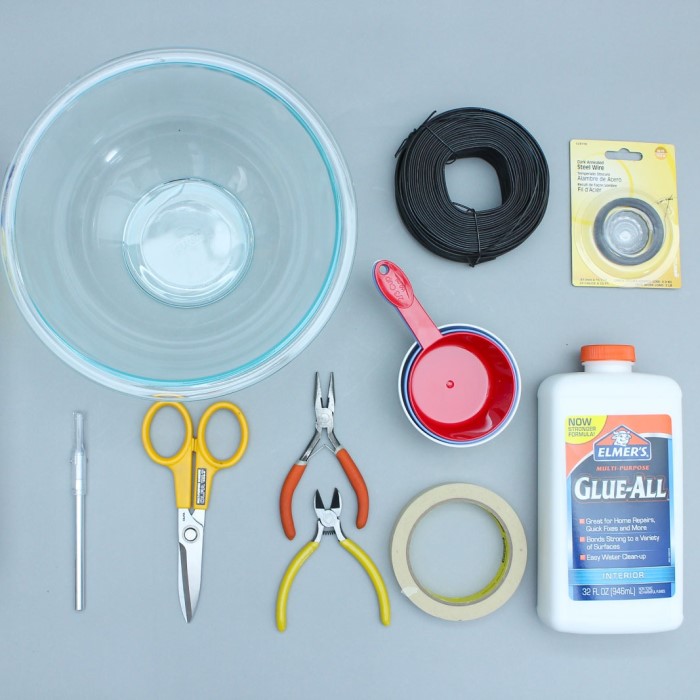
Ingredients Needed
- White School Glue or PVA Glue: This serves as the primary adhesive.
- Water: A key component for diluting the glue to create a workable consistency.
- Torn Paper: You can use newspapers, colored paper, or tissue paper, depending on your project.
- A Mixing Bowl: For combining glue and water.
- A Paintbrush or Sponge: For applying the glue mixture to your paper strips.
Step-by-Step Instructions
- Prepare Your Workspace: Begin by setting up a clean, clutter-free workspace. Cover the area with old newspaper or a plastic sheet to catch any spills.
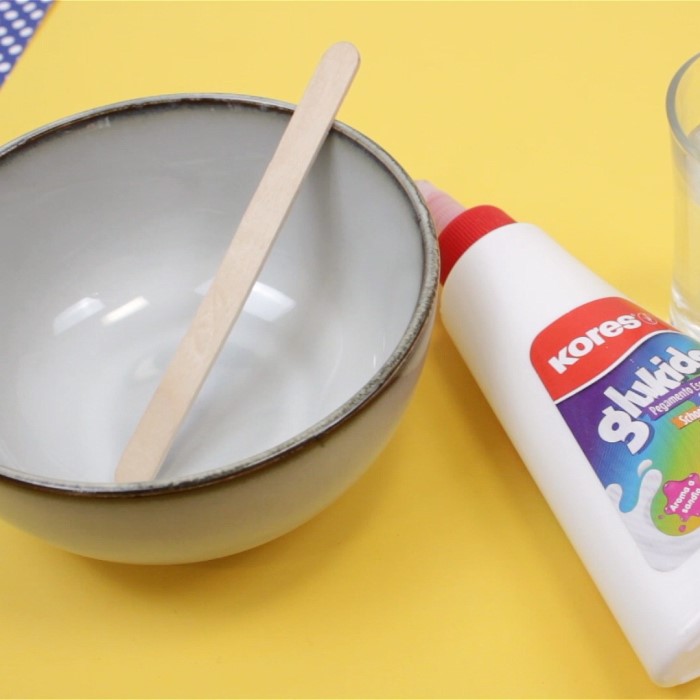
- Mix the Glue and Water: In a mixing bowl, combine one part white glue with one part water. Stir the mixture until it reaches a smooth consistency. Adjust the ratio as needed based on how thick or thin you want the paste to be.
- Tear the Paper: Use your hands to tear paper into strips rather than cutting them. This creates softer, blended edges that will adhere better when layered.
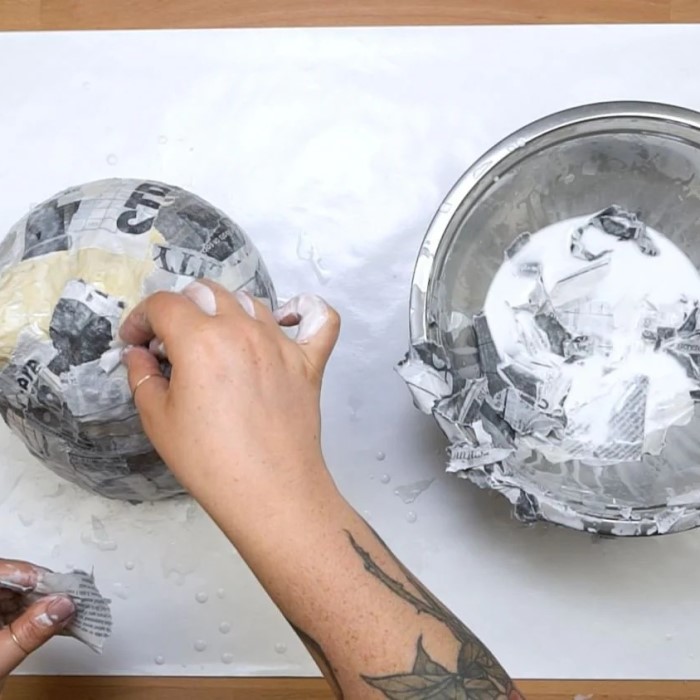
- Dip the Paper Strips: Take each torn paper strip and dip it into the glue mixture. Allow any excess glue to drip off before applying the strip to your chosen mold or structure.
- Layering: Begin layering the glue-soaked strips over your mold. Aim for three to four layers for optimal strength. Ensure that the strips are smooth and free of air bubbles.
- Let It Dry: Allow the project to dry completely. Depending on the humidity and thickness, this can take several hours or overnight. Ensure it’s thoroughly dry before removing it from the mold or adding any details.
- Decoration: Once dried, unleash your creativity! Paint, decorate, and embellish your project as desired. This step is where your artistic vision can shine.
Benefits of Glue Paper Mache
Using a glue paper mache recipe offers numerous advantages for crafters. Here are some reasons why you’ll love this crafting technique:
Ease of Use
- Simplicity of the Method: One of the standout features of the glue paper mache technique is its straightforward nature. The process involves basic steps that are easy to follow, making it suitable for crafters ranging from beginners to experienced artisans.
- Accessibility for All Ages: This crafting method is designed to be accessible for everyone, regardless of age. Even young children can participate, provided they have appropriate supervision. This inclusivity makes glue paper mache a wonderful choice for family activities, enabling parents and children to bond over creativity.
- Ideal for Group Activities: Given its ease of use, glue paper mache is ideal for group settings such as classrooms, camps, and crafting workshops. In these environments, participants can collaborate on projects, share ideas, and enjoy the process together.
- Minimal Setup Required: Unlike more complex art forms that require extensive tools or equipment, glue paper mache needs only a few basic materials and a safe work area. This ease of setup invites even those new to crafting to jump right in and explore their creative side.
Affordability
- Cost-Effective Materials: One of the significant advantages of paper mache projects is the affordability of materials. Common household items such as newspapers, scrap paper, and glue can be easily sourced, making this craft budget-friendly.
- Minimizing Waste: By utilizing leftover paper and glue, crafters can minimize waste while promoting sustainable crafting practices. This conscientious approach appeals to environmentally-aware individuals and teaches children the importance of resourcefulness.
- Project Variety at Low Cost: Because of the low costs associated with creating paper mache projects, students and hobbyists can undertake multiple projects without financial strain. This flexibility encourages experimentation and creativity, allowing for the development of diverse skills.
- Accessibility for Schools and Community Centers: The affordability of materials makes paper mache an excellent choice for schools and community centers. These institutions can organize crafting sessions or workshops without the need for significant budget allocations, enabling more kids to participate.
Versatility
- Wide Range of Applications: The glue paper mache technique lends itself to an extensive variety of projects. Artists can create everything from whimsical masks to intricate sculptures, ensuring that there is something for everyone.
- Suitable for Themed Projects: Whether preparing for holidays, birthdays, or special events, paper mache can be adapted to meet a range of themes. For example, crafters can create festive decorations or themed displays, personalizing creations to align with specific occasions.
- Functional Items: Beyond just art, paper mache can be used to craft functional items like decorative bowls or storage containers. This versatility allows crafters to turn their artistic gifts into practical home decor.
- Adaptable for Skill Levels: Glue paper mache can be adapted to suit different skill levels. Beginners can take on simple forms and shapes, while more advanced crafters can explore complex designs and techniques, making it appealing to a broad audience.
Enhancing Fine Motor Skills
- Practical Engagement for Younger Crafters: Crafting with paper mache requires various physical tasks such as tearing paper, dipping it into glue, and layering it on a mold. These activities actively engage children and promote hands-on learning.
- Improvement of Hand-Eye Coordination: As children manipulate materials and apply glue smoothly, they develop their hand-eye coordination. Such coordination is essential for completing many everyday tasks, making this crafting technique beneficial beyond artistic expression.
- Strengthening Grip and Dexterity: The act of tearing strips of paper helps young crafters strengthen their grip and finger dexterity. These skills are particularly important for early writing and drawing abilities.
- Incorporating Educational Elements: Educators can use paper mache as a tool to teach various subjects, such as physics (understanding weight and balance in sculptures), art (studying textures), and environmental science (using recycled materials). This multi-disciplinary approach enhances the learning experience while fostering fine motor skills.
Creative Paper Mache Project Ideas
In addition to the basic technique, here are some fun project ideas to inspire your crafting journey:
- Masks: Create fun party masks for events or carnivals. Personalizing the designs can make them more unique and engaging.
- Sculptures: Use various molds or create free-form sculptures. Experimenting with shapes and sizes can produce fascinating results.
- Decorative Bowls: Paper mache bowls can become stylish organizers or decorative displays. Customize them with colors and patterns that match your decor.
- Seasonal Decor: Design paper mache ornaments or figures for various holidays, adding a personal touch to your decorations.
FAQs About Glue Paper Mache
How do you make paper mache with glue?
To make paper mache with glue, mix equal parts white glue and water in a bowl. Tear the paper into strips, dip them into the glue mixture, and layer them over your chosen mold or structure.
What is the best glue mix for paper mache?
The best glue mix for paper mache typically consists of equal parts of white school glue and water. This mixture allows for optimal adhesion and smooth application.
What is the ratio of glue to water for paper mache?
For most projects, a common ratio is one part glue to one part water. However, you can adjust this ratio to achieve your desired consistency, depending on the project requirements.
Can you use Elmer’s glue for paper mache?
Yes, you can use Elmer’s glue for paper mache! It is a popular choice among crafters due to its strong adhesive properties and ease of use.
Conclusion: Embark on Your Glue Paper Mache Journey
In conclusion, the glue paper mache recipe is a fantastic and versatile crafting technique that is quick and easy for all enthusiasts. Whether you’re creating for fun or for specific projects, this method will allow you to explore your creativity.
Through this comprehensive guide, you can confidently embark on various exciting paper mache projects. So gather your materials, follow the steps, and let your imagination lead the way! With glue paper mache, the possibilities are endless. Happy crafting!


