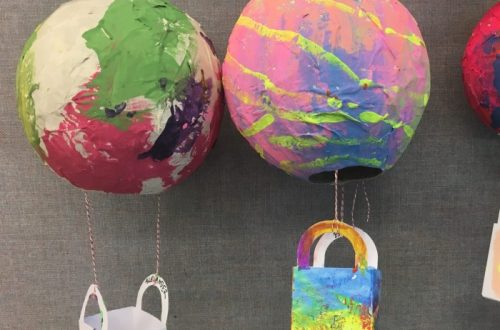
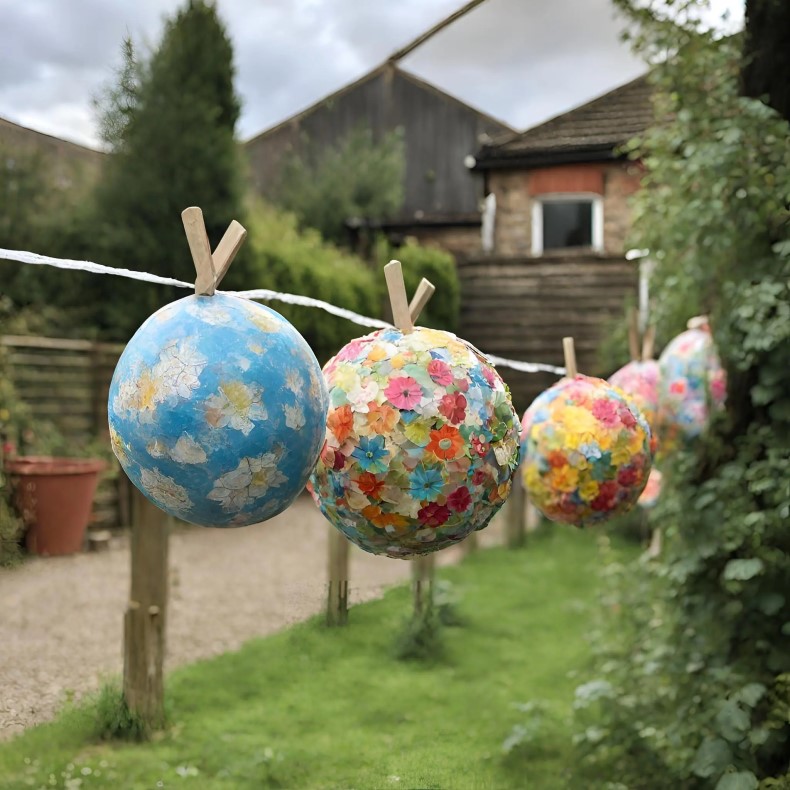
Understanding Paper Mache and Its Drying Process
When embarking on a paper mache project, one of the most common queries is, how long does it take for paper mache to dry? The answer isn’t straightforward, as several factors influence drying time. From the type of materials used to environmental conditions, every aspect plays a role. In this article, we will delve into the intricacies of paper mache drying, including the various factors at play and tips for effectively managing the drying process to ensure your projects turn out beautifully.
Factors That Affect Paper Mache Drying Time
How long does it take for paper mache to dry? Paper mache drying time can differ based on various factors. Understanding these elements is crucial for optimal results.
Type of Adhesive Used
The adhesive plays a key role in drying time. Some adhesives dry faster than others. For example, PVA glue dries quicker than wallpaper paste. If using flour-based paste, expect longer drying times. Always check the label for drying information.
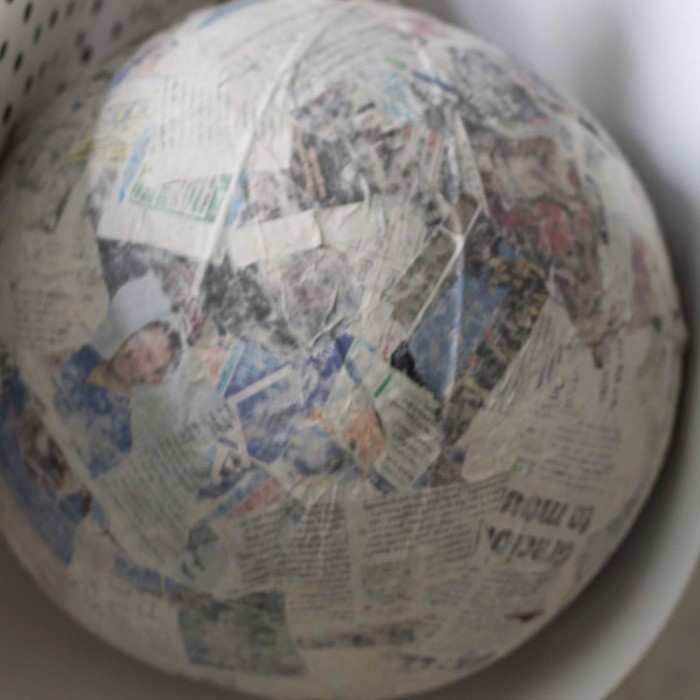
Thickness of Paper Layers
Thicker layers need more time to dry properly. Multiple layers increase drying time drastically. Thin layers dry faster but may require more applications. Ensure layers are evenly applied for consistent drying.
Environmental Conditions (Temperature and Humidity)
Warm temperatures speed up the drying process. High humidity slows it down significantly. A cool, damp room can cause delays. Use a dry, warm area to improve drying results.
Size and Complexity of the Structure
Larger structures take longer to dry than small, simple shapes. Complex shapes with crevices and folds trap moisture, delaying drying. Keep this in mind while working on intricate designs. Adjust expectations based on the project’s size and details.
Typical Drying Times for Paper Mache Projects
The drying time for paper mache can vary greatly. Several factors influence how long it takes. Understanding these times helps plan your project effectively.
Understanding Average Drying Times
Most paper mache projects take 24 to 48 hours to dry completely. This time frame depends on factors like adhesive used, thickness of layers, and environmental conditions. Thin projects with fewer layers dry faster, while larger, thicker designs take longer. Flour-based pastes generally dry slower than store-bought glues like PVA. Warm temperatures and low humidity help speed up drying.
For larger, more intricate structures, expect drying time to extend beyond two days. If crevices or folds are present, they may require extra drying time due to trapped moisture. Checking dryness at intervals can ensure no damp spots remain.
Quick Drying Techniques for Paper Mache
Speeding up drying can save time on urgent projects. Use fans or hairdryers to circulate air around the piece. Keep the airflow consistent and avoid overheating, which can cause warping or cracking. Placing paper mache in direct sunlight or warm, dry spaces also accelerates results. However, avoid areas with high humidity to prevent drying delays.
Another option is reducing the thickness of layers. Applying thin layers allows faster drying and more control over the final texture. For adhesive, choosing quick-drying options like PVA glue minimizes waiting time compared to flour-based pastes.
Remember, while speeding the process, ensure the structure dries evenly. Uneven drying can lead to mold or fragile spots. Always monitor drying closely for optimal results.
Best Practices for Ensuring Proper Drying
How long does it take for paper mache to dry? Proper drying ensures the longevity and quality of your paper mache project. Follow these best practices to avoid common issues like mold and cracking.
How to Prevent Mold and Cracking
Mold can ruin your paper mache. Cracking weakens its structure. Prevent these problems with the steps below:
- Use Thin Layers of Paper Mache: Thin layers dry faster and evenly, minimizing moisture-related issues.
- Keep the Area Dry and Warm: Choose a warm, low-humidity drying space to reduce mold risk.
- Ensure Proper Air Circulation: Position fans for consistent airflow to prevent stagnant moisture buildup.
- Monitor Layer Thickness: Thick layers trap moisture, leading to mold. Apply evenly and avoid overdoing it.
- Check for Crevices: Dry hard-to-reach areas thoroughly as folds can retain moisture.
- Seal the Structure Post-Drying: Once dry, use a sealant or varnish to protect against future cracking.
Tips to Test If Paper Mache Is Fully Dry
Ensuring your paper mache is completely dry avoids hidden issues. Simple tests help guarantee dryness:
Touch and Feel
- Surface Check: Gently touch the surface of your paper mache project to assess its dryness.
- Firmness Indicator: Dry paper mache should feel firm to the touch. If it is sticky or tacky, it likely needs more time to dry.
- Texture Feedback: The texture should be smooth and solid, which are good indicators that the drying process is complete.
Inspect Color Changes
- Color Assessment: Observe the color of your paper mache as it dries. Areas that are fully dry will appear lighter in color.
- Dark Spot Identification: Look for darker spots on the surface; these indicate the presence of moisture and that those areas are not yet dry.
- Visual Cue for Moisture: The contrast in colors can serve as a reliable visual cue for determining which parts may need additional drying time.
Knock or Tap Test
- Auditory Assessment: Gently knock or tap on your paper mache project to evaluate its dryness through sound.
- Hollow Sound Indicator: A hollow or echoing sound suggests that the piece is dry, as moisture inside dampens the sound.
- Dull Thud Response: Conversely, if you hear a dull thud, it may indicate that there are still moist sections within the project that require more time to dry.
Weigh the Object
- Weight Comparison: Weigh your paper mache before and after the drying process to assess its dryness accurately.
- Weight Loss Indicator: Dry paper mache should weigh less than its wet counterpart, making weight a useful gauge for moisture levels.
- Track Changes: Noting the weight difference can help you understand how much moisture has been removed during the drying process.
Use a Moisture Meter
- Accurate Measurement: If you have access to a moisture meter, utilize it for precise readings, particularly on more complex shapes where drying can vary.
- Depth Assessment: A moisture meter can penetrate deeper than just the surface, providing better insight into any moisture trapped inside the project.
- Throwing the Guesswork: This tool takes the guesswork out of determining whether your paper mache is fully dry, ensuring that your final product is sturdy and ready for use.
Always test during intervals to ensure complete drying. This prevents mold and structural shrinking.
Accelerating Paper Mache Drying Process
Speeding up the drying time can be crucial for urgent paper mache projects. Using different techniques and careful planning, you can reduce the drying period while keeping the structure intact. Here are some proven methods to accelerate the process effectively.
Using Fans or Hairdryers
Fans and hairdryers are excellent tools to hasten paper mache drying. They work by increasing airflow around your project.
- Place a Fan Nearby: Position a fan to blow air gently over the paper mache. Avoid placing it too close.
- Use a Hairdryer Cautiously: Set the dryer to a low or medium setting. Keep it moving to prevent overheating.
- Even Air Circulation: Ensure all sides of the paper mache receive airflow. Rotate the structure if needed.
- Avoid High Heat: Excessive heat can cause warping or cracking. Maintain a balance between warmth and airflow.
Placement in Sunlight or Dry Areas
Sunlight and dry environments can greatly enhance drying efficiency by naturally removing moisture.
Direct Sunlight Placement
- Natural Warmth: Position your paper mache project in an area that receives direct sunlight. This helps provide the warmth necessary for effective drying.
- Ventilation Benefits: Sunlight also encourages better airflow around the project, helping to disperse moisture more quickly.
- Improved Drying Efficiency: Utilizing the sun’s rays can significantly expedite the overall drying process.
Use a Warm, Low-Humidity Space
- Minimize Humidity Levels: Choose a drying area that has low humidity to prevent moisture from prolonging the drying time of your paper mache project.
- Ideal Temperature: A warm environment is preferable as it further assists the drying process and ensures a solid finish.
- Consistent Conditions: Aim for frequent checks on the humidity and temperature of the surroundings to maintain optimal drying conditions.
Monitor Continuously
- Check for Overheating: Regularly inspect your paper mache for signs of overheating, which can cause structural damage, such as cracks or warping.
- Prevent Cracking: Be vigilant as direct sunlight can sometimes be too intense; it’s better to be proactive in order to catch any issues early.
- Adjust Placement if Necessary: If you notice overheating, consider relocating your project to a cooler, shadier spot to prevent damage.
Elevate the Structure
- Promote Airflow: Place your paper mache on a raised surface, like a table or drying rack, to enhance airflow underneath the project.
- Avoid Contact with Surfaces: Elevating the structure prevents it from sticking to or absorbing moisture from the surface below.
- Improved Drying Efficiency: Air circulation beneath the piece can facilitate quicker and more even drying.
Rotate Regularly
- Ensure Even Exposure: Periodically turn your paper mache project to guarantee that all sides receive equal amounts of sunlight or dry air.
- Prevent Uneven Drying: Regular rotation helps to avoid hot spots or areas that may remain damp longer than others.
- Maintain Structural Integrity: By promoting even drying, you help maintain the overall strength and durability of the finished piece.
By following these methods, you can significantly shorten how long it takes for paper mache to dry. Always prioritize balanced drying to maintain the project’s quality and structural integrity.
Common Mistakes to Avoid During Drying
Avoiding common mistakes ensures better results when drying paper mache projects. Learn these pitfalls to achieve success.
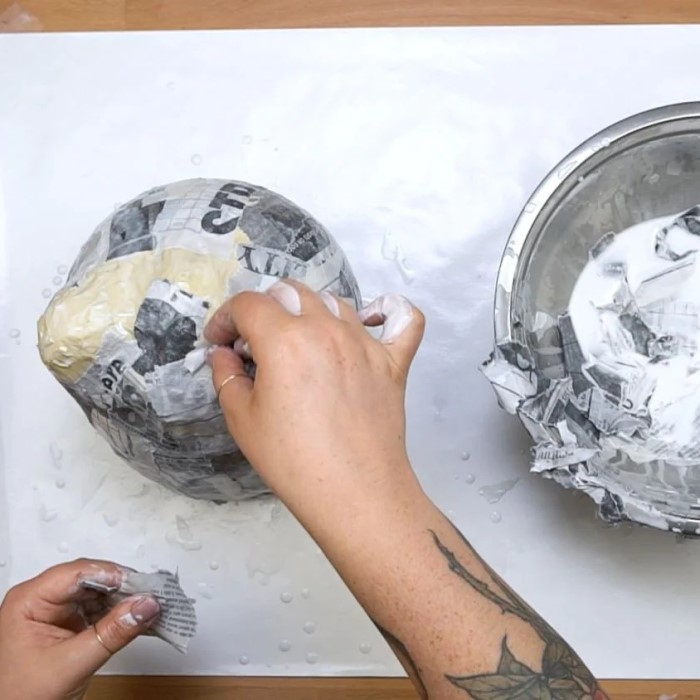
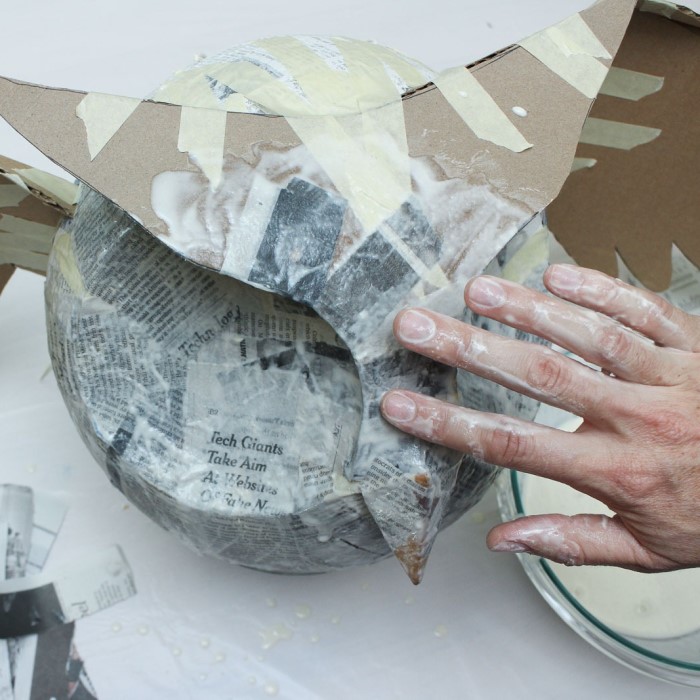
Overloading With Layers Too Quickly
Adding too many layers at once extends drying time significantly. Moisture gets trapped between thick layers, leading to uneven drying. This increases the risk of mold or structural weakening. To avoid this:
- Apply one thin layer at a time.
- Let each layer dry fully before adding the next.
- Check for dryness between applications by touching or tapping.
Starting with thin layers also makes the project easier to manage and build upon. Patience is key for layered paper mache projects.
Ignoring Drying Conditions
Ignoring environmental conditions can cause major drying problems. A damp or cool space slows drying and attracts mold. Conversely, high heat can cause cracking. To prevent this:
- Work in a warm, dry room with good ventilation.
- Use tools like fans to improve airflow.
- Avoid high-humidity areas such as basements.
- Monitor the project throughout the drying process.
Proper attention to drying environment ensures even and timely results. It also protects your project from unexpected damage.
By steering clear of these mistakes, you’ll ensure your paper mache dries efficiently and maintains its quality.
FAQs About Paper Mache Drying
Can You Paint Paper Mache Before It’s Dry?
No, you should not paint paper mache before it is fully dry. Painting damp paper mache traps moisture inside. This can lead to mold growth or cause the structure to weaken over time. Additionally, wet areas may prevent paint from adhering properly, ruining your design.
Always let each layer of paper mache dry completely before painting. Use tips like touching the surface or tapping to ensure dryness. A fully dry structure feels firm and produces a hollow sound when tapped.
If you are in a hurry, use quick-drying techniques such as fans or hairdryers. However, monitor the drying to avoid issues like cracking. Once dry, you can safely apply paint for a polished finish.
Does Weather Alter Drying Time?
Yes, weather conditions significantly impact paper mache drying time. High humidity slows down the process as it adds moisture to the air. This environment makes it harder for your project to release water and dry.
On the other hand, warm and dry conditions accelerate drying. Placing your work in a warm room with good airflow speeds up results. Sunlight also helps, but avoid overheating to prevent cracking.
If you live in a humid area, use tools like fans or dehumidifiers. These help combat moisture in the air. Always adjust your drying plans based on the weather to achieve the best results.
Conclusion: Mastering Your Paper Mache Projects
In conclusion, understanding how long does it take for paper mache to dry is essential for successful crafting. By considering the factors that affect drying time and applying practical tips to expedite the process, you will enhance your experience and outcomes in paper mache projects. Patience, proper planning, and the right techniques will lead to beautiful creations that reflect your creativity. So gather your supplies, follow the guidelines, and immerse yourself in the wonderful world of paper mache crafting! Happy creating!