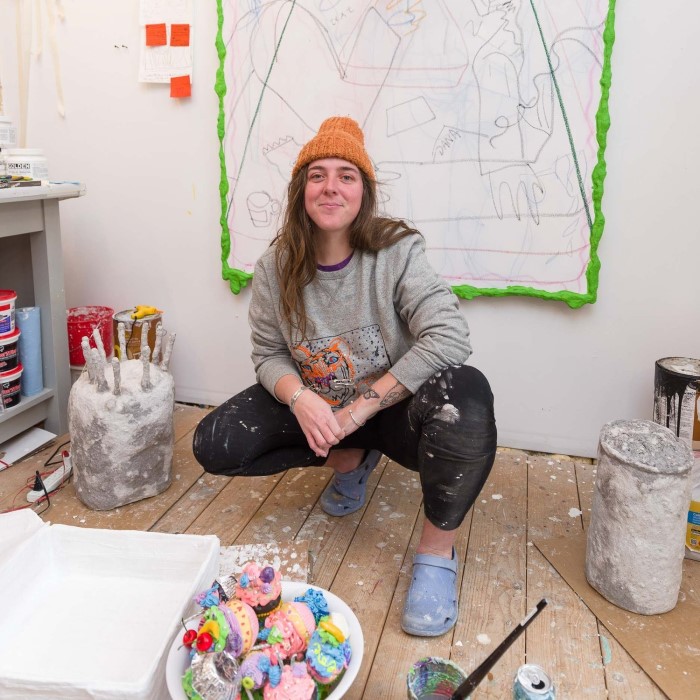
Introduction: The Art of Paper Mache
Do you want to explore a fun and creative craft? If so, learning how to make paper mache with glue and newspaper is an excellent choice! This classic technique uses simple materials to create sturdy and artistic objects. Paper mache has been used for centuries to make sculptures, decorative pieces, and even piñatas. By using glue and newspaper, you can engage in a rewarding creative process.
This article will guide you through the steps necessary to master this art form. We will provide essential tips, techniques, and some common FAQs, including how to make paper mache with just glue and whether Elmer’s glue is an acceptable option for this type of project. With our guidance, you will be well on your way to creating beautiful transformations of everyday materials!
What is Paper Mache?
Definition and History
Paper mache (or papier-mâché) is a French term that means “chewed paper.” This craft involves bonding together pieces of paper using a paste, usually made from glue and water, to create a solid structure.
- Historical Uses: Historically, paper mache was utilized in various cultures around the world. From decorative objects in ancient China to intricate masks in Africa, this technique has stood the test of time.
- Modern Applications: Today, artists and hobbyists use paper mache for a wide range of projects, including sculptures, art installations, theater props, and children’s toys. It’s an accessible medium that appeals to all ages.
- Benefits: Paper mache is not only a sustainable craft option but also allows for great creativity. You can form various shapes, paint them, and even embellish them with different materials!
Materials Needed for Paper Mache
Essential Supplies
To make paper mache, you’ll need a few basic materials. Gathering the correct supplies will ensure your project runs smoothly.
- Newspaper: Old newspapers are ideal because they are readily available and easy to tear into strips. They can be used to create the base layers of your project.
- Glue: You can use white school glue, craft glue, or homemade glue made from flour and water. Each option has its benefits, but for this guide, we will focus on using regular craft glue.
- Water: Water is needed to thin out the glue for better consistency and application. Adjust the amount based on your preferred paste thickness.
- Mixing Bowl: A mixing bowl will help combine glue and water to create the paper mache paste.
- Protective Coverings: Consider using old newspapers or plastic sheets to protect your working area. Crafting can get messy, so it’s better to be prepared!
Optional Materials
Although the essential items listed above are vital, there are additional materials you might want to include in your project:
Paint:
- Decorative Options: Once your paper mache project is fully dried and has set, you can enhance its appearance using various types of paint.
- Acrylic Paints: Acrylics are particularly well-suited for paper mache because they adhere well to the surface and dry quickly, making them a popular choice among crafters.
- Vibrant Colors: Acrylic paints offer a wide array of vibrant colors, allowing for creative expression and customization of your project.
- Mixing and Blending: You can mix different colors to create unique shades and effects, providing more flexibility in your design.
- Application Techniques: Experiment with different painting techniques, such as sponge painting, dry brushing, or using stencils, to add texture and dimension to your finished piece.
Sealer:
- Purpose of a Sealer: Once you have completed painting your project, applying a sealant is crucial for providing a protective layer over your artwork.
- Types of Sealants: There are various types of sealants available, including:
- Glossy Sealants: These provide a shiny finish and can enhance the vibrancy of the colors in your project.
- Matte Sealants: These offer a non-reflective finish, which can lend a more natural look to your piece.
- Spray Sealants vs. Brush-On: Decide between spray sealants for a smooth, even coat or brush-on options for more control over application.
- Benefits: Using a sealant helps protect your work from potential damage caused by moisture, dust, and UV light, ensuring its longevity.
Crafting Tools:
- Essential Tools: To achieve detailed and polished results in your paper mache project, several crafting tools can be invaluable.
- Scissors: These are vital for cutting your paper materials to size and creating shapes for your project.
- Brushes: Different sizes and types of brushes can provide versatility in your painting process, with finer brushes enabling intricate detail work.
- Sculpting Tools: Depending on your project, you might use sculpting tools to mold and shape the paper mache, allowing for more elaborate designs and textures.
- Investing in Quality: While basic tools can suffice, investing in higher quality tools can make a significant difference in the ease and precision of your crafting process.
- Additional Accessories: Consider using palettes for mixing paint, water containers for rinsing brushes, and protective coverings for your workspace to enhance your crafting experience.
Step-by-Step Guide on How to Make Paper Mache with Glue and Newspaper
Step 1: Prepare Your Workspace
How to make paper mache with glue and newspaper? Start by designating a clean, flat surface for your project.
- Cover Up: Lay down plastic sheets or newspapers to protect your workspace and make cleanup easier later.
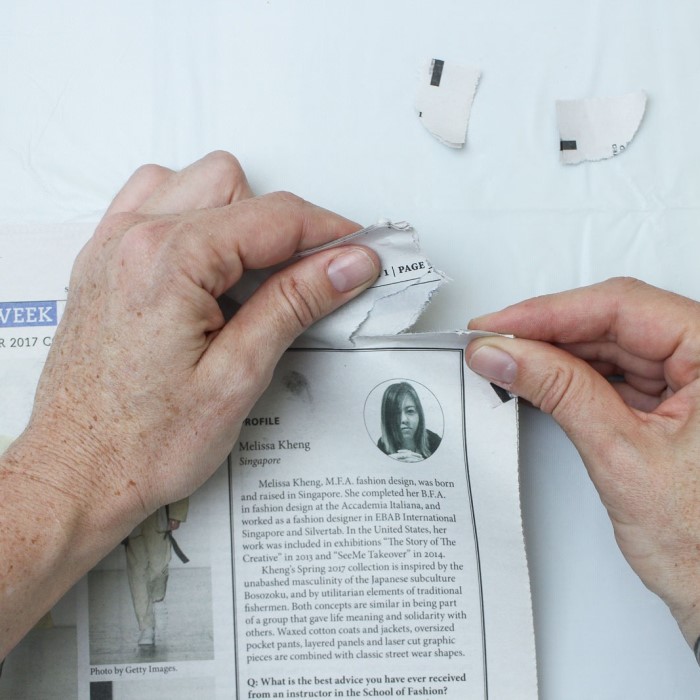
Step 2: Create the Paper Strips
Now, tear the newspaper into strips.
- Uniform Size: For best results, ensure the strips are around 1 inch wide and 6 to 10 inches long. Uniformity helps with even layering.
- Creating Different Shapes: Depending on your project, you can also cut strips into various shapes.
Step 3: Mix the Paste
Next, prepare the paper mache paste.
- Mix Ingredients: In your mixing bowl, combine equal parts of glue and water. For example, if you use one cup of glue, mix with one cup of water.
- Consistency: Stir it well until the mixture is smooth and consistent. The paste should be thick enough to coat the newspaper strips but thin enough to allow even application.
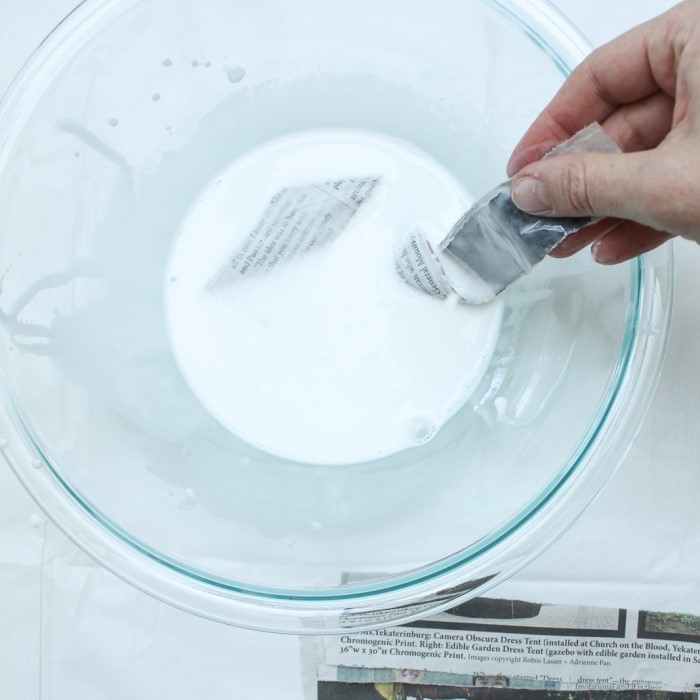
Step 4: Dip and Apply
Now it’s time for the fun part!
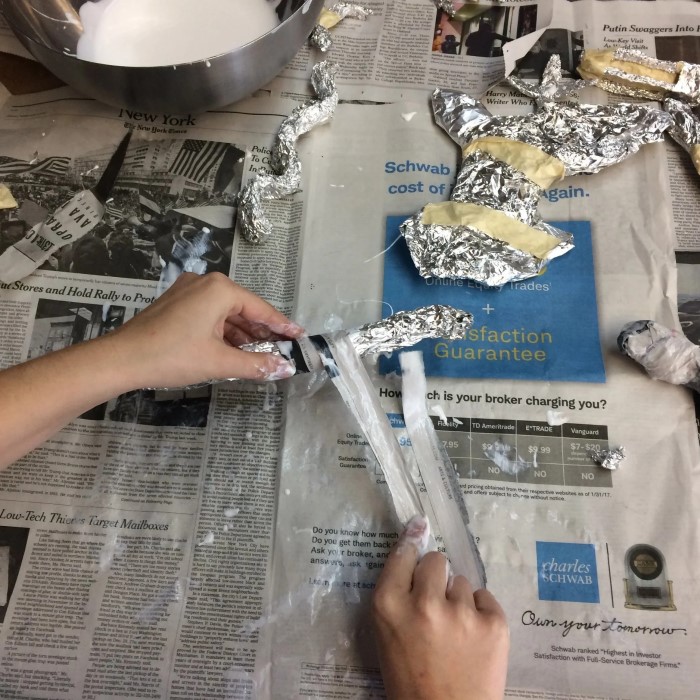
- Dip the Strips: Take a newspaper strip, dip it in the glue mixture, and ensure it is saturated but not dripping.
- Apply on Form: Starting from the base, apply the soaked strip onto your desired mold or structure (this could be a balloon, cardboard, or any supportive frame).
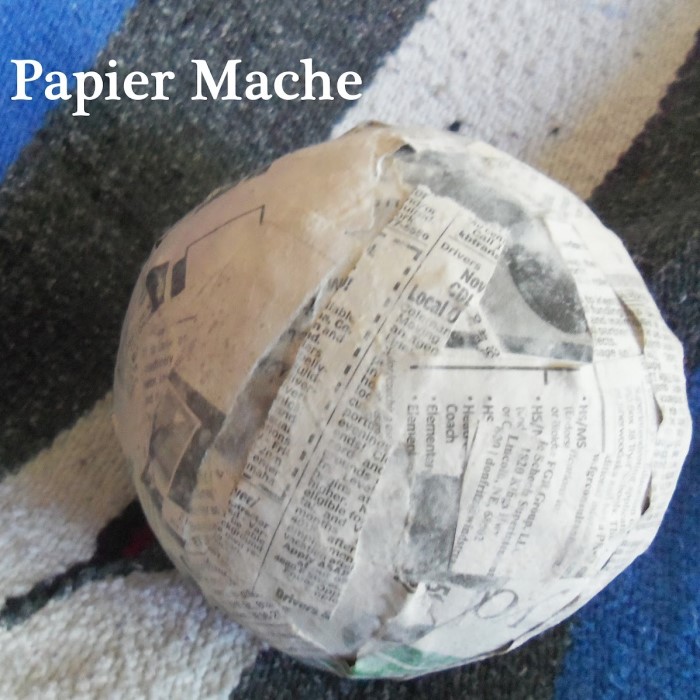
- Layer Up: Continue applying strips until you achieve your desired thickness. Generally, 2-3 layers are sufficient for most projects.
Step 5: Drying the Project
After layering, it’s crucial to let the project dry thoroughly.
- Setting Time: Depending on humidity and layer thickness, drying can take 24 hours or longer. Ensure it’s completely dry to avoid mold growth and achieve stability.
- Speed Up Drying: consider using a fan to speed up the drying process. Ensure proper air circulation.
Step 6: Finishing Touches
Once dry, your project is ready for customizations.
- Sanding: If you’d like a smoother finish, gently sand down any rough areas.
- Painting: Use felt-tip pens, acrylic paint, or craft paint to decorate your paper mache. Let your creativity shine!
- Sealing (optional): After painting, consider a protective sealant to provide additional durability and a polished look.
Step 7: Cleaning Up
Finally, ensure good clean-up practices.
- Dispose of Waste: Safely dispose of any debris or used materials.
- Wash Up: Wash your brushes and any other tools used with soap and water to maintain their quality for future projects.
Common Questions About Paper Mache
FAQ 1: How to make paper mache with just glue?
To create paper mache with just glue, follow the same steps mentioned above. Use crafting glue diluted with water in equal parts to create your paste. No additional materials are needed; however, ensure you have enough newspaper!
FAQ 2: How to make paper mache step by step?
To make paper mache step-by-step, first gather your materials, prepare your workspace, tear the newspaper into strips, mix glue with water, dip and apply the strips, and finally, let the project dry thoroughly before painting and finishing.
FAQ 3: Can I use Elmer’s glue for paper mache?
Yes, you can use Elmer’s glue for paper mache. It is an easy-to-use option for crafting, providing strong adhesion once dried. Just dilute it with water to achieve the right consistency for your paste.
Conclusion: Discovering Creativity Through Paper Mache
In summary, learning how to make paper mache with glue and newspaper opens a world of creative possibilities! By using simple materials and following the steps outlined in this guide, you can craft amazing artworks, decorations, or functional items. Experiment with different techniques, layer thicknesses, and painting styles to make unique creations that reflect your artistic vision!
With enough practice, you’ll become adept at this versatile craft. Enjoy the creative process and share your paper mache projects with friends and family. Happy crafting!


