Introduction
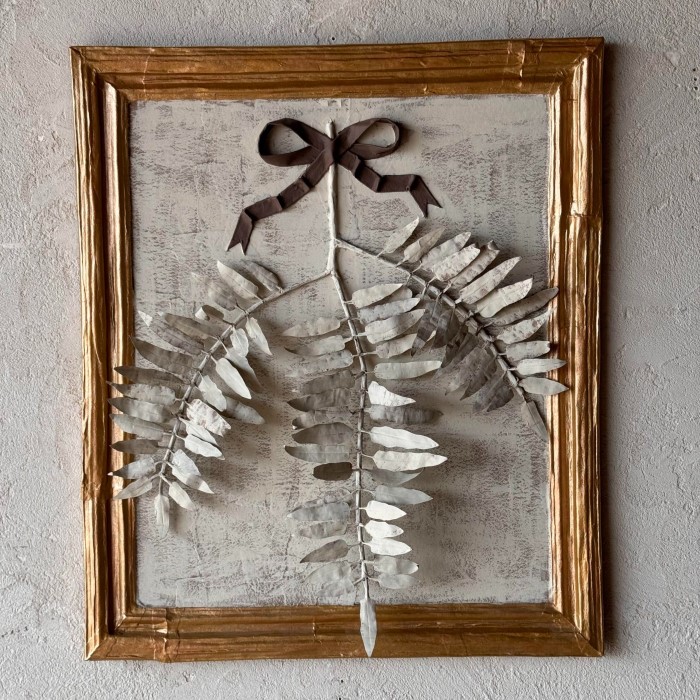
Paper mache wall art is a fascinating and creative way to enhance home decor. It allows for artistic expression while transforming simple materials into beautiful and unique art pieces. This technique is approachable for crafters of all ages and skill levels, making it an excellent project for families or individuals looking to explore their creativity.
In this article, we will delve into various paper mache wall art techniques that you can try at home. From basic concepts to innovative applications, we aim to inspire you to create stunning pieces that reflect your personal style. Whether you want to decorate a children’s room, a living area, or a hallway, paper mache wall art can bring a pop of color and texture to your spaces.
The Basics of Paper Mache
Before exploring various techniques, it’s essential to understand the basic principles of paper mache. The process involves layering paper strips soaked in adhesive to form a sturdy structure. This mixture can be made from flour and water or from commercial glue.
Materials Needed
Base Material
- Balloons: Balloons are a popular choice for creating 3D paper mache models. They can easily be inflated to your desired size, providing a smooth surface that can be covered with paper mache layers. Once the structure is finished and dried, the balloon can be deflated and removed, leaving a hollow shape perfect for decorative pieces.
- Cardboard: Cardboard is another excellent option for paper mache projects. It can be cut into various shapes and sizes, allowing you to create a fixed base for your artwork. Using cardboard can provide a sturdy structure, especially for larger pieces, but it may require more layering for durability.
- Wire Frames: For those looking for more intricate designs, wire frames are an innovative choice. They provide flexibility in shaping various forms like animals or abstract structures. Wire can be manipulated easily to create contours, and it supports lighter materials well. However, it may be essential to coat the wire with tape or paper as a preliminary step to ensure better adhesion with the paper mache.
Paper
- Newspapers: Newspapers are frequently used because they are easily accessible and cost-effective. The thin texture of newspaper strips allows them to mold around shapes and bond well when layered. Additionally, the ink can add unique textures to the final appearance, giving your project a distinct look.
- Other Types of Paper: Other types of paper, such as magazines, tissue paper, or craft paper, can also be utilized effectively. Depending on their thickness and color, these papers can provide various aesthetic effects. For instance, tissue paper can add a translucent quality, while magazines can introduce vibrant colors and images.
- Torn Paper Strips vs. Cut Strips: Torn paper strips tend to work better than cut ones because torn edges create more surface area that bonds effectively with the adhesive. The irregular edges of torn paper help prevent air pockets and create a more seamless and sturdy connection between layers.
Adhesive
- Traditional Flour and Water Paste: Flour and water are classic choices for crafting paper mache adhesive. This mixture is easy to make at home and provides a reliable bond for the paper strips. To create the paste, mix flour with water until you achieve a thick consistency. This adhesive is non-toxic and safe for children to use.
- PVA Glue Mixture: Polyvinyl acetate (PVA) glue mixed with water is another popular adhesive choice. It provides a strong bond and dries clear, making it ideal for projects where the appearance matters. To use this glue, mix equal parts of PVA glue and water until smooth. This mixture ensures a strong adhesion while being easy to work with.
Tools
- Scissors: A good pair of scissors is essential for preparing your paper strips. Whether you’re tearing or cutting, having sharp, quality scissors makes the process smoother and helps ensure you get clean edges.
- Paintbrushes: Paintbrushes are useful not only for applying the glue but also for smoothing out the paper as you layer it on. Different sizes of brushes can help get into smaller areas or cover larger surfaces quickly.
- Mixing Bowl: A mixing bowl is necessary for preparing your adhesive. Ensure it is large enough to accommodate the quantities you’ll be mixing, and choose a bowl that is easy to clean or disposable for convenience.
- Protective Gear: Wearing protective gear like gloves can help keep your hands clean while working with glue and paint. Additionally, a plastic sheet covering your workspace can prevent damage from spills, making cleanup easier after your crafting session.
Technique 1: Layering for Depth and Strength
One of the primary techniques in creating paper mache wall art is layering. This method is crucial for adding both visual depth and structural integrity to your piece.
Steps to Layering
- Prepare the Adhesive: Mix your chosen glue with water or use ready-made paste.
- Create the Base: For instance, if you’re using a balloon, inflate it to the desired size, tying it off securely.
- Apply Paper Strips: Dip strips of paper into the adhesive, allowing excess glue to drip off, and apply them over the base structure.
- Multiple Layers: For durability, apply three to four layers, letting each layer dry completely before adding the next. This step is vital; rushing can lead to weak spots in your artwork.
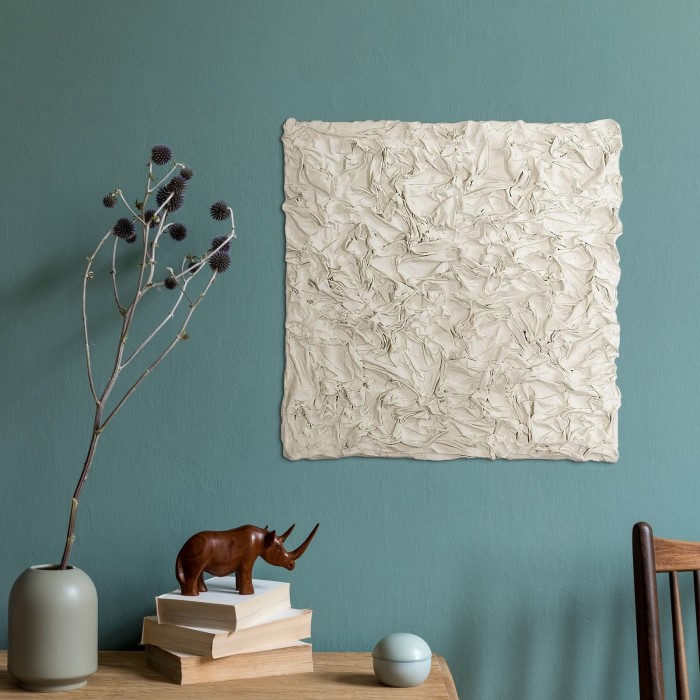
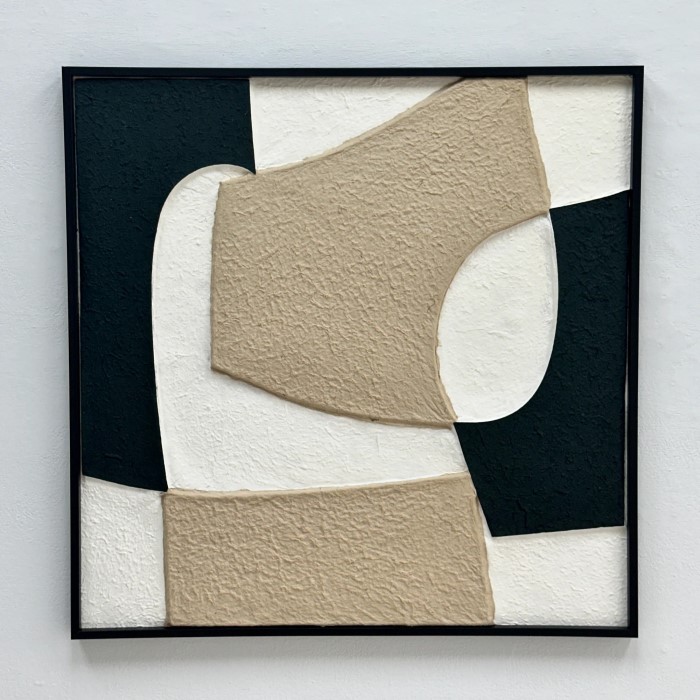
Technique 2: Creating Texture and Patterns
Paper mache offers the flexibility of creating interesting textures and patterns. This technique adds an artistic dimension to your wall art.
Adding Texture
- Experiment with Materials: Incorporate materials like cheesecloth or fabric strips in your layers. These can add a unique surface effect.
- Craft Patterns: Use stencils or freehand designs with the paper strips. Add detail by crumpling paper before applying it for an irregular texture.
Painting for Enhanced Effects
Once your layers are dry, you can enhance the texture further by using paints. You may choose to dry-brush lighter colors over the raised areas to highlight textures.
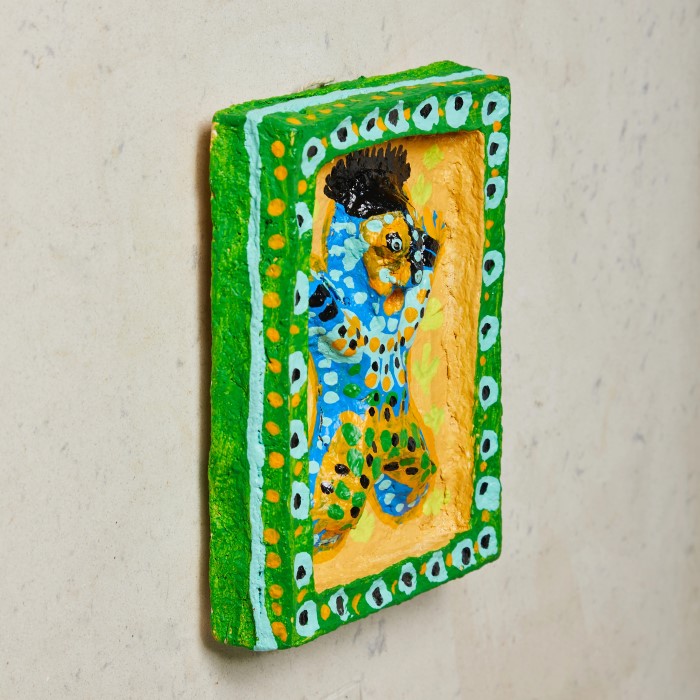
Technique 3: Integrating Color and Creativity
Color is one of the most exhilarating aspects of crafting paper mache wall art. It allows you to customize your pieces completely.
Choosing the Right Paints
- Acrylic Paints: These are preferred for their vibrant colors and quick drying times. They also adhere well to paper surfaces.
- Spray Paint: For larger projects, spray paint can provide an even coat and is often faster than using a brush.
Creative Color Applications
- Layering Paint: Use different shades to create depth. For example, a gradient effect can be visually stunning.
- Mixed Media: Incorporate other materials like glitter, fabric, or beads into your designs to elevate the aesthetics of your wall art.
Technique 4: Finishing Touches
After painting, the finishing touches on your paper mache wall art are crucial. These steps will protect your art piece and enhance its visual appeal.
Sealing Your Artwork
- Apply a Sealant: Use a clear acrylic spray or varnish to protect your wall art from moisture and wear.
- Final Detailing: Add elements like frames or hangers if your piece needs to be wall-mounted.
FAQs about Paper Mache Wall Art
What are the disadvantages of paper mache?
While paper mache is an accessible and fun crafting method, it does have some downsides. It can be time-consuming, particularly during the drying stages. The final product may also be less durable compared to some other materials. Additionally, it can be messy, requiring a dedicated workspace.
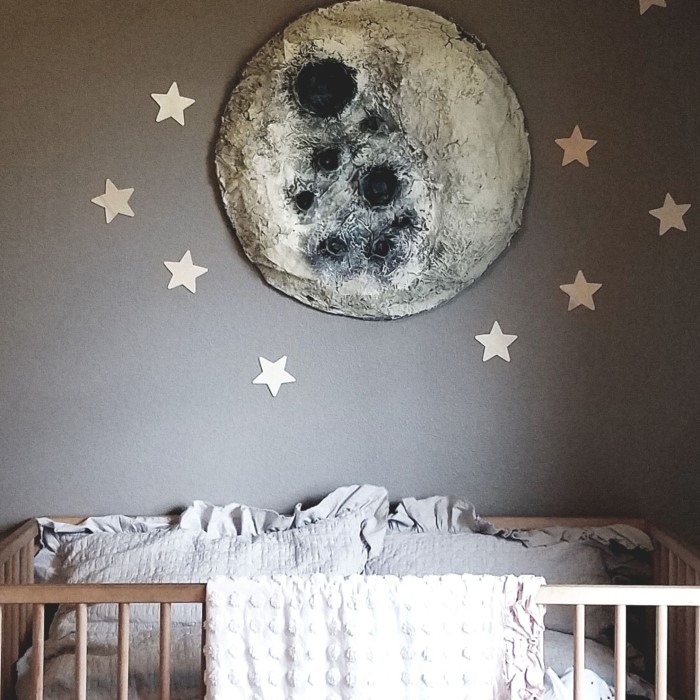
How to make a papier-mâché moon?
To create a papier-mâché moon, inflate a balloon to a suitable size, cover it with layers of paper mache, and allow it to dry. Once dry, pop the balloon and obtain a hollow form. Finally, paint and detail your moon with craters and shades for realism.
Who is a famous paper mache artist?
One renowned paper mache artist is Carmen Lomas Garza, known for her vibrant and culturally rich art pieces that reflect the Mexican-American experience. Her work showcases the versatility and expressiveness of paper mache.
What glue is best for paper mache?
The best glue for paper mache is often a mixture of white school glue (PVA glue) and water. This creates an excellent adhesive that dries clear, making it ideal for crafting. Some artisans also swear by flour and water paste for its traditional reliability.
Conclusion: The Joy of Creating Paper Mache Wall Art
Exploring creative paper mache wall art techniques offers endless opportunities for artistic expression and personal satisfaction. Whether you are new to crafting or a seasoned artist, the versatility of paper mache allows you to produce unique pieces that can brighten any space.
By understanding layering, texture creation, and painting techniques, you can elevate your crafting skills and enjoy a rewarding creative process. Experimenting and personalizing your creations will not only enhance your home decor but also bring joy and inspiration into your artistic journey.
Now that you are equipped with these techniques and insights, it’s time to gather your materials and start crafting your own stunning paper mache wall art. Happy crafting!


