Introduction: The Essential Drying Process for Paper Mache
When embarking on a paper mache project, one of the most frequently asked questions is, how long does paper mache take to dry? Understanding the drying process is essential for artists and crafters. Proper drying ensures that your finished piece is durable and ready for decoration or use. Various factors affect the drying time, including the thickness of the layers, humidity, and temperature.
In this article, we will delve into the drying process for paper mache, exploring how long it typically takes to dry, tips to speed up paper mache drying time, and the best drying methods for paper mache projects. Additionally, we will address common concerns such as how to tell if paper mache is dry and troubleshooting issues when drying. By the end of this guide, you will have a comprehensive understanding of the drying process essentials.
Understanding Paper Mache and Its Drying Process
- What Is Paper Mache?
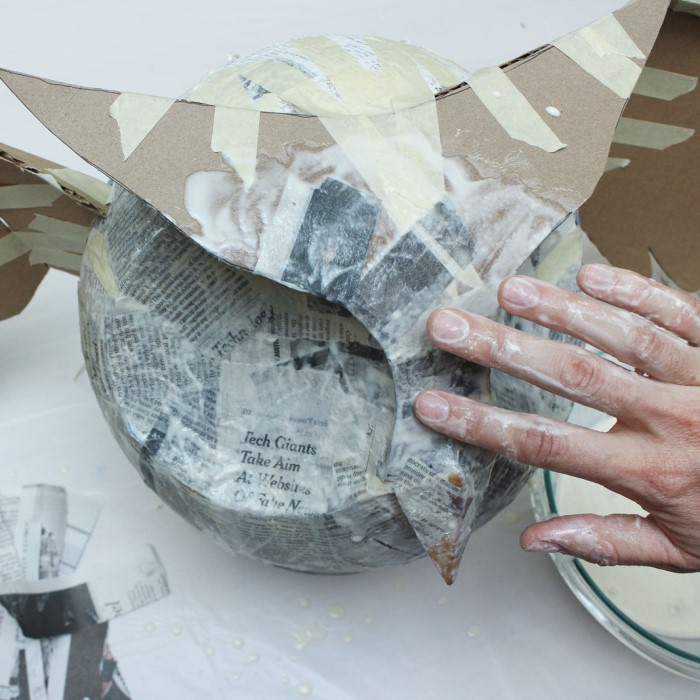
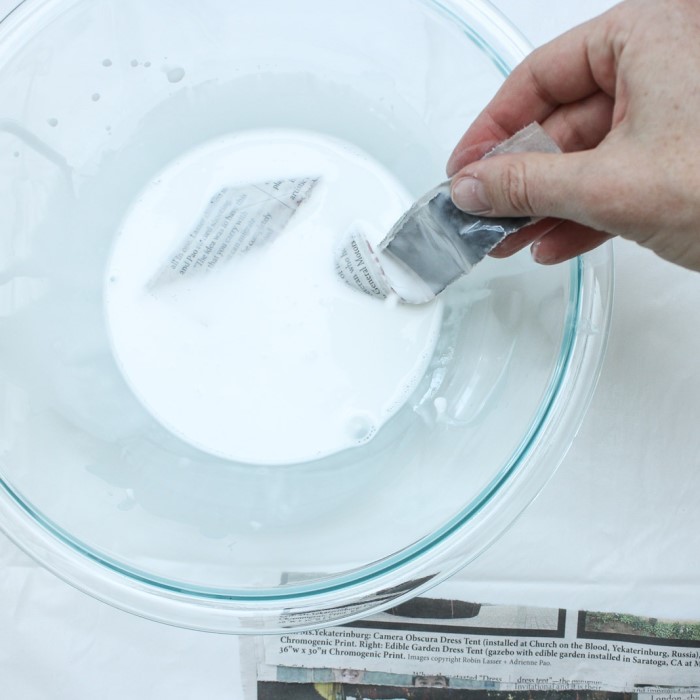
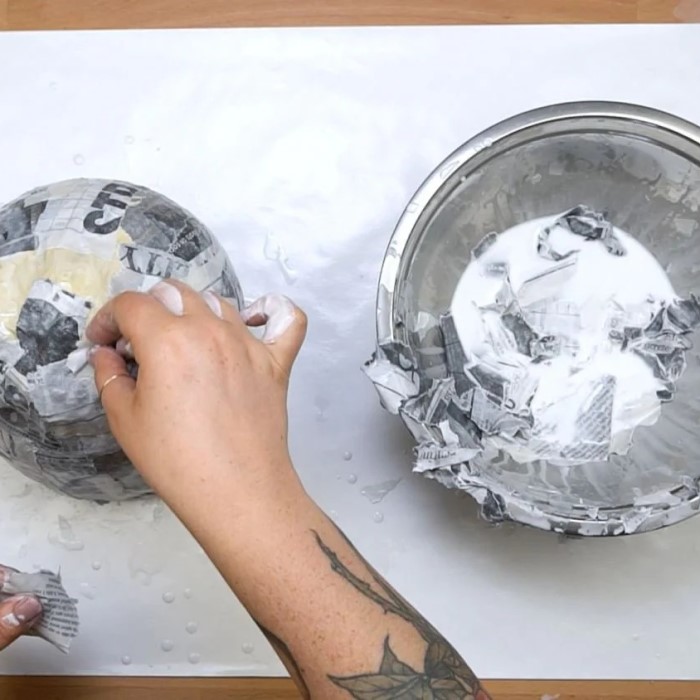
Paper mache is a craft technique that involves using paper, typically newspaper, soaked in adhesive or a paste. The mixture is applied to a mold to create various shapes and structures. Once dry, the paper mache becomes hard and can be painted or decorated. - Why Drying Time Matters:
The drying time for paper mache is crucial as it determines the structural integrity of the final piece. If not properly dried, the project may retain moisture, leading to mold growth or weakening of the structure. Therefore, understanding the drying process is essential for successful crafting.
How Long Does Paper Mache Take to Dry Completely?
- Typical Drying Times:
How long does paper mache take to dry? On average, paper mache takes between 24 to 72 hours to dry completely, depending on several factors. Thin layers may dry faster but could take longer if the piece is heavily layered.
- Factors Affecting Drying Time:
- Layer Thickness: Thicker layers of paper mache take longer to dry compared to thinner applications. If you apply multiple layers, allow extra time for proper drying.
- Humidity Levels: Higher humidity can significantly extend drying times. In a humid environment, consider moving your project to a room with better air circulation.
- Temperature: The temperature of the environment also plays a crucial role. Warmer temperatures help speed up the drying process, while cooler temperatures slow it down.
- Airflow: Adequate ventilation around your project can help promote drying. Open windows or use fans for proper air circulation.
- Demonstrating Drying Times:
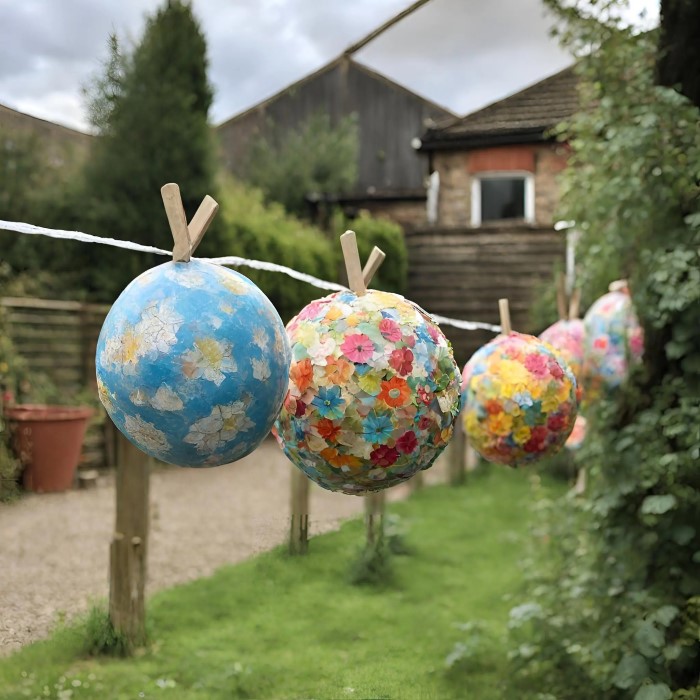
For example, if you create a simple paper mache balloon project with multiple layers, it may take up to three days to dry completely. Conversely, smaller decorations made with thinner layers could dry within 12 to 24 hours.
Tips to Speed Up Paper Mache Drying Time
Thin Layers:
- When working with paper mache, it is highly beneficial to apply thinner layers of the mixture rather than opting for thicker applications.
- Thin layers allow for more effective moisture evaporation, which can significantly shorten the overall drying time of your project.
- By applying multiple thin layers, you also create a smoother and more even surface finish, which is often more aesthetically pleasing.
- Additionally, thinner layers are less prone to sagging or deformation during the drying process, resulting in a better final product.
Utilize a Heat Source:
- Position your paper mache project near a gentle heat source to promote faster drying times; suitable options include a radiator or a lamp.
- Be cautious when using heat sources, and avoid placing your project too close to high-temperature bulbs, as they could cause the paper to scorch or melt.
- Ensure that the heat is distributed evenly around the project to avoid creating hot spots, which could lead to uneven drying or damage.
- Regularly check the condition of your project while it’s near a heat source to ensure that it is not overheating or drying out too rapidly.
Increase Airflow:
- To enhance the drying process, increase airflow around your paper mache project by using a fan or placing it in a well-ventilated area.
- Improved air circulation helps moisture escape more effectively, which can lead to quicker drying times and prevent the growth of mold or mildew.
- If using a fan, set it on a low setting to provide gentle airflow without blowing directly onto the project, which could disturb the structure.
- Make sure the workspace is tidy and free of clutter, allowing for optimal airflow around your project from all angles.
Use a Hair Dryer:
- A hair dryer can be an effective tool for expediting the drying process when used correctly; opt for a low-heat setting to avoid damaging your paper mache.
- Hold the hair dryer at least 12 inches away from the project to ensure that the airflow helps to accelerate the drying without applying excessive heat.
- Move the hair dryer around the project to promote even drying, preventing any one area from receiving too much heat at once.
- Use caution when using a hair dryer, and keep an eye on the project to ensure it remains intact and undamaged during the drying process.
Choose the Right Adhesive:
- Selecting the right type of adhesive can impact drying time significantly; some glues or pastes are formulated to dry more quickly than others.
- If you frequently work with paper mache, it can be beneficial to experiment with various adhesives to find those that provide faster drying times while maintaining adhesive strength.
- Consider reading product labels or researching fast-drying options that are specifically designed for craft projects to optimize your workflow.
- Keep in mind that while a faster-drying adhesive may be beneficial, it is also important that it doesn’t compromise the quality of your project or the longevity of the finished piece.
Best Drying Methods for Paper Mache Projects
- Air Drying:
The traditional method of air drying is effective but takes time. Place your project on a flat surface in a room with low humidity and good airflow. Avoid covering it during the drying process to ensure adequate ventilation. - Baking:
For quick-drying projects, you can bake smaller pieces in an oven set at a low temperature (about 150-200°F or 65-93°C). Monitor the process closely to avoid burning or warping the paper. - Dehydrator Alternatives:
If you have a food dehydrator, consider using it for paper mache projects. Set it to a low temperature and monitor the drying process to achieve faster results without risk of damage. - Sunlight Drying:
If conditions permit, place your project in direct sunlight. Sunlight not only enhances drying time but may also help kill mold spores that could develop during the drying phase.
How to Tell If Paper Mache Is Dry
- Visual Inspection:
Check for an even color throughout the paper mache. If it appears shiny or feels cool, it may still contain moisture. Dull, matte surfaces indicate dryness. - Touch Test:
Gently touch the surface; it should feel firm and dry to the touch. If there is any give or softness, allow more drying time. - Sound Test:
Tapping your paper mache piece lightly can provide clues. A solid sound indicates dryness, while a hollow sound might suggest internal moisture. - Use a Moisture Meter:
For more accurate results, consider investing in a moisture meter. This tool will help you determine moisture levels in your project effectively.
FAQs About Paper Mache Drying
How do you dry paper mache quickly?
To dry paper mache quickly, use thin layers, enhance airflow, and consider using heat sources like a hairdryer, oven, or dehydrator.
Can paper mache dry in 2 hours?
In ideal conditions with thin layers and warm temperatures, smaller paper mache projects may dry in about two hours, but larger pieces typically require more time.
Why is my paper mache not hardening?
If your paper mache isn’t hardening, it may be too thick or insufficiently dried. Additionally, high humidity can hinder the drying process. Allow more time and ensure proper ventilation.
How long does it take paper mache to set?
Paper mache generally takes 24 to 72 hours to set completely, depending on factors like thickness, humidity, and temperature.
Conclusion: Mastering the Drying Process for Paper Mache
In conclusion, understanding how long does paper mache take to dry is a vital aspect of the crafting process. By following the tips and best drying methods discussed, you can successfully manage your projects to achieve the desired results. Remember to pay attention to the factors affecting paper mache drying time and apply the recommended strategies to improve your experience.
With patience and creativity, you will master the art of paper mache, creating stunning artwork and decorative items. Keep experimenting with different techniques and ideas, while always letting your creations dry completely for the best results. Enjoy your crafting journey!


