Introduction
Creating a stunning paper mache vase is an excellent way to personalize your home decor. With just a few simple materials, you can transform ordinary items into beautiful vases that enhance any space. Not only is this project budget-friendly, but it also allows you to unleash your creativity and make something truly special. This article will guide you on how to make a DIY paper mache vase, providing a step-by-step crafting tutorial along the way. Whether you’re a seasoned crafter or a beginner looking for easy DIY paper mache vase ideas, this project is perfect for anyone!
Paper mache has a long-standing tradition in the world of arts and crafts. It is a versatile technique that allows for the creation of various beautiful and functional items. In this guide, we will explore the best materials for DIY paper mache vases, creative designs, and tips for crafting your own unique pieces. Additionally, we’ll answer frequently asked questions to ensure your crafting experience is smooth and enjoyable.
Understanding Paper Mache: What Is It?
- Definition of Paper Mache:
Paper mache is a crafting technique that involves using paper or cardboard soaked in a liquid adhesive to create a sturdy structure. When dried, it forms a lightweight and durable material that can be shaped into various objects, including vases. - Historical Context:
The technique dates back thousands of years, originating in China and spreading throughout the world for various artistic and practical purposes. Today, paper mache is popular for making decorative items, models, and toys. - Advantages of Using Paper Mache:
One significant advantage of creating a paper mache vase lies in its lightweight and robust nature. Additionally, it allows for endless creative possibilities, making it an excellent medium for artists and crafters. Furthermore, it’s eco-friendly, allowing you to recycle old newspapers and cardboard.
Gathering Materials
- Essential Materials:
To create your DIY paper mache vase, you’ll need a few essential materials:- Paper: Old newspapers, craft paper, or paper towels work best.
- Adhesive: This can be a glue-water mixture or traditional flour-paste.
- Bowl or Balloon: This serves as a mold for your vase structure. The size and shape will determine the final look of your vase.
- Paint and Finishing Supplies: Acrylic paint, brushes, and sealers will allow you to decorate and protect your vase once it’s dried.
- Best Materials for DIY Paper Mache Vases:
Opt for strong adhesives that ensure durability. Craft glue or wheat flour mixed with water can work well. Additionally, if you’re utilizing a balloon as a mold, ensure it’s inflated fully to maintain the shape during crafting. - Optional Decorative Items:
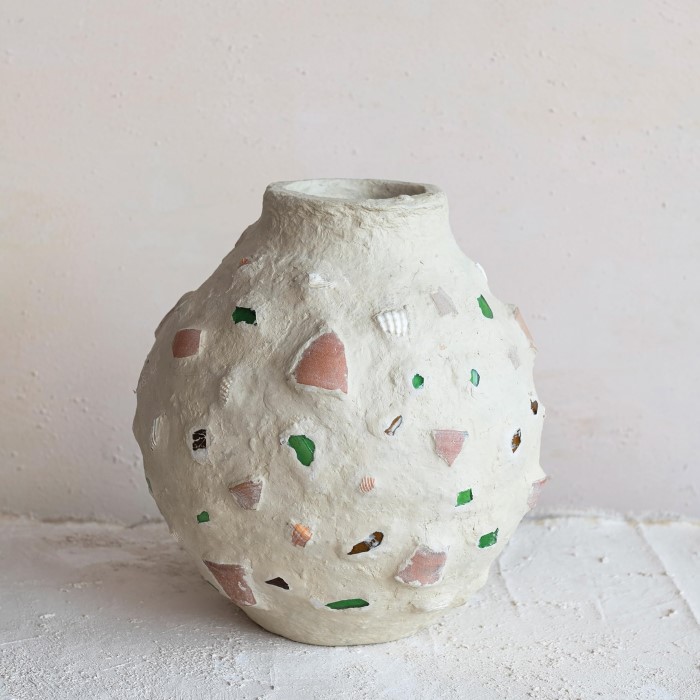
Consider adding embellishments, such as beads or fabric, to personalize your vase. This will allow you to create unique textures and patterns.
Step-by-Step Paper Mache Vase Crafting Tutorial
- Creating the Base:
Start by blowing up your balloon or preparing your bowl. If using a balloon, make sure it’s tied securely. This base will provide the foundational shape for your vase. - Preparing the Adhesive:
Mix your adhesive. If using flour and water, combine one part flour with two parts water and stir until smooth. Alternatively, if using craft glue, follow the manufacturer’s instructions for dilution, if necessary. - Tearing the Paper:
Tear your paper into strips, approximately 1 inch wide and 4-6 inches long. Tearing the paper rather than cutting it helps create softer edges that blend better during application. - Applying the Paper Mache:
Dip each strip into your adhesive mixture, ensuring it is thoroughly coated. Remove excess adhesive and apply the strip onto your balloon or bowl, smoothing out any wrinkles. Overlap strips for added strength and create at least three layers for a sturdy vase. - Drying the Vase:
Allow the paper mache to dry completely. This may take several hours or overnight, depending on humidity and the thickness of your layers. Make sure the base is entirely hard before proceeding. - Removing the Mold:
Once dry, gently pop the balloon or remove the bowl from your vase. Be careful to avoid damaging the paper mache structure. - Painting and Decorating:
Use acrylic paint to add your personal touch. Consider experimenting with patterns, colors, or even decoupage techniques for a unique look. After painting, apply a sealant to protect your design. - Final Touches and Placement:
Once your vase is completely dry and decorated, it’s ready for use! Consider placing it in various locations in your home, such as on a mantel, table, or windowsill.
Creative Paper Mache Vase Designs for Home Decor
Geometric Shapes
- Diverse Geometric Forms:
Explore the creation of vases in various geometric shapes. Consider crafting cubes, pyramids, spheres, or even hexagons. Each shape brings its own unique aesthetic. Geometric forms offer a modern twist that stands out in any decor. - Contemporary Design Element:
Incorporating geometric shapes enhances the contemporary feel of your home. These sharp angles and clean lines can provide visual interest. This modern design complements minimalist and modern decor styles exceptionally well. - Customization Opportunities:
You can customize these shapes in terms of size and color. Create small cube vases for tabletop arrangements or large pyramid vases for floor decor. Experimenting with different dimensions can lead to intriguing compositions. - Mixing Shapes:
Consider combining multiple geometric shapes in one arrangement. For instance, cluster a cube with a sphere and a cone for an eye-catching centerpiece. This playful mixing introduces a dynamic visual element.
Nature-Inspired Designs
- Natural Color Palette:
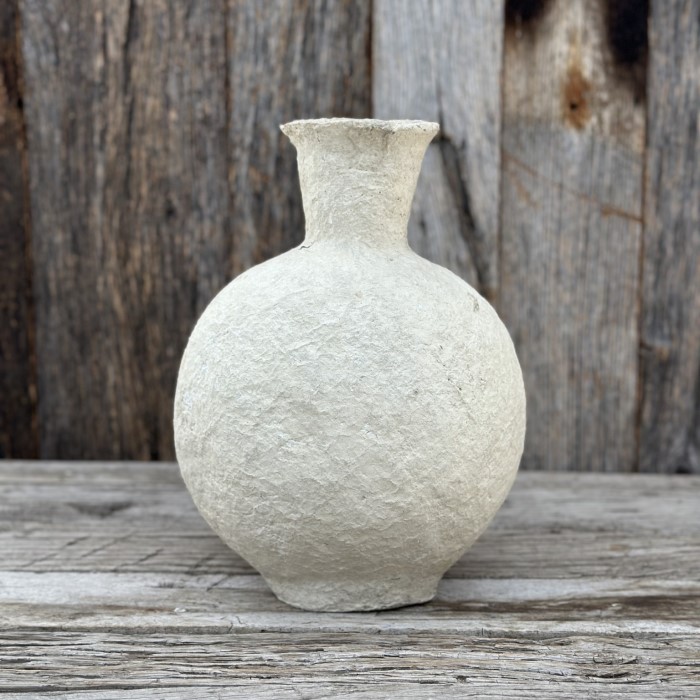
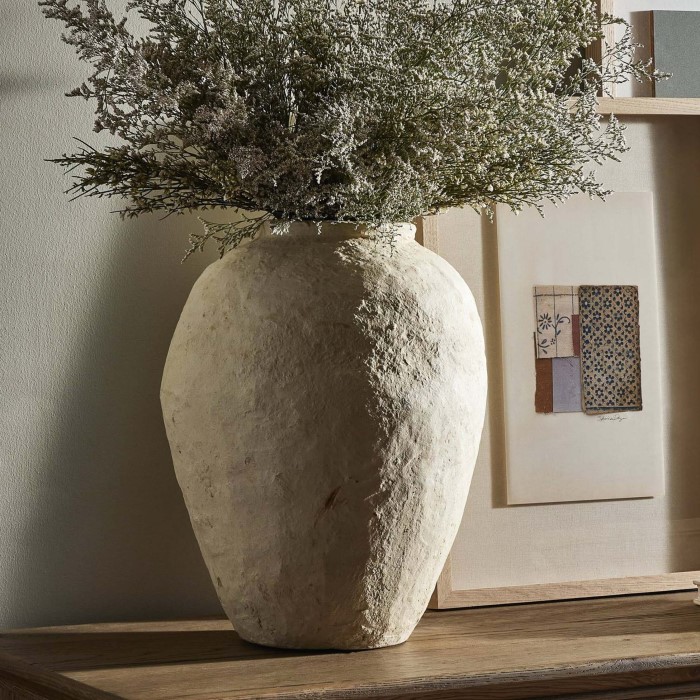
Choose colors inspired by nature, such as various shades of green and brown. These earthy tones can evoke a sense of calm and connection to the outdoors. Incorporating natural colors is essential for creating rustic-inspired pieces. - Textured Finishes:
Use textures that resemble natural elements, such as bark, leaves, or stones. Techniques like adding a rough finish or creating indentations can mimic the texture found in nature, enhancing the rustic appeal. - Incorporating Organic Shapes:
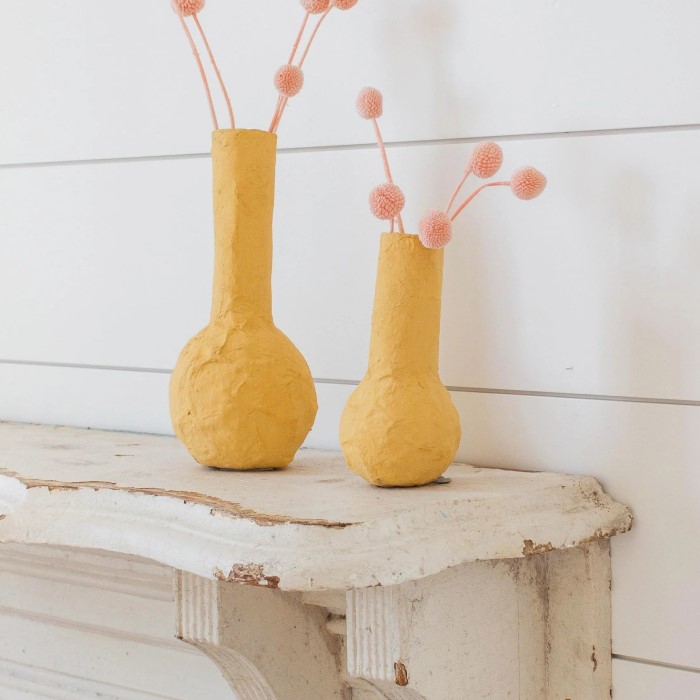
Rather than only geometric forms, consider more organic shapes that reflect natural contours. Curvier lines can add a more relaxed and earthy feel, enhancing the allure of a nature-inspired design. - Styling Ideas:
Use your nature-inspired vases to display fresh or dried flowers abundantly. Select blooms that enhance the earthy color scheme, such as wildflowers or ferns, to complement your vase’s design.
Multi-tiered Vases
- Innovative Structure:
Consider creating vases with multiple tiers or levels. These vases can have different heights, resembling a cake or a tiered stand. This design adds a unique flair and visual interest to any space. - Statement Piece Potential:
Multi-tiered vases can serve as striking statement pieces in any room. Display these vases in prominent locations, such as dining tables or entryways, where they’ll catch the eye. - Functional Decoration:
Use the different tiers for various purposes; you could place larger flowers at the lowest tier while using the upper tiers for smaller blooms or decorative items. This functionality enhances their visual appeal. - Customizable Sizes:
Experiment with the number of tiers and overall height of the vase. A tall, elegant design can elevate a space, while smaller, more compact options can effectively decorate shelves or desks.
Seasonal Decorations
- Thematic Customization:
Customize your paper mache vase for different seasons or holidays. This allows you to create decor that feels relevant and fresh throughout the year, enhancing your home’s festive spirit. - Seasonal Colors and Patterns:
For autumn, consider using warm colors like orange, yellow, and red. For spring, opt for pastels or floral patterns. Align your vase’s design with seasonal themes, incorporating elements like leaves or snowflakes. - Holiday Inspirations:
Embrace holidays by matching the design of your vases. For Halloween, think about dark colors and spooky motifs, while for Christmas, incorporate reds and greens with festive patterns like snowmen or ornaments. - Changeable Displays:
Make decorations versatile by giving them interchangeable elements. For example, add removable garlands or decorations that can be swapped according to the season or occasion, making your decor more adaptable.
Functional Art
- Practical Designs:
Design paper mache vases that not only serve as aesthetic pieces but also fulfill practical purposes. This concept blends functionality with art, making your creations more versatile. - Multi-use Vases:
For example, a wide-opening paper mache vase can serve as a container for kitchen utensils or as a holder for crafting supplies. This dual-purpose design maximizes usability while maintaining style. - Consider Size and Shape:
When creating functional vases, consider their size and shape carefully. Taller and narrower vases work well for flowers, while wider ones can hold a variety of items. Balance aesthetics with usability in your design. - Incorporating Organization:
Use your paper mache vases as part of an organizing system. Functional art pieces can help declutter spaces while still looking visually appealing. They can hold pens, scissors, or other essentials that often become scattered about.
FAQs
- How to make a vase paper mache?
Create a mold using a balloon or bowl, apply adhesive-coated paper strips, allow to dry, and then decorate as desired. Follow the step-by-step tutorial above for detailed instructions. - Can you put water in a paper mache vase?
It is not advisable to put water directly in a paper mache vase without sealing it. The paper is porous and can absorb moisture, potentially causing damage. - Can paper mache withstand water?
While paper mache can resist light moisture, it is not waterproof. To use it for flowers, consider lining it with a plastic bag or using water-resistant sealers. - Does paper mache clay harden?
Yes, paper mache does harden when dried correctly. The more layers you apply, the sturdier the product will be when it is completely dry.
Conclusion: Create Your DIY Paper Mache Vase Today!
In summary, crafting a DIY paper mache vase is an enjoyable and rewarding experience that allows you to create unique home decor items. This project not only taps into your creativity but also encourages you to repurpose materials that might otherwise be discarded. With the guidance provided, including easy DIY paper mache vase ideas for beginners and a step-by-step paper mache vase crafting tutorial, you are well-equipped to embark on this fun adventure.
Explore your artistic side, experiment with different designs, and transform simple materials into stunning vases. Whether for personal use or as a thoughtful gift, a paper mache vase makes for an eye-catching piece in any home. So gather your materials and start crafting today! Your beautiful, customized vase awaits you.


