Introduction
Paper airplane kit makes crafting paper planes easy and fun for all ages. They contain all needed materials and instructions to help you create amazing paper airplanes. Whether you’re a beginner or an expert, these kits simplify the process and enhance the flying experience.
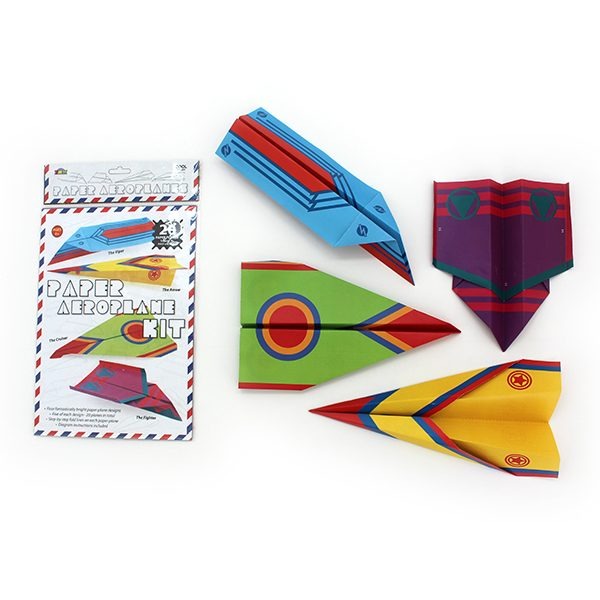
What Are Paper Airplane Kits?
Paper airplane kits are packages designed for building paper planes. They include pre-cut paper, templates, and often detailed instruction manuals. Some kits also provide tools like rulers, stickers, or fold markers to boost creativity. These kits cater to different levels of experience, offering something for everyone.
Benefits of Using a Paper Airplane Kit
- Ease of Use: Kits simplify the folding process. Pre-marked papers guide users, ensuring proper shapes easily.
- Better Results: Following clear instructions leads to sturdy airplanes with superior flight performance.
- Creative Fun: Kits encourage experimentation with designs and patterns, fueling artistic expression.
- Learning Opportunities: These kits provide educational value, teaching principles of physics and aerodynamics.
- Family Bonding: Building paper planes together offers a fun and engaging group activity.
Types of Paper Airplane Kits
Paper airplane kits come in various types, catering to different skill levels and interests. Understanding these types helps in choosing the kit best suited for your needs.
Pre-Made Kits vs. DIY Kits
Pre-Made Kits:
- Contain pre-cut and pre-printed paper for quick assembly.
- Ideal for those who want speedy results with minimal effort.
- Often include colorful designs and instructions for easy folding.
DIY Kits:
- Provide blank paper sheets for complete customization of designs.
- Great for creative individuals who enjoy making unique planes.
- May include stencils, rulers, or fold markers for precise crafting.
Kits for Beginners vs. Advanced Flyers
Beginners:
- Feature simple designs with easy folding steps.
- Include detailed instructions to help new users build their first airplanes.
- Focus on providing a fun and frustration-free experience.
Advanced Flyers:
- Offer complex designs that challenge folding and crafting skills.
- Often focus on aerodynamic performance for superior flight.
- Include advanced tools like weight balancers or aerodynamic templates.
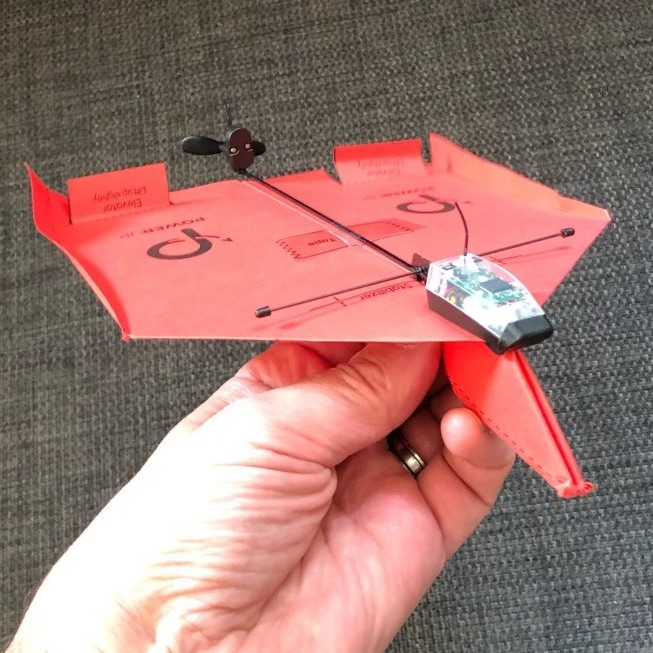
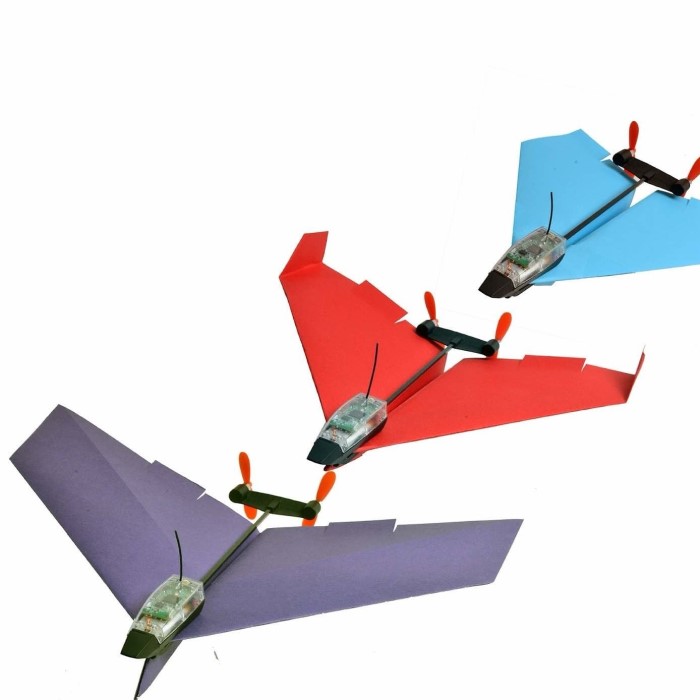
Specialized Kits for Aerodynamic Experiments
- Designed for those interested in testing flight principles and aerodynamics.
- Include special materials like lightweight paper or adjustable weights.
- Help users learn about concepts like lift, drag, and thrust.
- Ideal for STEM learning or science projects.
By understanding these types, you can pick a paper airplane kit that matches your goals.
Essential Components
Paper airplane kits come with specific components to help users build impressive paper planes. These components are essential for ensuring a smooth building process and an enhanced flying experience. Understanding what is included can help you make the most of your kit.
Types of Paper and Materials Included
- Standard Paper: Most kits include durable yet lightweight paper to ensure better flight performance.
- Pre-Cut Designs: Some kits offer pre-cut sheets to save time and make folding easier.
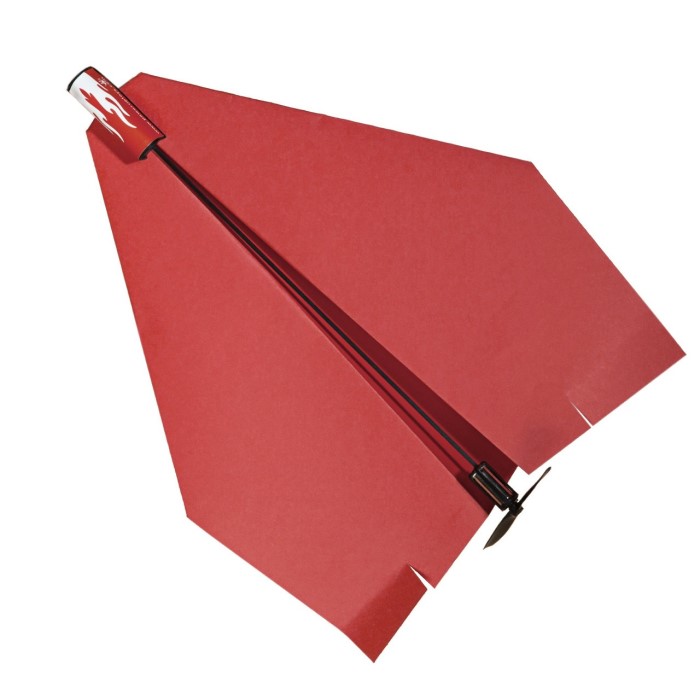
- Specialized Paper: High-quality or aerodynamic papers may be included in advanced kits for stronger and faster planes.
- Printed Patterns: Many kits feature colorful patterns or designs to add a creative touch.
Detailed Instruction Guides
- Step-by-Step Instructions: Kits provide clear guidance for folding different airplane models.
- Illustrations and Diagrams: Visual aids help make the folding process simple and less confusing.
- Tips for Beginners: Guides often include tips to avoid mistakes and achieve better results.
- Advanced Techniques: Some kits offer instructions for advanced aerodynamic adjustments for better flight.
Additional Tools and Accessories
- Fold Markers: These ensure straight and accurate folds for a balanced airplane.
- Rulers and Stencils: Included for precise measurements and customized designs.
- Stickers and Decals: Add a fun and personal touch to the planes.
- Weight Balancers: Help in improving flight stability and control for advanced kits.
By exploring these components, you can understand how each enhances the overall experience. These tools and materials ensure that crafting paper airplanes is both fun and rewarding for everyone.
How to Choose the Right Paper Airplane Kit
Selecting the right paper airplane kit ensures a fun and successful crafting experience. Here are key factors to consider when making your choice.
Consider Skill Level and Age Group
- For Beginners: Choose kits with simple designs and step-by-step instructions. They are great for kids and first-timers.
- For Advanced Flyers: Opt for kits with complex designs and detailed guides about aerodynamics.
- For All Ages: Select versatile kits suitable for both children and adults, ensuring a family-friendly activity.
- Matching the kit to the user’s skill level minimizes frustration and maximizes enjoyment.
Assess the Design and Complexity
- Pre-Cut vs. DIY Designs: Pre-cut designs are easier to use, while DIY kits allow more creativity.
- Aerodynamic Features: For superior flight, choose kits with aerodynamic templates and adjustable weights.
- Aesthetics: Many kits include colorful patterns or themed designs for added visual appeal.
- Make sure the kit aligns with the user’s desired challenge and creative goals.
Recommended Brands and Manufacturers
- Klutz Paper Airplanes: Known for easy-to-follow instructions and vibrant designs.
- Fold-N-Fly: Offers a range of difficulty levels suitable for various skill sets.
- A-Plane Adventures: Specializes in aerodynamic and STEM-focused kits.
- Customizable Kits: Look for brands offering blank templates for design flexibility.
- Research trusted brands to ensure quality materials and clear instructions.
By considering these factors, you can find a paper airplane kit tailored to your needs. This ensures an enjoyable experience for builders of all ages and skill levels.
Tips for Building a Paper Airplane from a Kit
Crafting a paper airplane from a kit can be easy and enjoyable with the right approach. Follow these tips to make the process smooth and ensure your airplane flies perfectly.
Step-by-Step Construction Tips
- Read the Instructions First: Study the guide carefully before starting to fold your airplane.
- Prepare Your Workspace: Work on a clean, flat surface to avoid mistakes in folds and cuts.
- Follow the Fold Markers: Use the pre-marked lines on the kit paper for accurate folds.
- Start Simple: If you are a beginner, start with basic designs from the kit.
- Check for Symmetry: Ensure all folds are aligned for balanced and smooth flight.
- Add Personal Touches: Use stickers or decals from the kit to customize your design.
Common Mistakes to Avoid
- Avoid Rushing: Take time with each fold to prevent uneven shapes.
- Don’t Skip Instructions: Missing steps can result in poor flight performance.
- Be Gentle with the Paper: Avoid creasing or tearing the paper while folding.
- Check Balance: Uneven folds can make the airplane fly poorly or crash quickly.
- Test Before Decorating: Ensure the flight performance works before adding heavy decorations.
How to Achieve Better Aerodynamics
- Use Lightweight Materials: Select kits with thinner paper for smoother flight.
- Adjust Wing Angles: Slightly bend the wings upward for better lift.
- Add Weight Judiciously: Use weight balancers from advanced kits to improve stability.
- Smooth Out Folds: Eliminate unnecessary creases and ensure sharp folds for clean flight lines.
- Test and Tweak: Fly the plane, observe, and adjust parts for the desired performance.
By using these tips, you can build planes that not only look great but also fly well, making the most of your paper airplane kit.
Flying Techniques for Paper Airplanes
Mastering flying techniques can make your paper airplane soar higher and farther. Take time to practice and refine your skills for better results. Here are key tips to improve your flying experience.
Launching and Controlling Your Airplane
- Hold It Correctly: Pinch the plane firmly but gently at its base.
- Aim Straight: Align your throw towards the desired direction for better control.
- Throw Adjustments: Use gentle throws for smooth glides; harder throws for longer flights.
- Maintain Balance: Ensure a straight throw to avoid tilts and crashes.
- Practice Throws: Test different release angles to perfect your technique.
Adjusting for Distance and Height
- Change Throw Angles: A steeper angle leads to higher flights; a flat angle for distance.
- Add Weight: Attach small weights to the nose for increased stability in longer flights.
- Adjust Wing Shape: Slightly bend upwards or downwards to modify flight path.
- Calibrate Symmetry: Ensure wings are even to maintain steady flight.
- Experiment: Test various adjustments to achieve your desired distance or height.
Tricks and Stunts to Try
- Loops: Curl the plane’s tail upward slightly to create loops during flight.
- Spins: Twist one wing slightly to make the plane spin.
- Glides: Hold at a gentle angle to achieve smooth, long glides.
- Rolls: Bend small sections of the wings to induce barrel rolls.
- Obstacle Course: Set up targets or hoops for your airplane to navigate through.
These techniques help transform an ordinary flight into an exciting experience. Remember, practice is key to making your paper airplane perform well!
Educational and Recreational Benefits
Paper airplane kits offer more than just entertainment. They provide educational and recreational advantages for all ages.
Enhancing Creativity and Problem-Solving Skills
- Foster Creativity: Designing unique paper planes sparks imagination and artistic skills.
- Encourage Experimentation: Kids and adults can try different folding methods to achieve better flight.
- Improve Problem-Solving: Adjusting folds and weights teaches strategic thinking to improve performance.
- Boost Confidence: Successfully creating and flying a plane builds confidence and satisfaction.
STEM Learning Opportunities
- Teach Aerodynamics: Understand lift, drag, and thrust by tweaking designs for better performance.
- Hands-On Physics: Discover concepts like balance, weight distribution, and trajectory.
- Practical Geometry: Learn folding angles and symmetry through shapes and lines in designs.
- Perfect for STEM Projects: Ideal for school science fairs or group STEM activities.
Fun Activities for Friends and Family
Family Bonding
Building paper airplanes together can create an invaluable opportunity for family bonding. This activity encourages family members to collaborate on a shared project, allowing them to work side by side. As they fold and decorate their airplanes, they can engage in meaningful conversations, helping to strengthen their relationships. The process of making something together fosters teamwork and communication. Additionally, the laughter and joy that arise from successfully launching their creations can lead to shared memories that the family can cherish for years to come.
Friendly Competitions
Holding friendly competitions can add an element of excitement to the paper airplane activity. Families can set up contests to determine whose airplane can fly the farthest or stay in the air the longest. This not only adds an engaging challenge but also encourages sportsmanship and camaraderie among participants. By keeping track of the results, families can create a fun scoreboard, and even organize multiple rounds of competition, allowing everyone to try new designs and improve their techniques. Such competitions can also be a great way to celebrate special occasions or simply to enjoy a light-hearted game together.
Group Creativity
Collaborating in a group setting encourages creativity when designing paper airplanes. Family members can brainstorm and share ideas for unique designs, each contributing their own flair and artistic touch. This teamwork allows for the exploration of different folding techniques and aerodynamic principles, leading to innovative airplane designs that might not have been created individually. Testing these designs together not only provides valuable feedback but also fosters a sense of shared ownership and pride in the end product. Witnessing their collective creativity take flight can be highly gratifying and can inspire participants to think outside the box.
Outdoor Fun
Taking paper airplane kits to parks or open spaces can enhance the enjoyment of flying sessions. Outdoor environments provide ample room for running and launching the planes, promoting physical activity alongside the fun. Nature offers a refreshing backdrop that adds to the overall experience, allowing family members to soak in sunshine and fresh air while they play. Creating a designated time for flying in open spaces can invite exciting activities like obstacle courses, where the planes must navigate challenges after launch. These outdoor sessions not only promote a sense of adventure but also enable families to connect with nature while engaging in a delightful activity.
Paper airplane kits combine fun and learning. They help develop important skills while bringing people together.
Maintaining and Storing Your Paper Airplane
Proper care ensures your paper airplanes remain in great condition and ready to fly. Here’s how to repair and store them effectively.
Repairing Damaged Airplanes
- Fix Tears with Tape: Use clear tape to mend small rips or tears in the paper.
- Reinforce Weak Areas: Add an extra layer of tape to stressed fold lines or edges.
- Refold Misshapen Parts: Smooth out creases and adjust folds for proper alignment.
- Replace Damaged Sections: For severe damage, recreate the plane with a new sheet from the kit.
- Inspect Regularly: Check planes after every use and repair immediately to keep them in top condition.
Proper Storage to Preserve Paper Quality
- Keep in a Dry Place: Store planes in a cool, dry area to prevent moisture damage.
- Use Flat Surfaces: Lay planes flat to avoid bends or creases in storage.
- Stack Carefully: If stacking, ensure each plane is aligned to avoid crushing.
- Separate Designs: Use folders or compartments for different planes to prevent designs from sticking.
- Avoid Heavy Items: Keep weighty objects away to prevent deformation of fragile paper planes.
With these tips, your paper airplane kit creations will last longer and fly better.
Conclusion
In conclusion, the paper airplane kit is more than just a collection of paper; it’s an engaging educational tool that promotes learning through play. From understanding the fundamentals of aerodynamics to developing creativity and critical thinking, this simple kit offers endless fun and learning opportunities.
By exploring various designs, conducting experiments, and engaging in educational activities, both children and adults can explore the fascinating world of flight. So gather your materials, unleash your creativity, and let the adventures in flight begin! Whether for home projects or classroom activities, a paper airplane kit brings joy and knowledge to all. Start flying today!


