Introduction
Creating art with paper mache is an enjoyable and creative process. A key component of this technique is paper mache glue, which acts as the binding agent for your projects. Whether you’re crafting a decorative sculpture or playful mask, having the right glue is essential for strong and lasting results. In this article, we will guide you through the process of making your own paper mache glue at home. You won’t just learn the recipe; you’ll also discover some tips and tricks to get the most out of your paper mache projects.
What is Paper Mache Glue?
Paper mache glue is a simple adhesive used in crafting. It binds paper pieces together, forming durable sculptures or shapes. This glue often combines water, flour, or glue-based mixtures. It is easy to make and highly cost-effective.
Crafters use it for a wide range of decorative projects. It works best for creating masks, bowls, and pi?atas. The adhesive dries to form a smooth, hard surface ready for painting or varnishing.
Paper mache glue remains safe and non-toxic, especially homemade recipes. It’s ideal for adults and children alike. The simplicity of the ingredients makes it a versatile option for creative projects.
Types
Paper mache glue comes in various types to suit different crafting needs. Each has its own advantages.
Flour-Based Glue
Flour-based glue is a popular homemade option. It uses flour mixed with water to create a paste. This type is affordable and safe for kids. It dries hard and smooth, perfect for most projects. However, it may not be as durable as other types.
Glue Mixture
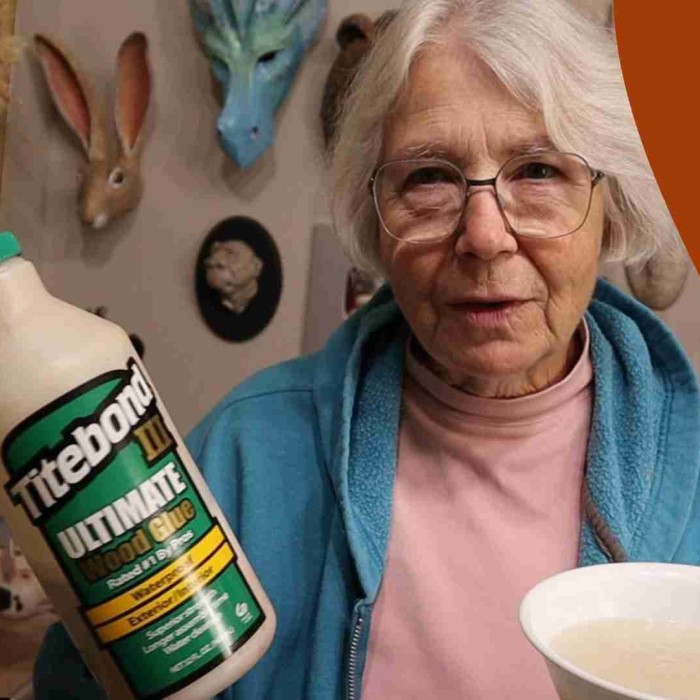
A mixture of craft glue and water is another option. This type is stronger and more durable than flour-based glue. It works well for larger or more complex paper mache designs. Its smooth consistency provides a polished finish when dried.
Wallpaper Paste
Some crafters choose wallpaper paste for advanced projects. It’s strong and easy to use, providing excellent durability. However, it may not be non-toxic, so caution is needed when using it around kids.
Commercial Paper Mache Glue
Ready-to-use commercial glue is also available. It offers convenience and consistent results. It’s ideal for crafters who want to save time or avoid mixing adhesive.
Choosing the right type depends on the project and your personal preferences. Experiment with these options and find what works best for you.
Materials Needed at Home
Making paper mache glue at home is simple. You only need basic, easy-to-find supplies. Here’s a list of essential materials:
- Flour: Choose plain flour for flour-based glue. All-purpose flour works best for a smooth texture.
- Water: Use clean water to mix with flour or glue for the right consistency.
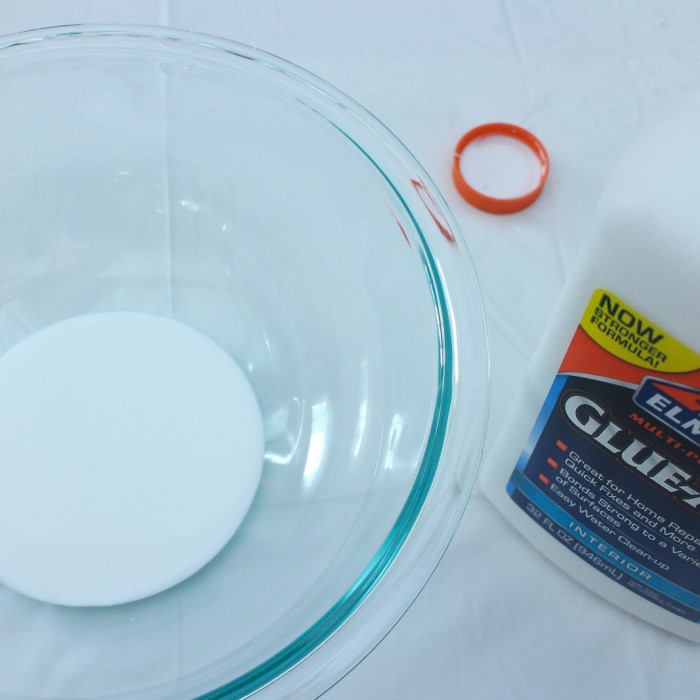
- Glue: White craft glue or PVA glue is ideal for glue and water mixtures.
- Mixing Bowl: Use a bowl big enough to hold and mix your ingredients.
- Spoon or Whisk: A spoon or whisk helps combine the ingredients quickly and evenly.
- Measuring Cups: Accurate measurements improve the consistency of your paper mache glue.
- Optional Additives: For durability, add a pinch of salt to prevent mold or a splash of vinegar.
With these materials, crafting homemade paper mache glue becomes hassle-free. They are affordable and widely accessible, making this an ideal DIY project for creative enthusiasts.
Step-by-Step Guide
Making paper mache glue at home is quick and simple. Follow these steps to create your own adhesive:
- Gather Your Materials:
- You’ll need flour, water, and optional additives like salt or vinegar.
- A mixing bowl, spoon, and measuring cups are essential for easy preparation.
- Measure Your Ingredients:
- Use equal parts of flour and water for a basic mix.
- Adjust quantities based on how much glue you need.
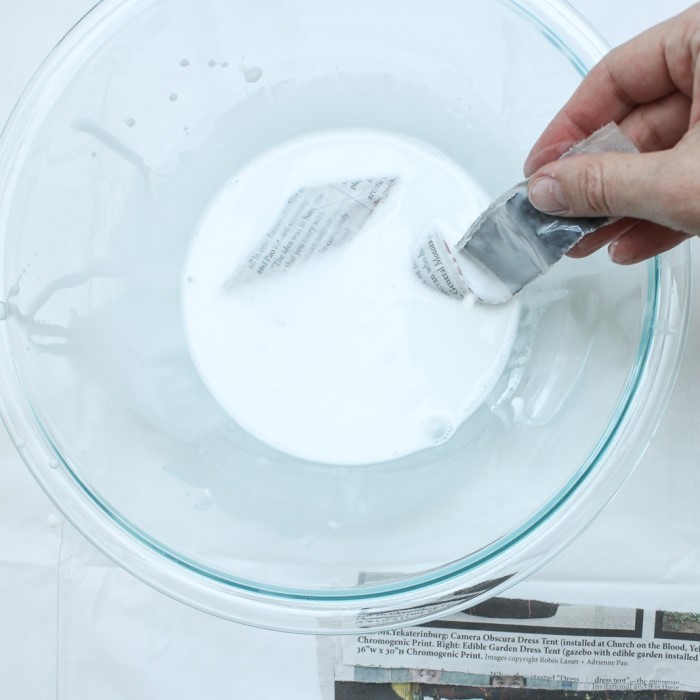
- Combine Flour and Water:
- Pour the flour and water into a mixing bowl.
- Stir with a spoon or whisk until it forms a smooth paste.
- Add Optional Ingredients:
- Add a pinch of salt to prevent mold growth.
- Use a splash of vinegar if you want stronger durability.
- Check the Consistency:
- The mix should be thick but easy to spread.
- If it’s too runny, add more flour. If too thick, add a little water.
- Test Before Using:
- Apply a small amount to paper strips to see if it adheres well.
- Adjust the recipe if needed for better results.
By following these simple steps, you can make reliable paper mache glue for your projects. This homemade recipe is cost-effective, safe for kids, and perfect for crafting fun. Experiment with the consistency to suit your creative needs!
Tips for Achieving the Best Consistency
Achieving the ideal consistency for paper mache glue ensures smooth application and strong adhesion. Follow these tips to get the best results:
- Measure Ingredients Carefully: Use accurate measurements for flour and water. Precise ratios make mixing easier.
- Start with Equal Parts: Begin with equal amounts of flour and water. Adjust the mix as needed.
- Mix Slowly and Thoroughly: Stir slowly to avoid lumps. Combine the mixture until completely smooth.
- Check Thickness: Aim for a paste-like texture. The glue should spread easily without dripping.
- Adjust Ingredients as Needed:
- If the mix is too runny, add small amounts of flour.
- If too thick, add a splash of water.
- Test Before Using: Apply the glue to paper strips. Check its drying and sticking abilities.
- Add Optional Enhancements:
- Use a pinch of salt to prevent mold.
- Add vinegar for better durability.
- Avoid Overmixing: Too much stirring can make the glue gummy. Stop mixing when it’s smooth.
- Use Clean Tools: Ensure your mixing bowl, spoon, or whisk is clean. Dirt can ruin the glue.
By following these simple tips, you’ll create paper mache glue with the perfect consistency every time. This helps your crafting projects turn out beautifully and allows for easier handling.
How to Store Homemade Paper Mache Glue
Storing homemade paper mache glue properly ensures it remains usable for future projects. Follow these simple tips to maintain its quality:
Use an Airtight Container
- Proper Storage: Begin by selecting a clean, sealable container for your glue. An airtight container is crucial for maintaining the glue’s quality. It protects the glue from exposure to air, which can lead to drying out or contamination.
- Best Choices: Opt for airtight jars with screw-on lids or plastic containers with tight-sealing lids. These types of containers create a vacuum seal that keeps moisture in and prevents air from entering, ensuring the glue remains usable for an extended time.
Refrigerate for Longevity
- Cold Storage Benefits: After transferring the glue into the airtight container, place it in the refrigerator. Storing glue in a cold environment slows down the growth of any bacteria or mold that might develop over time, significantly extending its shelf life.
- Optimal Temperature: Keeping the container in the refrigerator not only preserves the glue’s consistency but also helps maintain its adhesive properties, making it more effective for your projects when you’re ready to use it.
Label the Container
- Tracking Freshness: To ensure you can keep track of how long the glue has been stored, it’s essential to label the container. Use a piece of tape or a label and write the date you made the glue on it. This simple step helps you monitor freshness.
- Easy Reference: By noting the date, you can quickly determine whether the glue is still good to use or if it has surpassed its optimal shelf life. This system also encourages you to use up older batches first, minimizing waste.

Stir Before Use
- Restoring Consistency: Before reusing your stored glue, make sure to give it a good stir. Over time, the ingredients may separate, leading to inconsistent texture. Stirring the glue well helps to reintroduce any settled components back into the mixture.
- Better Application: Achieving a smooth consistency is vital for application. Properly stirred glue will spread evenly and adhere better to your crafting materials, ensuring a successful project outcome.
Discard if Spoiled
- Signs of Spoilage: Always examine the glue before use. Look for any foul smell, discoloration, or lumps. These signs indicate that the glue has spoiled and may not perform as intended.
- Make a Fresh Batch: If you notice any signs of spoilage, it’s best to discard the old glue. Making a fresh batch is often more effective and provides peace of mind that your materials will adhere properly in your projects.
Avoid Contaminating Glue
- Use Clean Tools: When taking glue from the container, make sure you use only clean tools, such as a spatula or spoon. Dirty or previously used tools can introduce bacteria or debris into the glue, which accelerates spoilage.
- Maintain Hygiene: Cleanliness is key to prolonging the life of your glue. Always wash your tools thoroughly before using them in the glue container. This practice helps ensure that your glue remains fresh and effective for all your crafting needs.
Typically, homemade paper mache glue lasts up to a week in the fridge. Planning how much glue you need helps reduce waste and ensures freshness for your projects.
Common Mistakes to Avoid
Making paper mache glue at home is simple, but mistakes can affect the results. Avoid these common errors to ensure success:
- Using Incorrect Ratios: Always measure equal parts of flour and water. Improper ratios lead to a lumpy or runny glue.
- Overmixing the Glue: Stir the mixture until it’s smooth, but don’t overmix. Overmixing can create a gummy texture.
- Skipping Optional Additives: Adding salt prevents mold, and vinegar increases durability. Don’t overlook these for better glue.
- Using Dirty Tools: Always use clean mixing bowls and utensils. Dirt can ruin the glue’s quality.
- Improper Storage: Store the glue in an airtight container in the fridge. Poor storage causes spoilage quickly.
- Not Checking Consistency: Test the consistency before use. It should be a paste, not too thick or thin.
- Making Too Much Glue: Only prepare the amount you need. Homemade glue doesn’t last long, even in the fridge.
- Not Testing Before Crafting: Apply glue on a small paper strip before starting. It allows adjustments if needed.
- Using Hot Water: Avoid hot water for flour-based glue. It can cook the flour, clumping the mixture.
- Ignoring Signs of Spoilage: Throw out bad glue immediately. Discolored, lumpy, or foul-smelling glue won’t work well.
By steering clear of these mistakes, your paper mache glue will turn out perfect every time. This ensures fun and hassle-free crafting.
DIY Paper Mache Projects to Try with Your Homemade Glue
Paper mache opens the door to endless creative possibilities. With your homemade paper mache glue, you can craft unique and beautiful projects while staying eco-friendly. Here are some fun and simple DIY ideas to get you started:
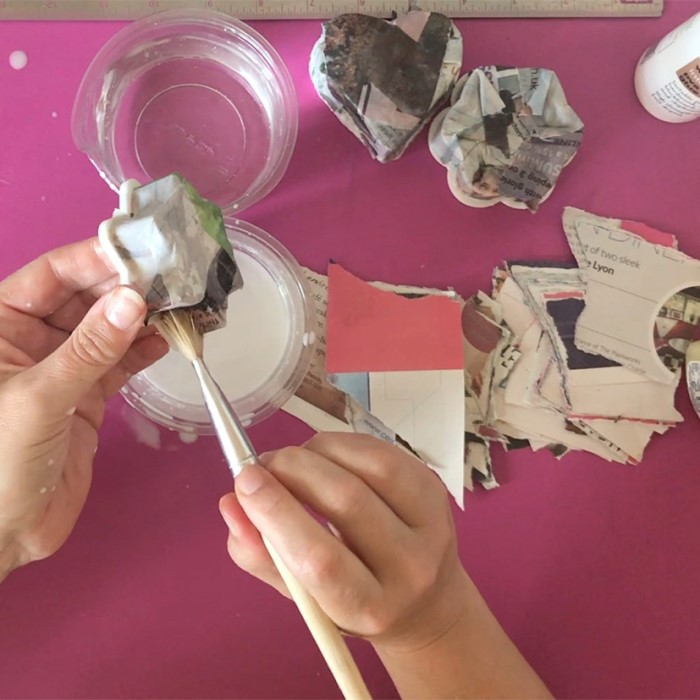
1. Masks
- Create custom masks for Halloween, parties, or cosplay.
- Use layers of paper strips and glue to form strong, lightweight masks.
- Once dry, paint and decorate them as per your character or theme.
2. Bowls and Trays
- Mold paper mache around an existing bowl or tray shape for structure.
- After drying, remove the base and paint it for a creative touch.
- These can be decorative or used to hold lightweight items.
3. Piatas
- Design piatas in fun shapes like animals, stars, or hearts.
- Cover a balloon or mold with paper mache and let it dry before decorating.
- Fill them with candies or small gifts for a celebration.
4. Animal Sculptures
- Create small animal sculptures as DIY home décor.
- Use crumpled paper or tin foil as a base, covering them with papier-m?ché layers.
- Paint details to bring your sculptures to life.
5. Vases and Planters
- Design unique flower vases or small planters using jars as molds.
- Decorate the finished piece for a great handmade home accessory.
6. Decorative Letters or Words
- Craft 3D letters or words for room décor or events.
- Use cardboard as the framework, then layer it with paper mache.
- Finish with colorful paint or unique patterns.
7. Seasonal Ornaments
- Make holiday-specific decorations like Easter eggs or Christmas ornaments.
- Shape them around balloons or molds and paint them for a festive vibe.
8. Wall Art
- Form textured wall art with paper mache layers on sturdy frames.
- Sculpt designs for unique, custom-made wall hangings.
Paper mache DIY projects are versatile and budget-friendly. All you need is creativity and determination. Try these ideas and enjoy the satisfaction of turning simple materials into stunning designs!
Conclusion: Bring Your Creativity to Life
In conclusion, learning how to make paper mache glue opens up endless possibilities for crafting and artwork. Armed with this knowledge and a few easy recipes, you can create your own unique paper mache art that reflects your creativity.
Whether you choose flour and water or white glue, each method is effective for various projects. As you continue your crafting journey, remember to apply the tips provided and avoid common mistakes. Enjoy the process, unleash your imagination, and craft something incredible today!


