Introduction: Why Glue Your Puzzles?
Puzzles are not just a fun pastime; they are pieces of art that can evoke memories and create a sense of accomplishment. Once you’ve spent hours piecing together intricate designs and captivating images, the last thing you want is for your hard work to go to waste. This is where the question arises: how to glue puzzles? Gluing your completed puzzles is an excellent way to preserve them for display. In this article, we will explore effective methods for gluing puzzles, ensuring that your masterpieces remain intact for years to come.

Choosing the Right Glue for Puzzles
Selecting the correct adhesive is vital in puzzle preservation. Start by considering the puzzle’s material. Cardboard puzzles need a glue that penetrates well but doesn’t warp the board. For wooden puzzles, choose a stronger glue that can handle the weight. Always check the glue’s label. Look for terms like ‘non-toxic’ and ‘dries clear’. These properties are essential for a clean, safe display. Avoid glues that give off strong vapors; they can cause pieces to curl.
Here are some glue types suitable for puzzles:
Puzzle-Specific Glue
Puzzle-specific glue is manufactured specifically for the purpose of securely adhering puzzle pieces together. This type of glue typically dries clear, ensuring that the finished product retains its original appearance without any unsightly residue. One of the main advantages of puzzle-specific glue is its ease of application; many brands include an applicator or a built-in spreader, which allows you to cover the puzzle surface evenly without creating excessive mess. This user-friendly feature makes it ideal for crafters of all skill levels, whether you’re a seasoned puzzle enthusiast or a beginner. Additionally, using glue designed expressly for puzzles often enhances the longevity of your artwork, providing a secure bond that helps to preserve your hard work over time.
Mod Podge
Mod Podge is a versatile craft staple that serves multiple purposes, acting both as an adhesive and a sealer. This glue is especially popular for various craft projects beyond puzzles. When applied, Mod Podge appears white, but it dries clear, making it suitable for preserving the visual integrity of your completed puzzle. Its dual functionality allows you to both stick the pieces together and protect the surface with a glossy finish, which can add to the overall aesthetics. Furthermore, Mod Podge is available in various finishes, such as matte, gloss, or satin, enabling you to customize the final look of your puzzle. It is widely available in craft stores and online, making it easy to incorporate into your crafting toolkit.
White PVA Glue
White PVA glue is a commonly used adhesive that is easy to find in art supply stores, making it a popular option among crafters. This type of glue is typically inexpensive and provides a reliable bond for a variety of materials, including paper and cardboard—perfect for puzzles. One unique benefit of PVA glue is its versatility; you can thin it with a bit of water to achieve an easier spreading consistency, allowing for more even coverage. This adjustment helps minimize the risk of overapplication, which can lead to warping or bubbling in the puzzle pieces. White PVA glue dries clear, although it may leave a slight sheen, so it’s advisable to use it carefully for the best results. Overall, this option offers a cost-effective solution for adhering puzzle pieces while maintaining their appearance.
When choosing, consider drying time and final appearance. Some glues dry glossy, while others have a matte finish. Think about where you’ll display the puzzle and the look you prefer. Try a small amount on a puzzle piece’s corner to test for any adverse effects before applying to the entire puzzle. Remember to follow the instructions for the best results. By choosing the right glue, you ensure the puzzle’s longevity and enjoyment for years to come.
Preparing Your Puzzle for Gluing
Before you start gluing, ensure your puzzle is ready. A smooth, set-up process helps avoid mishaps later. Here’s how to prepare your puzzle for gluing:
- Clear a workspace: Make sure the area is flat and free of clutter. Space is key for a fail-proof glue job.
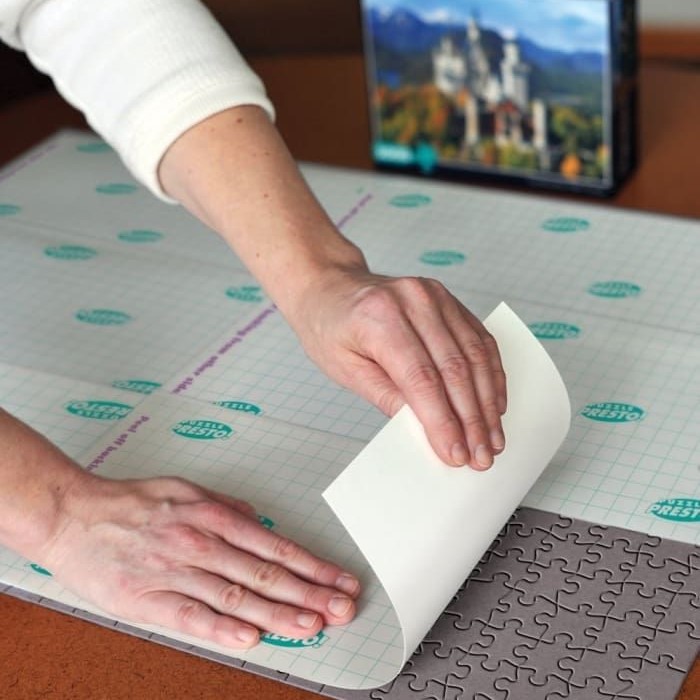
- Flip the puzzle: Carefully flip your puzzle to glue it from the back for an unblemished front view. Use a rolling pin or a similar tool to gently press down on the pieces, securing their position.
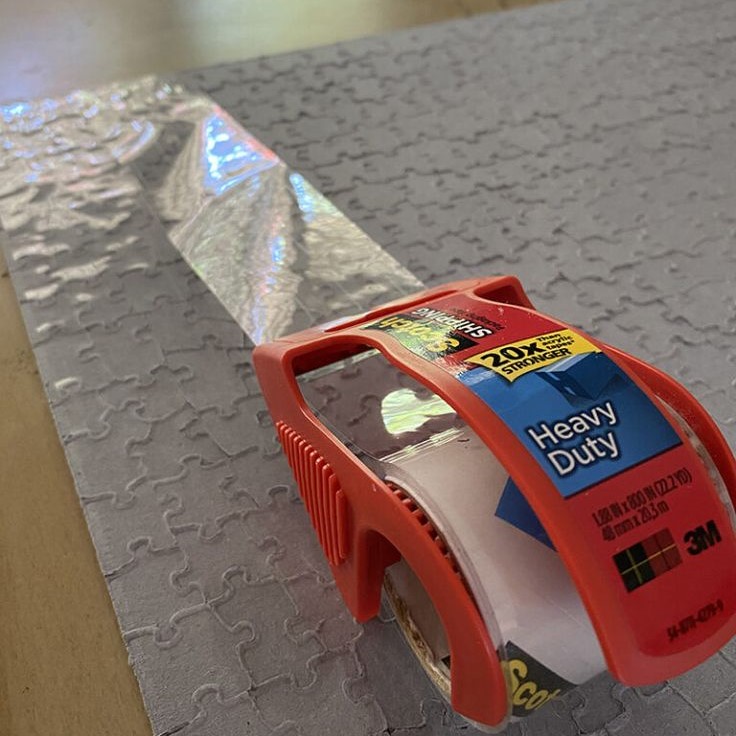
- Seal with tape or wax paper: Lay wax paper beneath the puzzle to avoid sticking to the surface. Consider taping the edges of the puzzle to the wax paper to keep it still.
- Check piece fit: Ensure all pieces are snugly fit together. If any are loose, they could shift and create uneven surfaces during gluing.
Taking the time to properly prepare your puzzle makes the gluing process smoother and increases the chances of a successful preservation. Ready your materials, eliminate distractions, and gather your patience. With these steps, you set the stage for a beautifully glued puzzle masterpiece.
Step-by-Step Guide to Gluing Your Puzzle
Now that you have chosen your glue and prepared your puzzle, let’s dive into the step-by-step process of securing your masterpiece with adhesive. Here’s how to glue puzzles effectively:
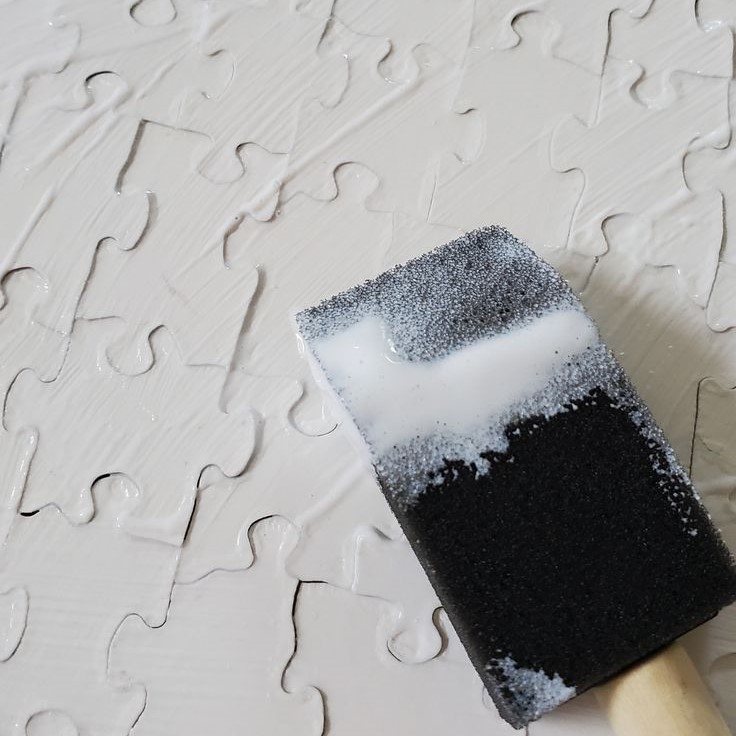
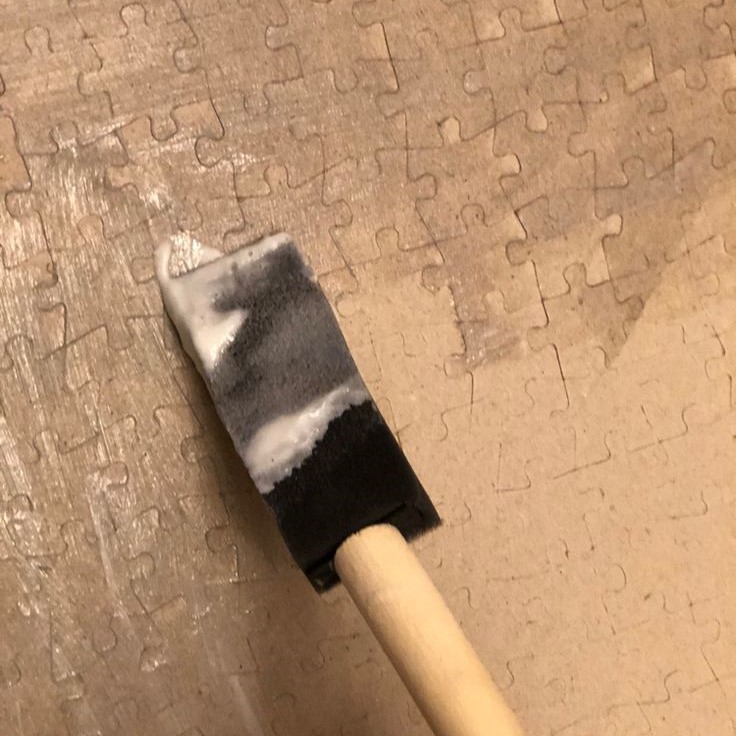
- Apply the glue: Start from the center of the puzzle and work your way out. Use just enough glue to cover the piece without spilling over the edges.
- Spread evenly: With a spreader or a piece of cardboard, gently smooth out the glue. Ensure even coverage for a strong, consistent seal.
- Apply pressure: Once the glue is spread, press down on the puzzle pieces to remove any air bubbles and to assure a flat, tight bond.
- Check edges: Pay special attention to the puzzle’s edges. These parts are prone to peeling, so make sure enough glue secures them.
- Wipe excess: Using a damp cloth, carefully wipe away any glue that seeps out from the puzzle pieces.
By following these steps with patience and attention to detail, your puzzle will be ready for the drying stage. Ensure that you are working in a ventilated area and allow the puzzle to dry thoroughly before displaying. Remember, practice makes for a more perfect puzzle gluing experience.
Drying Time and Proper Ventilation
After applying the glue to your puzzle, drying time is key for a secure bond. Here’s what to consider during this stage:
- Allow sufficient drying time: The glue needs to set completely. This can take several hours or even overnight, depending on the glue type. Check the label for specific drying times.
- Keep the area ventilated: Glues often have fumes that can be harmful. Make sure to glue your puzzle in a well-ventilated space. This will also aid in the drying process.
- Avoid direct sunlight and heat sources: Placing the puzzle near heat or in direct sunlight might speed up the drying, but it can also cause warping or discoloration. Look for a cool, dry place instead.
- Check for stickiness: After the recommended time, gently touch the edges of the puzzle. If it still feels tacky, allow more drying time. It should feel completely dry to the touch before framing or mounting.
- Provide even circulation: If possible, use a fan to circulate air over the surface of the puzzle. This ensures even drying and can prevent the edges from curling up.
By respecting the drying time and ensuring proper ventilation, your puzzle’s beauty will last for a long time. Once it’s fully dry, it’s ready for display without any glue-induced blemishes.
Displaying Your Glued Puzzle
Once your puzzle is glued and fully dry, it’s time to show it off. Displaying your puzzle properly is as important as the gluing process. Here are some great ways to showcase your glued puzzle and keep it protected.
- Choose the right frame: Pick a frame that complements your puzzle’s theme and colors. Make sure it fits snugly without bending any edges.
- Mount on a backing board: For extra stability, mount your puzzle on a foam or cardboard backing board before framing.
- Consider the display location: Hang your puzzle away from direct sunlight to prevent fading. Also, avoid areas with high humidity to reduce risk of damage.
- Use UV-resistant glass: If possible, choose a frame with UV-resistant glass to protect the colors of your puzzle.
- Seal the back: Consider sealing the back of the puzzle with more glue or tape for additional hold.
By following these steps, you’ll ensure your puzzle is not only glued but also displayed beautifully and safely. Always handle your display with care to maintain its longevity. Your glued puzzle is now ready to add charm and character to your living space, preserving memories and showcasing your effort.
Common Mistakes to Avoid When Gluing Puzzles
When securing your puzzle masterpiece, avoid these common pitfalls to achieve a flawless finish:
- Using too much glue: Apply just enough to bond the pieces without creating a mess.
- Ignoring edges: Ensure the puzzle’s edges get sufficient glue, so they don’t peel up later.
- Lack of even coverage: Spread the glue smoothly across the entire puzzle for a strong seal.
- Hurrying the drying process: Drying time is crucial. Never rush it; patience is key.
- Working in a non-ventilated area: Fumes from glue can be harmful. Choose a well-ventilated space to work.
- Exposing puzzle to direct sunlight: Sun can warp or discolor the puzzle. Dry it in a cool, dry spot.
- Moving the puzzle too soon: Let the glue fully set before you try to frame or move it.
Remembering these tips ensures your glued puzzle will remain intact and look great for years to come.
Tips for Long-Term Preservation of Glued Puzzles
After gluing and displaying your puzzle, think about long-term care. To keep your glued puzzle looking new, here are tips to follow:
Avoid High Humidity Areas
When displaying your completed puzzle, it’s crucial to avoid high humidity areas. Moisture can significantly weaken the adhesive used in gluing your puzzle, leading to potential separation of pieces over time. This environmental factor can compromise the integrity of the puzzle, causing it to degrade faster than it would in a drier setting. Therefore, choose locations that maintain a stable, dry atmosphere—such as living rooms or bedrooms—rather than areas like basements or bathrooms where humidity is often elevated.
Keep Out of Direct Sunlight
Another important consideration is to keep your puzzle out of direct sunlight. Prolonged exposure to UV rays can cause colors to fade, dulling the vibrancy of your puzzle artwork. Instead of placing your puzzle in full sunlight, locate it in a spot with indirect light. This approach not only protects the colors but also helps maintain the overall visual appeal of the puzzle. Consider using sheer curtains or shades if the area receives significant light, as this can diffuse the intensity while still allowing some illumination.
Dust Regularly
Regular dusting is essential for maintaining the appearance of your puzzle. Dust can accumulate over time, leading to a dull and unattractive look. To keep your puzzle looking fresh and vibrant, gently wipe it with a soft, lint-free cloth. Avoid using any chemicals or abrasive materials that could scratch or damage the surface. Instead, a simple dry or slightly damp cloth will suffice. Establish a routine for dusting—perhaps once a week or biweekly—to prevent buildup and keep your masterpiece shining.
Frame with Protective Glass
If you choose to frame your puzzle, consider using UV-resistant glass in the frame. This type of protective glass acts as a barrier, guarding against harmful sun damage and helping to preserve the colors and details of your puzzle. While the initial investment in quality framing may seem higher, it pays off in the long run by prolonging the life of your puzzle and maintaining its aesthetic appeal. A properly framed piece not only enhances your decor but also acts as a protective shield against environmental factors.
Consider a Cover
If your puzzle is not framed, using a clear plastic cover can be a viable alternative to shield it from dust and potential damage. These covers act as a protective barrier, preventing dust accumulation while allowing you to view the puzzle without obstruction. Make sure the cover is made from a non-reactive material that won’t yellow or warp over time. This option is particularly useful for puzzles displayed in high-traffic areas or settings where they might be more susceptible to physical damage or spills.
Rotate Displays
Lastly, consider rotating your displays periodically. Changing the location of your puzzles reduces prolonged exposure to damaging elements like sunlight and humidity. By regularly moving your displays to different parts of your home, you can minimize wear and give your puzzle a fresh look in a new setting. Additionally, this practice allows you to showcase various completed puzzles, keeping your decor dynamic and engaging. Establish a schedule for rotation—such as every season or after completing a new puzzle—to maintain the vibrancy of your collection.
By following these guidelines, you can ensure that your puzzles remain beautiful and intact for years to come, allowing you to enjoy your hard work and artistic achievements long into the future.
Conclusion
In summary, mastering how to glue puzzles is a rewarding endeavor that allows you to preserve your hard work and showcase your achievements. From selecting the right glue to the gluing process and framing, following these steps ensures your puzzles remain beautiful and intact for years to come. Take your time, be patient, and pay attention to detail. Engaging in this process not only protects your completed puzzles but also enhances your crafting skills, creating a satisfying and enriching experience.
By successfully gluing your puzzles, you embark on a journey of preservation, turning simple cardboard pieces into cherished artwork. Happy puzzling!