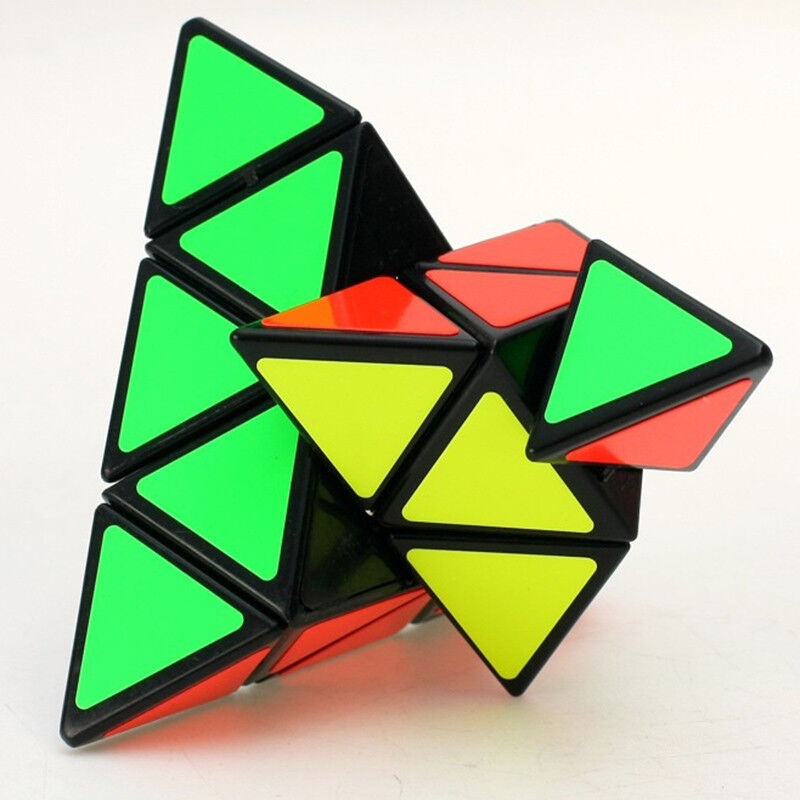
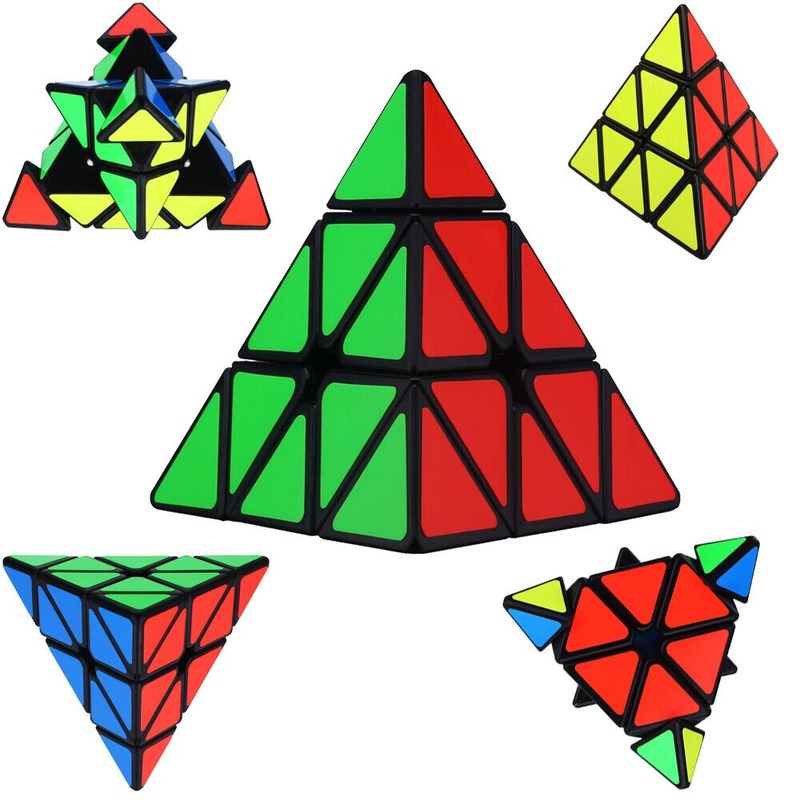
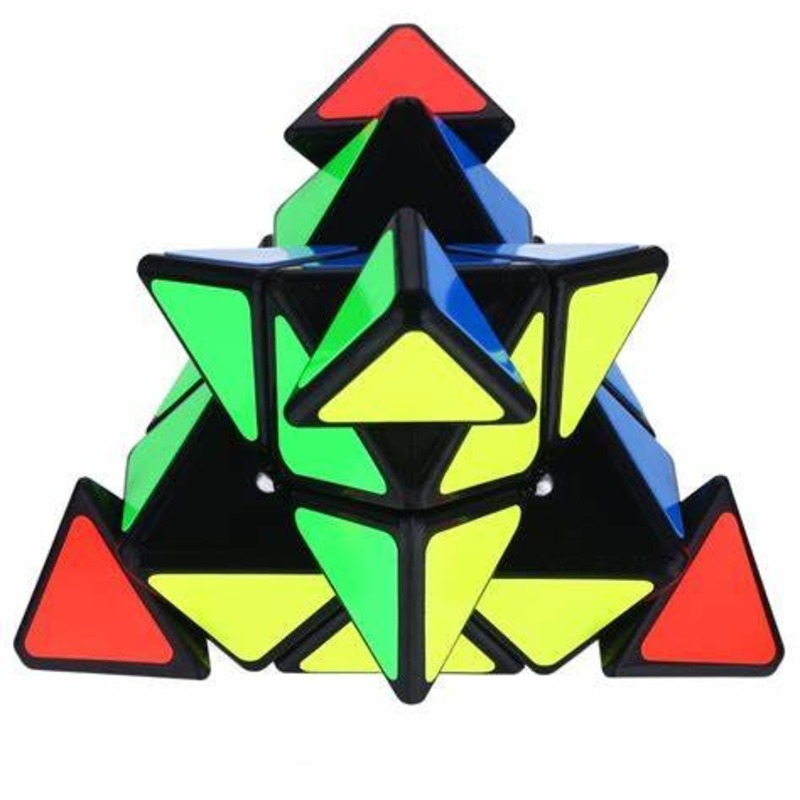
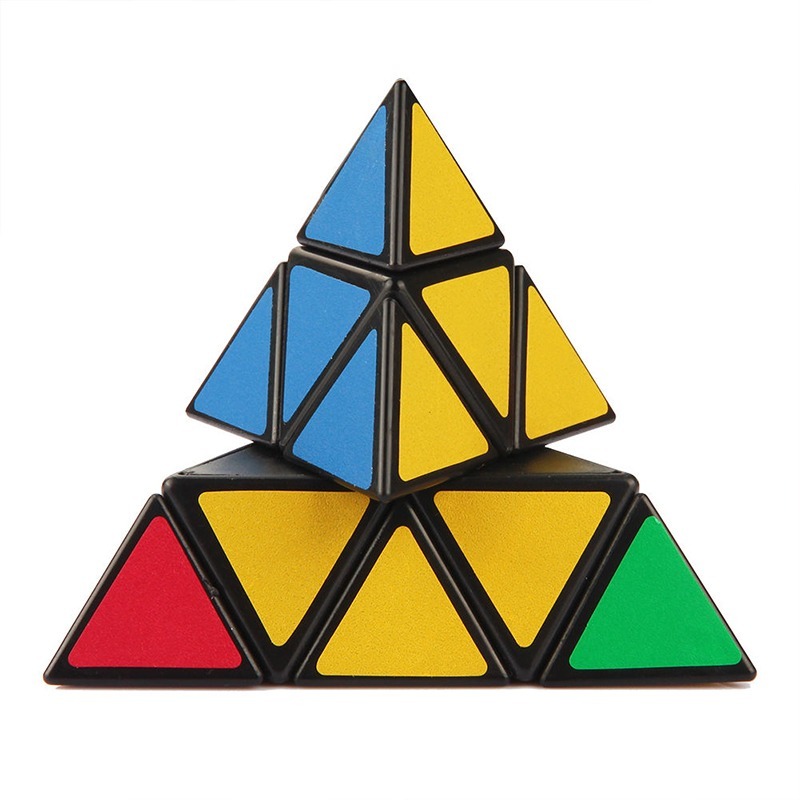
Introduction to the Triangle Rubik’s Cube
Before diving into the complex world of solving the Triangle Rubik’s Cube, it’s vital to get familiar with what this puzzle is. Unlike its classic counterpart, the Triangle Rubik’s Cube, also known as the Pyraminx, is shaped like a pyramid and consists of fewer pieces. However, don’t let the number of pieces fool you; solving this puzzle can be just as challenging. The aim is to twist and turn the pyramid’s layers to match colors on all sides.Learn how to solve a triangle Rubik’s Cube with our step-by-step guide, essential algorithms, and tips for beginners and advanced solvers.
Learning how to solve the Triangle Rubik’s Cube not only is fun but also develops spatial reasoning and problem-solving skills. Whether you’re a beginner or an enthusiast looking to sharpen your skills, this guide will take you through the steps required for mastery of this intriguing puzzle.
The Basics of Triangle Rubik’s Cube Notation
Before you can master how to solve the Triangle Rubik’s Cube, it’s crucial to understand its notation. Much like the notation system used for a standard Rubik’s Cube, the Triangle Rubik’s Cube notation involves a set of letters that represent the different turns and twists you can make. Here are the fundamentals:
- U (Upper): This refers to turning the topmost layer of the Pyramid clockwise.
- U’ (Upper Inverse): When you see this, it means to turn the topmost layer counterclockwise.
- L (Left): This represents turning the left base layer towards you, which is a clockwise motion when looking at that side directly.
- L’ (Left Inverse): Signifies the left base layer being turned away from you, or counterclockwise.
- R (Right): Means to rotate the right base layer towards you, akin to a clockwise turn.
- R’ (Right Inverse): This notates that the right base layer should move away, in a counterclockwise direction.
- B (Back): Indicates turning the back base layer clockwise.
- B’ (Back Inverse): Directs you to rotate the back base layer counterclockwise.
Understanding these basics is essential. It is like learning the alphabet before you form words and sentences. Similarly, you use these notations to create algorithms that you can follow to solve the pyramid. As you get familiar with this notation, you’ll find that visualizing and executing the moves becomes second nature. This foundation will significantly assist you as we move forward to the subsequent steps of solving the Triangle Rubik’s Cube.
Step 1: Understanding the Cube’s Mechanics
To master how to solve the Triangle Rubik’s Cube, you must first understand its unique mechanics. Unlike traditional cubes, the Triangle Rubik’s Cube comprises three layers and four faces, each with its own color. The top layer or apex of the pyramid can rotate independently from the base. The base itself is divided into three movable parts that correspond to the left, right, and back of the cube. Each piece of a layer can turn independently, allowing for a variety of movements.
Here’s what you need to grasp about the mechanics:
- The Center Pieces: They are the heart of the Pyramid’s rotation and do not move from their position. They help indicate the final color each face must be.
- The Edge Pieces: These pieces can be found between the center pieces and move around during the solve.
- The Apex Piece: This is the single piece at the top of the pyramid, and it rotates independently of the rest.
Understanding the cube’s structure is crucial. Recognize that each layer’s turn affects the other pieces and that to reach the goal of matching all sides, each move must be deliberate. It’s akin to a dance, where each step is part of a choreographed routine leading to the puzzle’s completion. Keep this mechanics overview in mind as you begin to solve the puzzle, and it will make the steps that follow more intuitive.
Step 2: Solving the First Layer
After grasping the cube’s mechanics, your next goal is to solve the first layer. This involves positioning the edge pieces correctly around the center ones. Follow these steps to begin:
- Identify the Base Color: Choose one color to start with, usually the color of the center piece on the base. This will be the color of your first layer.
- Match Edge and Center Pieces: Find the edge pieces that have the base color. Rotate the base layer to align these edge pieces with their corresponding center colors.
- Position the Edge Pieces Correctly: Sometimes, edge pieces may be in the right place but flipped in the wrong direction. Use the notations U, U’, L, L’, R, R’, B, B’ to rotate them into the correct orientation.
- Check Your Work: Once you believe you’ve solved the first layer, double-check each edge piece. Ensure that it not only matches the color of the center piece but is also oriented correctly, creating a solid color base.
Successfully completing this step provides a strong foundation for the rest of the puzzle. Keep your moves intentional and pay attention to the cube’s layout. You’re building the skills on how to solve the Triangle Rubik’s Cube efficiently and effectively.
Step 3: Orienting the Last Layer
After you have successfully solved the first layer of the Triangle Rubik’s Cube, it’s time to orient the last layer. This can be challenging, but with practice, you’ll become more adept at it. Here’s what you need to do:
- Identify Misplaced Pieces: Look at the apex of the pyramid to identify any edge pieces that don’t match. Your goal is to create a uniform color on the bottom layer.
- Use the Right Algorithm: Apply a specific sequence of moves, or an algorithm, to twist the pieces into the correct orientation. These will involve the notations U, U’, L, L’ B, B’ you’ve learned.
- Adjust the Apex Piece: If needed, twist the top apex piece so that it aligns with the base colors.
- Repeat As Necessary: You may need to repeat your algorithm several times to get all pieces oriented correctly.
- Check Progress: Constantly check to make sure all pieces on the last layer are lining up. If they are not, reassess your moves and try again.
Orienting the last layer is about looking for patterns and applying the correct procedures. It’s normal if it doesn’t fall into place immediately—persistence is key. Once you’ve mastered this step, you’re on your way to solving the Triangle Rubik’s Cube entirely.
Step 4: Permuting the Final Pieces
Once you have oriented the last layer in the Triangle Rubik’s Cube, the next step is to permute the final pieces. This means moving them into their exact locations to complete the puzzle. During this stage, your focus is on the edge pieces of the last layer. Here is how you can permute those pieces effectively:
- Identify the Correct Position: First, check if any edge pieces are already in the right place, even if not oriented correctly.
- Apply the Permutation Algorithm: Using the notations you learned, perform a series of moves designed to shift the edge pieces into their correct spots.
- Keep the Base Intact: Ensure that you don’t disrupt the solved base while permuting the top layer. Only use algorithms that affect the last layer.
- Double-Check the Position: After applying the permutation algorithms, every edge piece should be directly above its matching center piece. If not, repeat the algorithm.
By carefully following these steps and applying the appropriate algorithms, you will permute the final pieces. With each move, you are not just turning the layers; you are a step closer to solving the Triangle Rubik’s Cube. Your patience and precision here are crucial, as this is where everything comes together. Keep practicing this step until you can do it with confidence. Remember, learning how to solve the Triangle Rubik’s Cube is a process that gets faster and more intuitive with practice.
Tips and Tricks for Efficient Solving
Solving the Triangle Rubik’s Cube with efficiency requires more than just knowing the steps. Here are tips to enhance your solving speed and precision:
- Start with Practice: The more you handle the cube, the quicker your solving will become. It’s all about muscle memory.
- Finger Tricks: Learning finger tricks can greatly reduce the time it takes to execute moves. Use your fingers to flick the layers instead of turning the whole cube with your hands.
- Look Ahead: As you work on one area, try to see which moves will come next. This saves time and keeps you moving forward.
- Learn from Errors: Each mistake is a learning opportunity. Take the time to review what went wrong and how to correct it.
- Manage Your Algorithms: Keep a small set of effective algorithms. Knowing them well is better than knowing many poorly.
- Stay Relaxed: Tension can slow you down. Keep your hands and mind relaxed as you solve the puzzle.
- Use a Timer: Timing your solves helps track progress and pushes you to get faster.
- Break the Problem Down: Tackle the cube in sections rather than trying to solve it all at once. This systematic approach can simplify the process.
With these pointers in mind, remember that how to solve the Triangle Rubik’s Cube isn’t just about speed; it’s about accuracy and smoothness of motion as well. So, keep practicing, and soon you’ll see your solve times start to drop!
Common Mistakes to Avoid While Solving
Learning how to solve the Triangle Rubik’s Cube is exciting. However, enthusiasts often stumble upon common errors that can hinder their progression. To help you streamline your solving technique, let’s address some frequent pitfalls to watch out for:
- Forcing the Pieces: Never force the cube’s layers to turn. Forcing can damage your cube, making it harder to solve.
- Skipping Steps: Stick to the solving steps. Jumping ahead may mix up already solved parts.
- Turning Too Quickly: Slow down. Rushing through spins may cause you to miss aligning the pieces properly.
- Ignoring the Notations: Remember the notations. Disregarding them could lead to incorrect moves.
- Neglecting the Cube’s Mechanics: Pay attention to how the cube works. Neglect can result in not knowing which layer to turn next.
- Losing Patience: Keep calm and be patient. Frustration can lead to mistakes and may demotivate you.
- Overcomplicating Algorithms: Use simple algorithms. Trying complex ones too early can be confusing.
By avoiding these mistakes when learning how to solve the Triangle Rubik’s Cube, your skill will improve. Each error you avoid brings you closer to becoming a proficient solver. Keep practicing, and soon the puzzle’s solution will become clear and more intuitive.
Practice Drills to Improve Your Speed
To get quicker at solving the Triangle Rubik’s Cube, regular practice is essential. Use these drills to enhance your speed and efficiency:
- Timed Solves: Set a timer and solve the cube from start to finish. Track your times to see improvement.
- Algorithm Repetition: Pick a set of algorithms and repeat them. This helps you execute them faster when solving.
- Layer-by-Layer Practice: Focus on one layer at a time. Aim for speed and accuracy before moving to the next.
- Scramble and Solve: Scramble your cube differently each time. This prevents memorizing solutions and improves adaptation.
- Backward Solving: Start from a solved cube and work your way backward to the scrambled state, then solve it again.
- Finger Trick Drills: Work on your finger dexterity. Practice flicking and turning layers with minimal hand movement.
- Non-Stop Solving: Solve the cube as many times as you can without a break. This builds stamina and speed.
- Visualization: Close your eyes and visualize the moves before you do them. This can help with memorizing algorithms.
By incorporating these drills into your practice sessions, your speed at solving the Triangle Rubik’s Cube will gradually improve. Remember to keep your practice sessions focused and don’t rush through the solves. Speed will come with time and effort. Stick to these exercises, and you’ll soon notice your solving times dropping significantly.