Introduction
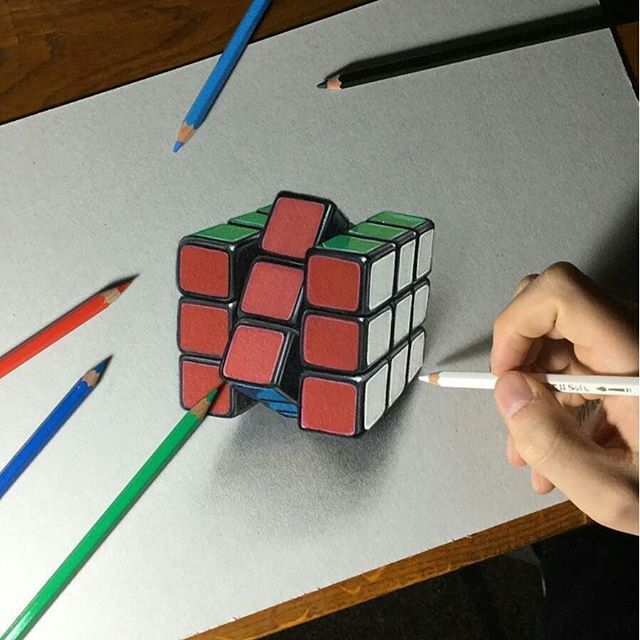
The Rubik’s Cube has captivated minds for decades. Not only is it a challenging puzzle, but it also serves as an intriguing subject for artists. Drawing a Rubik’s Cube can be a rewarding experience, blending geometry and creativity. This guide will walk you through the process of creating your own stunning Rubik’s Cube drawing while providing tips and inspirations along the way.
Unlock your artistic potential with our comprehensive guide to Rubik’s Cube drawing! Whether you’re an aspiring artist or a seasoned pro, this article provides a step-by-step tutorial to help you master the art of drawing one of the world’s most iconic puzzles. With its vibrant colors and geometric shapes, the Rubik’s Cube is not only a challenging 3D puzzle but also a captivating subject for your next drawing project. In this guide, you’ll learn about the materials needed, including pencils and colored markers, and discover essential techniques for shading and highlighting that will bring your drawing to life.
Understanding the Rubik’s Cube
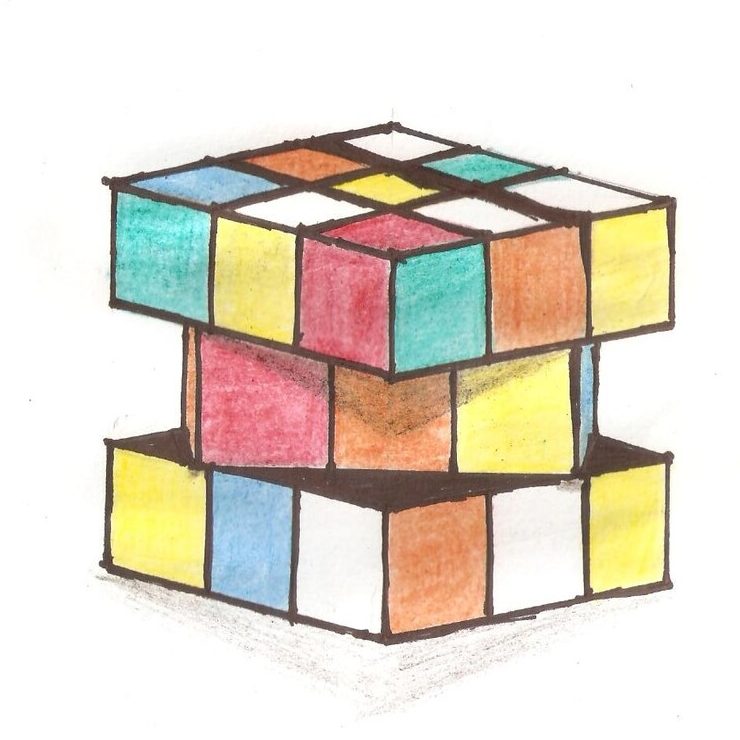
Before you begin your journey into Rubik’s Cube drawing, let’s comprehend what this fascinating puzzle is all about. The Rubik’s Cube is a 3D combination puzzle, typically consisting of six faces, each divided into nine squares. Each face is painted with one of six solid colors: red, blue, green, yellow, orange, and white. This distinctive design not only attracts puzzlers but also makes it visually appealing for artists.
The visual structure of the cube is an interesting challenge. Each square interacts with its neighbors, creating a dynamic interplay of colors. This characteristic makes drawing a Rubik’s Cube captivating and rewarding. Additionally, its geometric form offers excellent opportunities for artistic exploration, such as shading, color blending, and dimensionality.
As you start to visualize the cube, pay close attention to its symmetrical features and the arrangement of the colors. These elements will be critical as you begin your drawing.
Materials Needed for Drawing
To effectively draw a Rubik’s Cube, you will need several essential tools. Preparing these materials in advance will set the stage for your artistic journey.
1. Pencils
Begin with a selection of quality drawing pencils. A range of graphite pencils, such as HB, 2B, and 4B, will help create varying shades and lines.
2. Erasers
An eraser is crucial for correcting mistakes and refining your drawing. Consider having both a regular eraser and a kneaded eraser. The kneaded eraser is perfect for lifting graphite and creating subtle highlights.
3. Colored Pencils or Markers
Invest in a set of high-quality colored pencils or markers. Look for vibrant colors to match the hues of the Rubik’s Cube. Colored pencils allow for blending and shading, while markers provide vivid color blocks.
4. Drawing Paper
Choose a paper that can handle the medium you plan to use. For colored pencils, textured or heavyweight paper is ideal. If you opt for markers, select smooth paper to avoid bleeding.
By gathering these materials beforehand, you will enhance your focus during the drawing process. Now that you’re equipped, let’s dive into the step-by-step tutorial.
Step-by-Step Rubik’s Cube Drawing Tutorial
Drawing a Rubik’s Cube can be broken down into clear, manageable steps. Follow this tutorial to create your own rendition.
1. Drawing the Base Cube
Start by lightly sketching a simple cube outline. Use light pencil strokes to define the dimensions. Begin with a square for the front face and parallel lines extending back to form the sides. Ensure that the lengths are accurate so that the perspective remains consistent.
2. Adding Details
Once you have the base cube, outline the individual squares on each face. There are nine squares on each visible side of the cube, totaling 27 squares for a complete Rubik’s Cube. Take your time with this step. Precision is key to achieving a realistic look.
3. Coloring Techniques
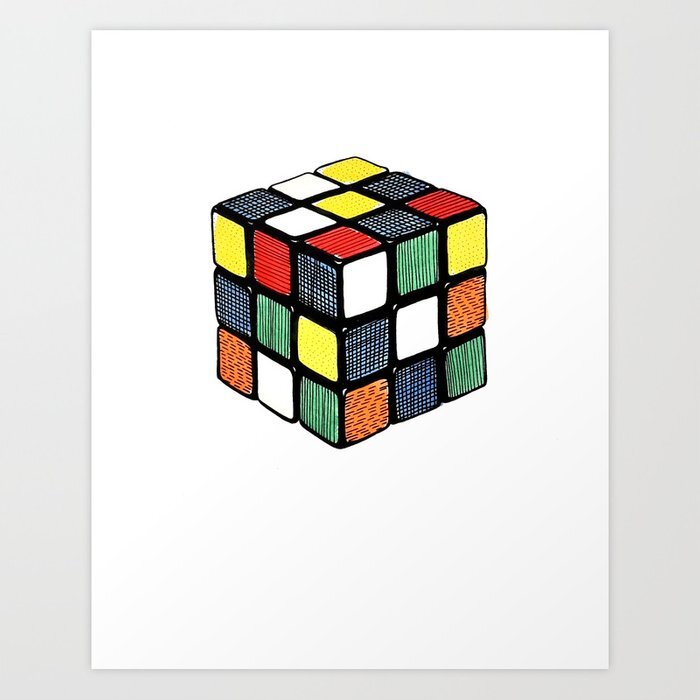
With the outlines in place, begin to color each square. It’s essential to color the squares accurately, reflecting the puzzle’s iconic colors. Use your colored pencils or markers to fill them in with solid colors. You can also experiment with color blending within the squares to create a more dynamic look.
4. Shading and Highlighting
To give your drawing depth, apply shading to the edges of the visible squares. Use a darker pencil (like 4B) to create shadows and a lighter pencil or eraser for highlights. This technique adds realism to your artwork. Remember the light source; the areas opposite the light will appear darker.
Visual Examples
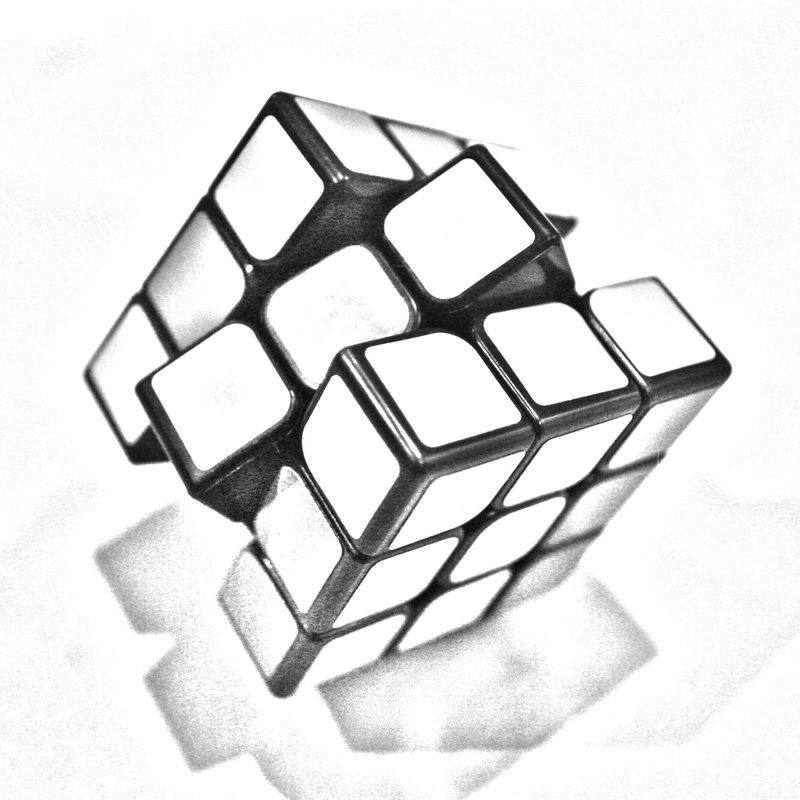
Include visual aids for each step if you’re creating an illustrated tutorial. Diagrams can significantly enhance understanding and provide clear guidance.
Tips for Drawing a Rubik’s Cube
To improve your skills when drawing a Rubik’s Cube, consider the following tips:
1. Practice with Geometric Shapes
Understanding geometric shapes is crucial for drawing cubes convincingly. Spend time practicing with basic shapes and their relationships. Familiarize yourself with drawing 3D objects to enhance your skill set.
2. Experimenting with Different Perspectives
Rubik’s Cubes are visually interesting from various angles. Don’t hesitate to try different perspectives in your drawings. This will not only challenge your skills but also expand your creative repertoire.
3. Using Graph Paper
Graph paper can assist with accuracy when sketching the initial cube layout. It provides a grid that helps maintain uniformity in the square sizes and the overall cube proportions.
4. Color Blending Techniques
For a more polished look, practice blending colors within the squares. Overlay different colored pencils to achieve desired effects. Experimenting with color combinations can lead to fantastic results.
Inspiration and Ideas for Rubik’s Cube Art
Drawing a Rubik’s Cube becomes even more enjoyable when you explore creative variations. Here are several ideas to inspire your artistic journey:
1. Artistic Variations
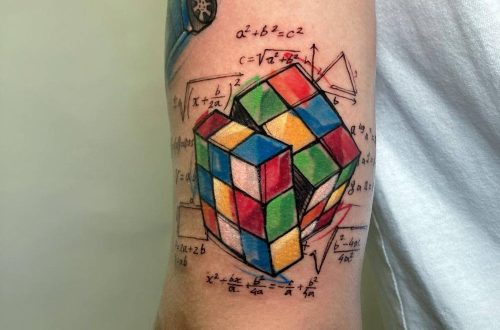
Explore abstract interpretations of Rubik’s Cubes. You can deconstruct the cube into geometric patterns or use the colors in more organic, flowing designs. Let your imagination guide you.
2. Mixed Media Techniques
Combine your drawing with other art forms. Consider integrating painting, collage elements, or digital effects to enhance the overall presentation. This approach will help your art stand out.
3. Rubik’s Cube in Popular Culture
Look for references to Rubik’s Cubes in movies, music, and contemporary art. Analyze how these cultural elements can influence your own work. This exposure can spark new ideas and creative methodologies.
Conclusion
Drawing a Rubik’s Cube serves as a fun and engaging exercise that can improve your artistic skills. Through understanding its structure and color scheme, you can create stunning artwork. This guide has provided you with a thorough introduction, materials needed, and step-by-step instructions.
Don’t hesitate to share your completed Rubik’s Cube drawings with others. Post them on social media and inspire fellow artists. Engaging with the community can lead to valuable feedback and new friendships. Enjoy the process, and let your creativity shine!
We also share tips for selecting the right perspective, using graph paper for precision, and experimenting with color blending to achieve a stunning visual effect. Plus, find inspiration through creative variations and mixed media techniques that can elevate your artwork. Perfect for artists of all skill levels, this tutorial offers everything you need to confidently create your own Rubik’s Cube drawing. Join us as we explore this colorful world of shapes, patterns, and creativity, and share your finished masterpiece with our online community! Dive into the world of Rubik’s Cube drawing and unleash your creativity today!
