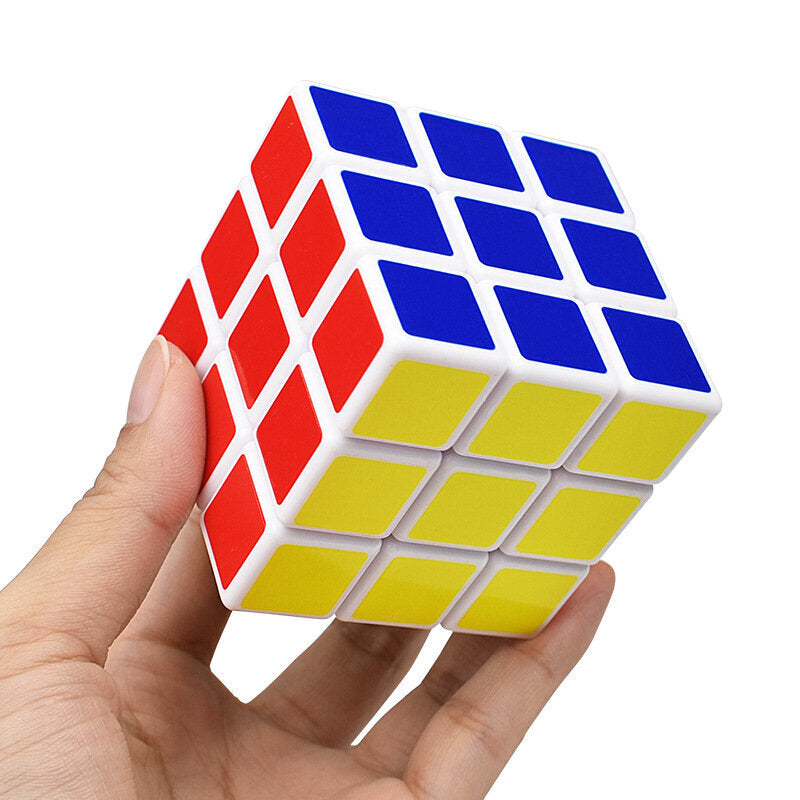
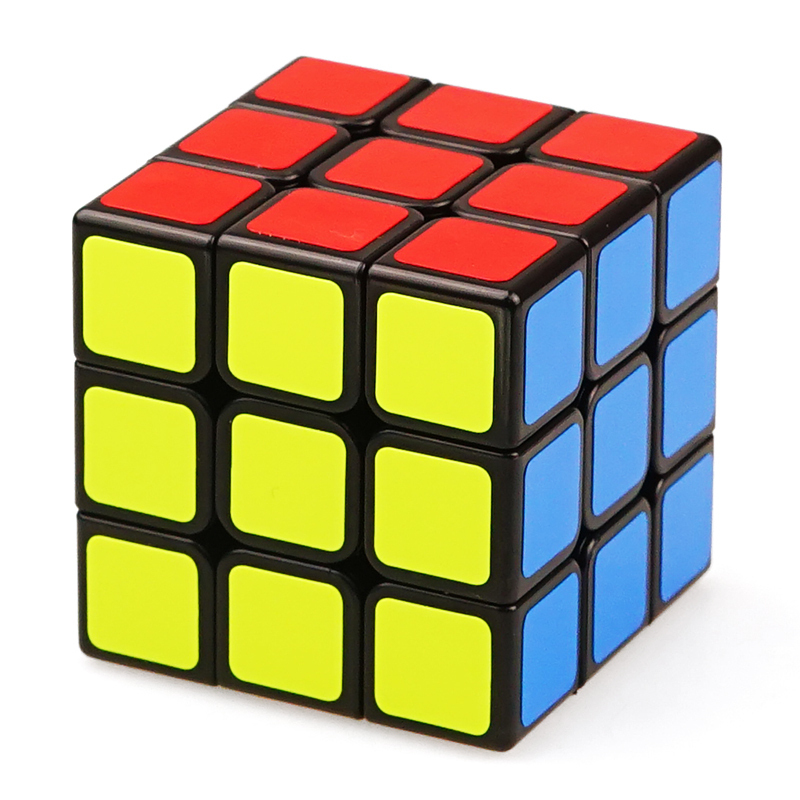
Introduction to Rubik’s Cube and the White Cross Challenge
The Rubik’s Cube, a classic puzzle with a vast global following, is both a mental challenge and a popular pastime. Central to solving this puzzle is the creation of the white cross, the first step in many solving methods. This challenge involves aligning white edge pieces to form a cross on one face of the cube, while simultaneously matching the center pieces of adjacent sides.
Initiating the solve with the white cross has become a standard approach for both beginner and experienced cubers. It sets the foundation for the rest of the puzzle, leading to a solved first layer and paving the way for further strategies. As we delve into this guide, you’ll learn the necessary techniques to master the white cross, optimize your solution, and begin your journey into more advanced levels of cubing.
In the upcoming sections, we’ll cover step-by-step instructions on selecting your starting face, basic and optimized techniques for the white cross, as well as common mistakes and how to avoid them. Additionally, we’ll provide insights into speedcubing and resources to connect with the Rubik’s Cube community for continuous improvement and enjoyment.
Whether you are a complete beginner or looking to refine your technique, understanding how to efficiently solve the white cross is a crucial skill. Let’s embark on this cube-solving adventure together, starting with the intriguing challenge of the white cross!
Choosing Your Starting Face and Color Scheme
Selecting the starting face and color scheme is a pivotal first step in solving the white cross on a Rubik’s Cube. For those embarking on their cubing journey, this can sometimes seem daunting. However, with a simple understanding of the cube’s structure and a couple of handy tips, one can make this choice with confidence.
The center pieces of the cube act as a fixed point of reference as they do not move. Due to this, the colors opposite each other remain constant: white is opposite yellow, blue opposite green, and red opposite orange. Choosing to start with the white center piece is a common practice among both beginners and experts because it stands out and is easier to locate.

Here’s a concise list to ensure you set off on the right track:
- Identify the white center piece.
- Choose the white face as your starting point.
- Observe each of the four middle pieces surrounding the white center.
- Note the fixed colors on the sides: blue, red, green, and orange.
- Begin aligning white edge pieces to form the cross.
As you assemble the white cross, ensure that the edge pieces not only pair with the white center but also with their corresponding side centers. This sets the stage for crafting a solid first layer. With the correct beginning strategy, you’re well on your way to a complete solution, layer by layer.
As a tip, some cubers prefer to start with the white side on the bottom for better visibility of the other faces. This might feel counter-intuitive at first, but with practice, it leads to improved speed and efficiency. Always remember, the initial choice of face and color impacts your entire solve, so take the time to set it up correctly.
Basic Techniques for Forming the White Cross
The foundation of solving a Rubik’s Cube lies in creating the white cross. This process might seem tricky initially, but with practice, it becomes second nature. Here’s how you can begin to form the white cross using basic techniques:
Find and Position the White Edges:
Spot the white edge pieces around the cube. Position them so they are on the layer adjacent to the white center piece.
Match Edges to Center Pieces:
Adjust the cube so that each white edge piece you’re working with is directly above or below its matching center piece of the same color.
Move White Edges to the Top:
Use the appropriate cube rotations to bring the white edge pieces to the top layer to form a ‘T’ shape with the corresponding center color.
Align the ‘T’ with the Center:
Rotate the top layer until the horizontal line of the ‘T’ aligns with the same colored center piece on the cube’s side.
Flip the White Edge into Place:
Once aligned, flip the white edge piece down to form part of the cross on the white face.
Remember, accuracy is more crucial than speed when learning. Take your time to perform each step deliberately, ensuring the white edges not only form a cross on the white face but also correctly match the side centers. With these basic moves mastered, you’ll lay a strong groundwork for the remaining steps in solving your Rubik’s Cube.
Optimizing the White Cross Solution: Tips and Tricks
To master the white cross on the Rubik’s Cube, efficiency is key. Here are some tips and tricks to optimize your white cross solution:
- Plan Ahead: Before making any moves, visualize the steps that will bring all white edges into place. This foresight saves time and reduces unnecessary moves.
- Minimize Cube Rotations: Rotating the entire cube takes time. Limit rotations by keeping the white center on the bottom and bringing edges to it.
- Learn Finger Tricks: Finger tricks are subtle cube manipulations using fingers instead of the wrist. They speed up movements and transitions between moves.
- Avoid Unnecessary ‘T’ Formations: If a white edge is already in the correct position, rotate the face, not the top layer.
- Correct Two Edges Simultaneously: Look for opportunities where a simple half turn of the cube’s middle layer aligns two white edges at once.
- Use Advanced Algorithms Sparingly: While tempting, complex algorithms can slow you down at this stage. Stick to simpler, faster moves.
- Practice Inspection Time: Take advantage of inspection time to plan your white cross. Do this before the timer starts in speedcubing.
By incorporating these techniques, you’ll be on your way to a faster and more efficient white cross. Remember, practice makes perfect; keep refining these strategies to become an adept cuber.

Advanced Strategies: Transitioning from White Cross to F2L
After mastering the white cross on a Rubik’s Cube, the next step is transitioning to First Two Layers (F2L). F2L blends solving the white cross with completing the first two layers. This method is more advanced but leads to greater efficiency and quicker solve times.
Here are strategies to help you move smoothly from white cross to F2L:
- Understand F2L Concepts: F2L pairs edge and corner pieces of the first two layers. Learn how these pieces move together.
- Identify F2L Pairs: Look for corresponding corner and edge pieces that create an F2L pair. Align them above their destination.
- Use Key Algorithms: Memorize algorithms that position F2L pairs without disrupting the white cross. Apply these to insert pairs into the correct slots.
- Practice Intuitive F2L: With time, learn to insert pairs without relying on algorithms. This intuitive F2L comes with practice and observation.
- Maintain a Solid Cross: Keep the white cross intact while working on F2L. It acts as a stable base for the other moves.
- Look-Ahead: Develop the ability to foresee where pieces will end up. Plan several moves ahead to save time.
- Avoid Cube Rotations: Similar to the white cross, minimize cube rotations to speed up the process. Keep the white face on the bottom.
- Drill Algorithms: Repeatedly practice the F2L algorithms. This helps muscle memory and speed.
Mastering the transition to F2L from the white cross significantly improves your Rubik’s Cube solve times. With focused practice, you’ll soon perform these moves fluidly and with confidence.
Common Mistakes and How to Avoid Them
When tackling the white cross on a Rubik’s Cube, certain errors can hinder progress. It’s essential to recognize and avoid these common pitfalls for a more efficient solve. Here’s what to watch out for and how to steer clear:
Not Matching Side Colors:
Simply forming a cross on the white face isn’t enough. Ensure each edge piece’s side color matches the middle pieces on adjacent sides.
Excessive Cube Rotations:
Frequent turning of the entire cube slows you down. Aim to keep the white center on the bottom to minimize rotations.
Ignoring Planning:
Jumping into movement without a plan can lead to more mistakes. Take a moment to visualize your moves before you begin.
Incorrect Edge Flipping:
Flipping edges without consideration can displace already-positioned pieces. Confirm the impact of a flip on the cube’s current state.
Rushing the Process:
Speed comes with practice. Focus on accurate and deliberate moves to build muscle memory before trying to increase speed.
Forcing Complex Algorithms:
Using complicated algorithms too soon can complicate things. Stick to basic moves until they become second nature.
By being mindful of these common errors and focusing on careful, planned movements, you’ll improve your ability to solve the white cross. Remember, in cubing, a deliberate and well-thought approach is usually more effective than haste.

Practicing Your Skills: Speedcubing Insights
After you’ve mastered the white cross, practicing speedcubing is the next step to improve your times. Speedcubing is solving the Rubik’s Cube as fast as possible and involves a blend of strategy, memory, and dexterity. Here are insights to help you practice your speedcubing skills:
- Inspect Before You Start: Use your allotted 15 second inspection time wisely. Plan your moves for the white cross in this time.
- Work on Finger Tricks: Finger tricks allow for quicker turns and less movement. Practice these to save valuable seconds.
- Practice Specific Algorithms: Focus on mastering the algorithms you struggle with. Repeated practice leads to faster execution.
- Time Your Solves: Keep track of your solving times. This helps you see your progress and areas to improve.
- Analyze Your Solves: Look back at your solves. Identify where you lose time and work on those areas.
- Stay Relaxed: Tension slows you down. Stay calm for a smoother and faster solve.
- Learn From Others: Watch videos of fast cubers. Observe their techniques and try to apply them to your own solves.
- Join Competitions: Competing can boost your skills and speed. It’s also a great way to meet and learn from other cubers.
- Set Goals: Aim for consistent improvement. Set time goals for yourself and strive to hit them.
By incorporating these speedcubing insights into your practice, you can drop your solve times significantly. Remember, the key to speed is efficient movement and quick thinking. Keep practicing, and you’ll keep getting faster!
Resources and Community for Rubik’s Cube Enthusiasts
The Rubik’s Cube is more than a puzzle; it’s a community. Many resources are at your fingertips to help you connect with fellow cubers, learn new techniques, and improve your solving skills. Here’s a quick guide to finding support and furthering your cubing journey:
- Join Online Forums: Websites like SpeedSolving.com offer a platform to discuss techniques, share experiences, and ask for advice.
- Watch Tutorial Videos: YouTube channels dedicated to cubing provide visual guides. Look for content that fits your skill level.
- Connect on Social Media: Facebook groups, Instagram pages, and Twitter accounts keep you in the loop on cubing news.
- Attend Local Competitions: Experiencing competitions firsthand can be inspiring. Check for events near you.
- Practice with Apps: Several mobile apps simulate the Rubik’s Cube. They track your progress and offer solving guides.
- Read Cubing Blogs: Blogs offer a mix of personal insights and technical strategies. Find ones that match your style.
- Use Solving Tools: Online resources like CubeSolver.com assist with tricky steps. They can also teach you new algorithms.
- Explore Cubing Clubs: Many schools and cities have cubing clubs. They are great places to meet new friends.
The key to advancing your skills is engagement. Dive into these resources, ask questions, and participate actively. With a vibrant community at your back, solving the white cross and the rest of the Rubik’s Cube becomes an exciting, shared adventure.


