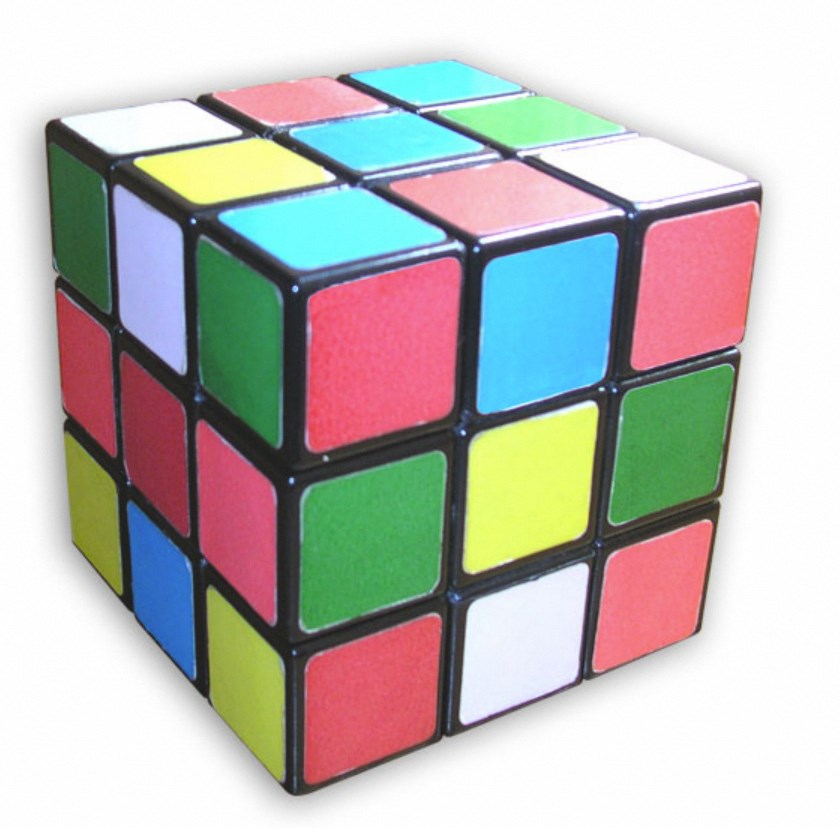
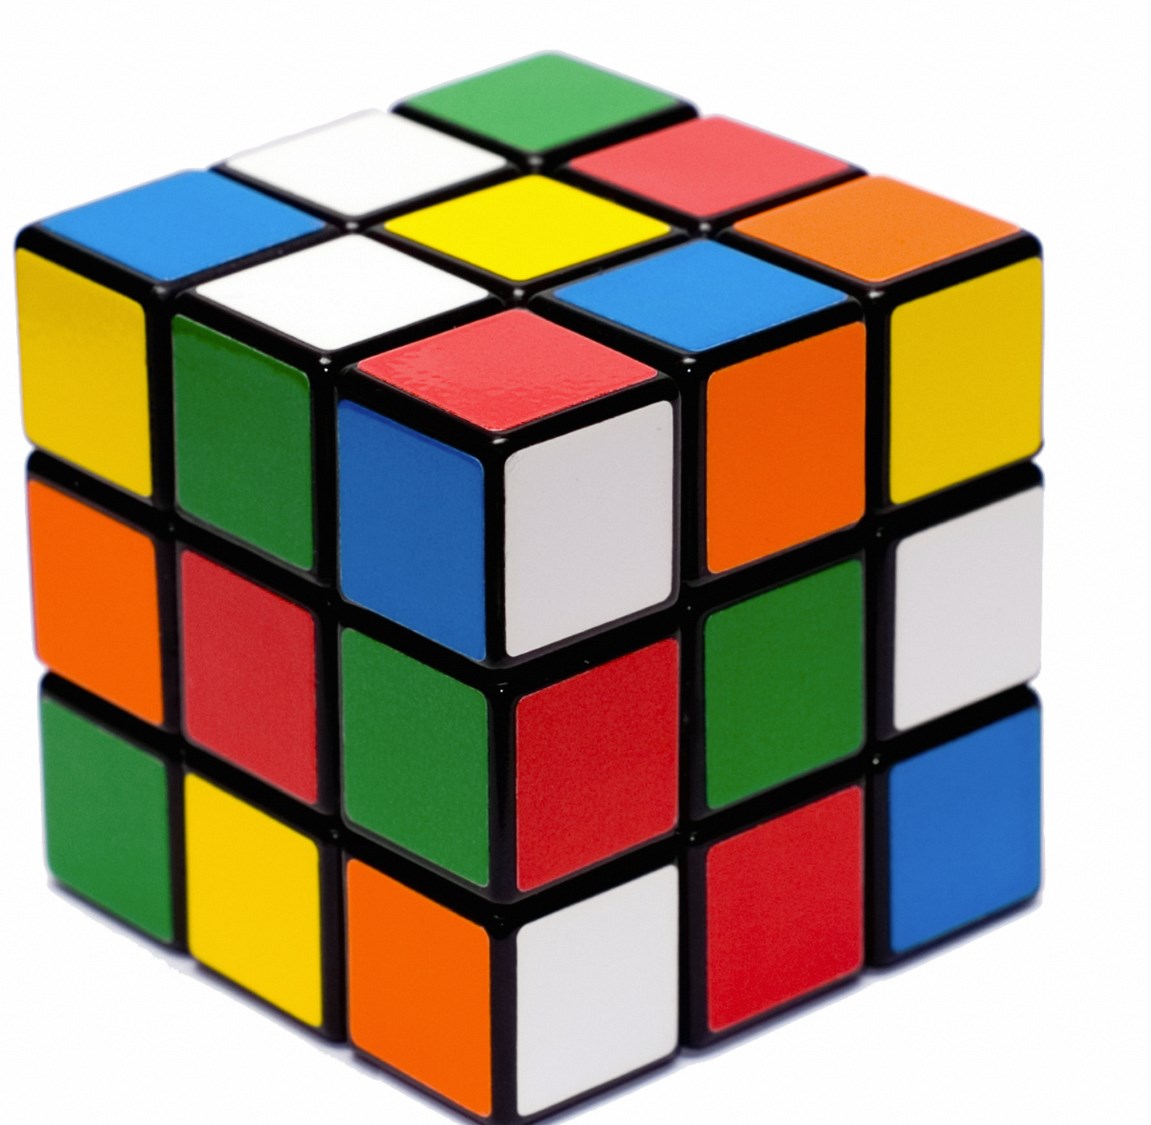
The Rubik’s Cube, a seemingly simple puzzle with a vast number of combinations, has captivated minds for generations. Solving it can feel like an insurmountable challenge, but with a systematic approach and a little practice, anyone can unlock the secrets of this iconic puzzle. This guide will break down the process into four key parts, each with two crucial steps, to conquer the Rubik’s Cube.
Part 1: The White Cross
Form the White Cross:
To solve the Rubik’s Cube, start by selecting one face, typically white, to serve as the “solved” face. Next, locate the white edge pieces and manipulate the cube to position them on the top layer, aligning them with the white center pieces. By doing so, you will create a white cross on the top layer of the cube. This initial step sets the foundation for solving the entire cube. It may seem challenging at first, but with practice and patience, mastering this technique will greatly improve your solving skills. Once the white cross is successfully formed, the focus can then shift to solving the remaining layers of the Rubik’s Cube, each with its own set of strategies and techniques to be mastered. By following these steps and practicing regularly, you can become adept at solving the Rubik’s Cube in no time.
Orient the White Cross:
After creating the white cross on the top layer of the Rubik’s Cube, it is essential to ensure that each white edge piece also has the correct colors on the adjacent sides. This involves carefully observing the alignment of the white edge pieces with the center pieces of the adjacent faces. If the colors on the edges do not match, you will need to rotate the top layer of the cube until they align with the corresponding center pieces. This step is crucial as it lays the groundwork for solving the entire first layer of the Rubik’s Cube. By paying close attention to these details and making precise adjustments, you will be able to progress to the next stages of solving the cube with greater ease. Patience and practice are key to mastering this technique and eventually solving the Rubik’s Cube proficiently.
Part 2: White Corners
Position the White Corners:
Locate white corner pieces and position them in the top layer directly above their corresponding corner slots. This involves maneuvering the cube while maintaining the solved white cross.
Insert and Orient the White Corners:
After aligning the white edge pieces with the corresponding center pieces on the adjacent faces, the next step in solving the Rubik’s Cube is to focus on inserting the white corners into their designated slots. Depending on the orientation of the white and colored sides of these corner pieces, specific algorithms are required for different scenarios. By mastering these algorithms, you can effectively insert and orient each corner correctly, ensuring that the entire first layer of the cube is completed. This stage of solving the Rubik’s Cube requires patience and practice, as well as a deep understanding of the various algorithms involved. As you become more adept at recognizing different corner piece orientations and executing the corresponding algorithms, you will find yourself progressing towards successfully solving the entire cube. With determination and regular practice, mastering these techniques will ultimately lead to efficiently solving the Rubik’s Cube.
Part 3: The Yellow Cross
Form the Yellow Cross:
To progress in solving the Rubik’s Cube, the next step after forming the yellow cross on the top layer is to manipulate the yellow edge pieces to the middle layer, ultimately creating a complete yellow cross on the yellow face. Achieving this may involve rotating the middle layer of the cube while ensuring the structural integrity of the previously solved layers. This step is crucial for advancing towards the final stages of solving the Rubik’s Cube. It requires precision and attention to detail, as well as a firm understanding of how to manipulate the cube to achieve the desired outcome. With practice and perseverance, you can develop a good sense of effectively positioning the yellow edge pieces in the middle layer while preserving the progress made in solving the first two layers. By mastering this technique, you will be well on your way to successfully completing the Rubik’s Cube.
Orient the Yellow Cross:
Once you have successfully formed the yellow cross on the top layer of the Rubik’s Cube, the next step is to concentrate on positioning the remaining yellow edges correctly. It’s important to ensure that each yellow edge piece has the correct colors on the adjacent sides, aligning them with the corresponding center pieces. This may require rotating the middle layer of the cube while keeping the solved first two layers intact. This stage of solving the Rubik’s Cube demands attention to detail and precision, as it sets the stage for solving the entire cube. By carefully manipulating the cube to align the yellow edge pieces, while maintaining the structural integrity of the previously solved layers, you will be well on your way to successfully completing the Rubik’s Cube.
Part 4: Yellow Edges and Corners
Position the Yellow Edges:
After successfully forming and orienting the yellow cross on the top layer of the Rubik’s Cube, the next step is to focus on positioning the remaining yellow edges correctly. This involves swapping the yellow edges until they are in their correct slots. To achieve this, specific algorithms exist for different scenarios, each designed to efficiently swap the edges into their proper positions. By mastering these algorithms, you will have the tools to effectively rearrange the yellow edges and progress towards solving the entire cube. This stage of solving the Rubik’s Cube requires patience and practice in order to develop a good understanding of the algorithms and their application. With perseverance, you can improve your skills in manipulating the cube and achieve proficiency in swapping the yellow edges accurately. Regular practice and a thorough grasp of these algorithms will ultimately lead to the successful completion of the Rubik’s Cube.

Orient and Permute the Yellow Corners:
Finally, position and orient the yellow corners in their correct slots. This involves a combination of algorithms for positioning and orienting each corner piece. Once all corners are correctly placed and oriented, the Rubik’s Cube is solved!
Remember, practice is key to mastering these steps. Numerous online resources and tutorials offer detailed instructions and visual aids to help you learn the specific algorithms and practice their execution. With dedication and a bit of fun, you’ll soon be solving the Rubik’s Cube like a pro.