I. Introduction
A. The art of sketching and its appeal
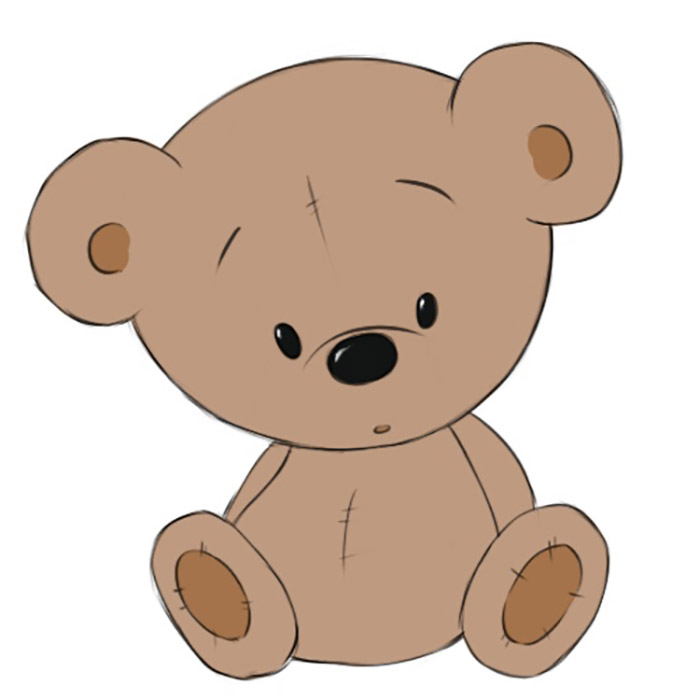
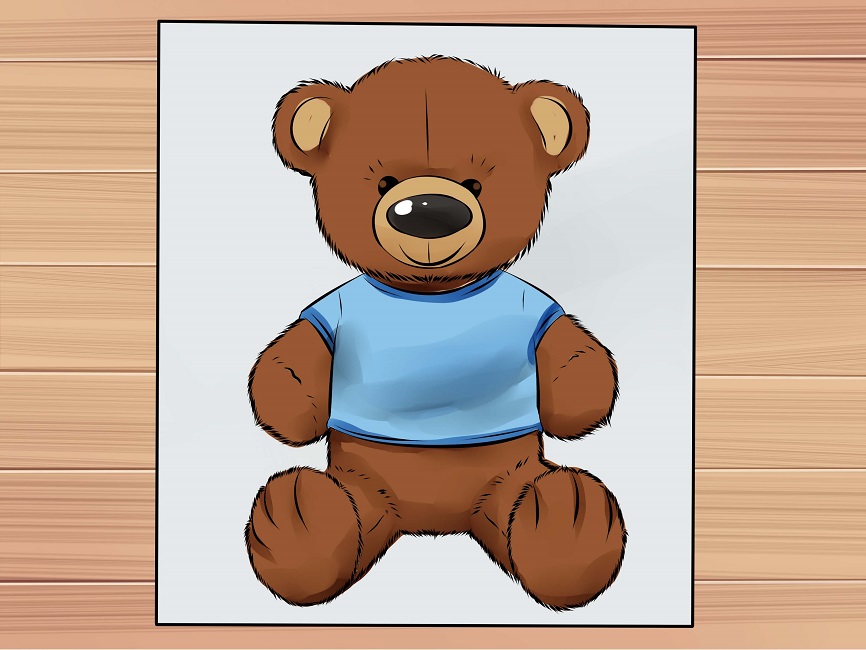
Sketching is a popular form of artistic expression that allows individuals to capture the beauty and essence of their subject using just a pencil and paper. The simplicity and versatility of sketching make it appealing to both professional artists and beginners alike. One particularly beloved subject for sketching is the teddy bear, a symbol of comfort, love, and childhood innocence. Drawing cute teddy bears can be a delightful and rewarding experience, especially when done step-by-step. This article will guide you through the process of creating adorable teddy bear drawings, from basic shapes and guidelines to adding details, bringing the teddy to life, and applying shading and color.
II. Getting Started: Basic Shapes and Guidelines
A. Breaking down the teddy bear into simple shapes
Breaking down the complex figure of a teddy bear into simple shapes is crucial when starting to draw. Begin by sketching a large oval for the head and a smaller oval or circle for the body. These shapes will act as the basis for your cute teddy bear drawing.
B. Guidelines for proportion and positioning
Once you have the basic shapes of the teddy bear, you can add guidelines to ensure proper proportion and positioning. Draw a vertical line down the center of the head and body to help you align the facial features and maintain balance in the drawing. Additionally, draw horizontal lines to mark the position of the eyes, nose, and mouth.
III. Adding Details: Eyes, Nose, and Mouth
A. Step-by-step process for drawing expressive eyes
The eyes are one of the most important features of a teddy bear drawing, as they convey the character and personality of the bear. Begin by sketching two large, round eyes along the horizontal guideline. Add smaller circles inside the eyes to represent the pupils. Then, carefully shade the pupils to create depth and expression. Finally, add eyelashes or eyebrows to further enhance the cuteness of the teddy bear’s eyes.
B. Creating a cute nose and mouth for the teddy bear
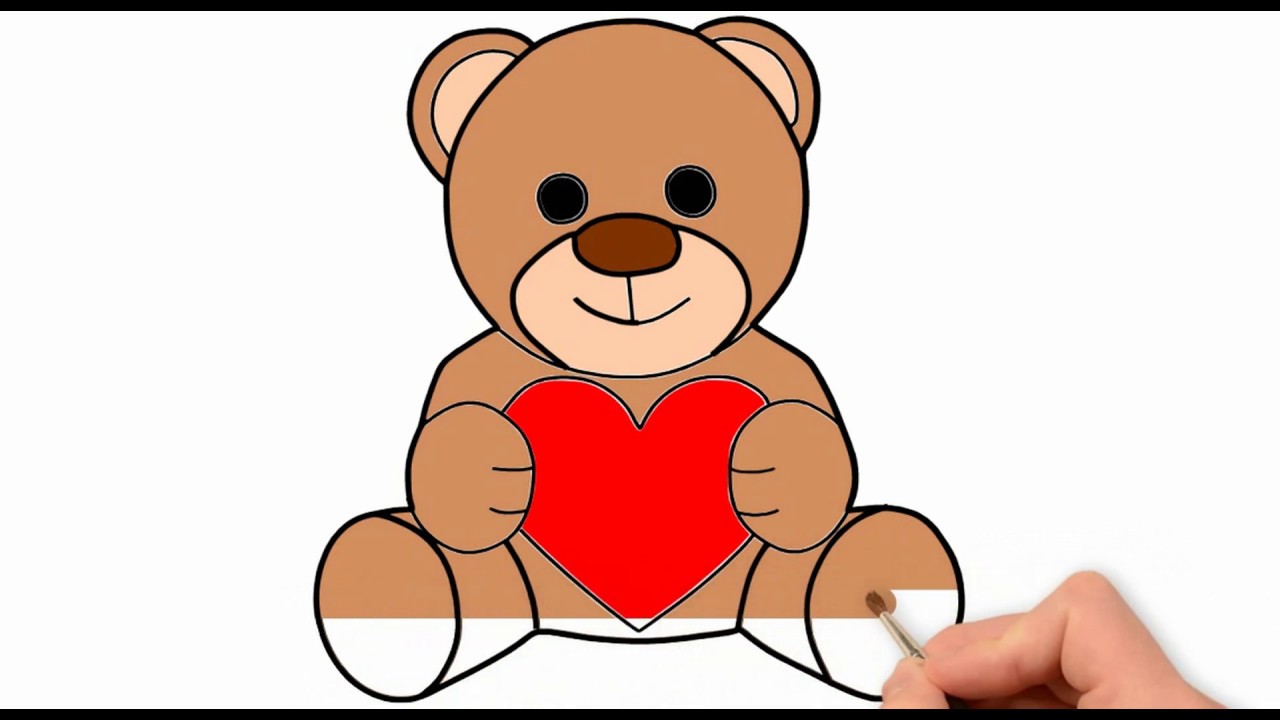
The nose and mouth are essential for capturing the adorable charm of a teddy bear. For the nose, start by drawing a small triangle or oval shape, depending on the desired look. Place the nose slightly below the horizontal guideline, between the eyes. Next, draw a curved line to represent the mouth, adding a small horizontal line in the center to create a smiling effect. To make the teddy bear appear extra cute, you can also add rosy cheeks by lightly shading circles on both sides of the face.
IV. Bringing Teddy to Life: Adding Fur and Accessories
A. Techniques for drawing fluffy fur and texture
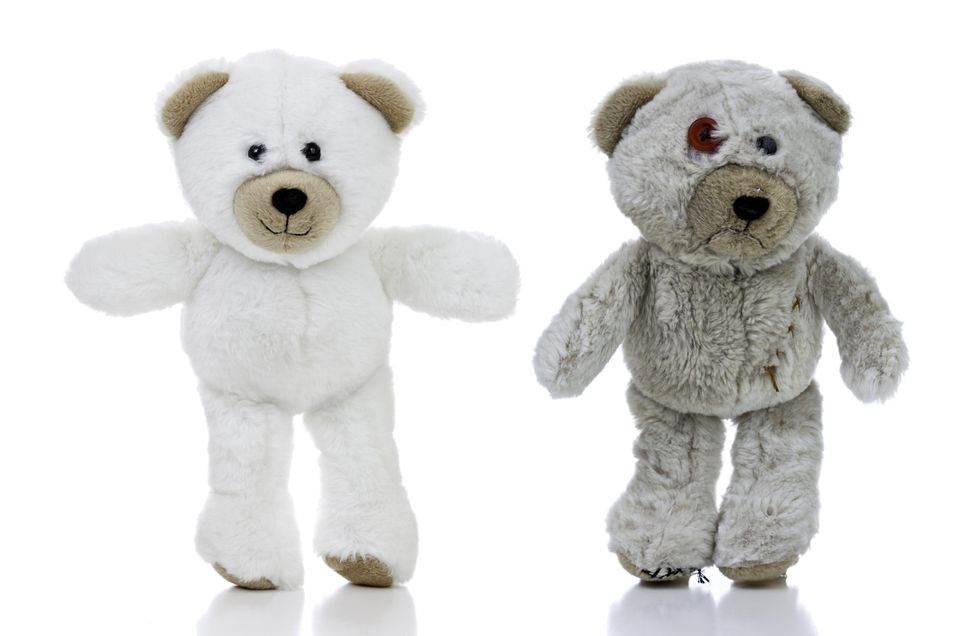
Capturing the soft and furry appearance of teddy bears is key when drawing them. Begin by adding short, curved lines around the outline of the bear’s body and head to depict the fur. Lightly shade these lines to give the drawing depth and dimension. To create a more realistic effect, you can also incorporate longer lines and strokes that follow the direction of the fur, simulating its natural flow. By doing so, you can enhance the texture and make the teddy bear appear more lifelike. Experimenting with different stroke lengths and pressures can also help achieve a variety of fur textures, from short and plush to long and fluffy. Taking the time to add these details will bring your teddy bear drawing to life and make it even cuter.
B. Enhancing the teddy bear’s cuteness with bows or other accessories
Adding accessories is a great way to enhance the cuteness of your teddy bear drawing. Consider drawing a bow on top of the bear’s head or around its neck to add an extra touch of charm. Pay attention to the folds and textures of the fabric to make the bow appear more realistic. Additionally, you can experiment with other accessories like hats or scarves to further personalize your teddy bear’s appearance. These accessories can bring additional character and style to your drawing, allowing you to truly make it your own. Just like with the fur, take your time to carefully depict the details of the accessories, such as the patterns on the fabric or the placement of a hat. By adding these extra elements, you can make your teddy bear drawing even more adorable and unique.
V. Final Touches: Shading and Coloring
A. Techniques for adding depth and dimension through shading
Shading is a crucial technique in sketching that helps create depth and dimension in your drawing. To shade your teddy bear, start by identifying the light source and determining where the shadows would naturally fall. Use a pencil to lightly shade areas that would be less illuminated, such as the underside of the bear’s body or the creases of the fur. Gradually increase the pressure of your pencil to create darker shades in areas with more shadow.
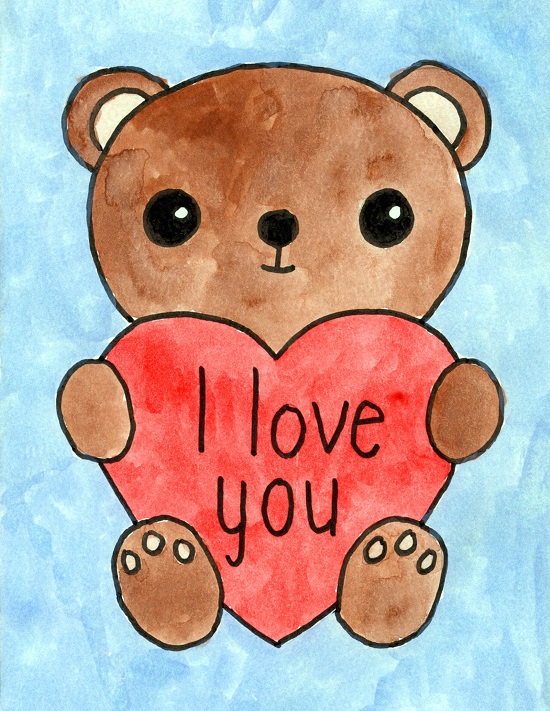
B. Choosing colors to bring the teddy bear drawing to life
While teddy bears are traditionally depicted in shades of brown, you can experiment with different colors to create a more unique and vibrant drawing. Consider using colored pencils or markers to add pops of color to your teddy bear‘s accessories or background. Remember to blend and layer colors to create a smooth and realistic effect. If you prefer a more traditional look, stick to shades of brown and use varying pressures and strokes to create depth and texture in the fur.
In conclusion, drawing cute teddy bears can be a fun and enjoyable activity, whether you’re a seasoned artist or just starting out. By following the step-by-step process outlined in this article, you’ll be able to create adorable teddy bear drawings that capture the charm and innocence of these beloved toys. Remember to start with basic shapes and guidelines, add expressive eyes, nose, and mouth, bring the teddy to life with fur and accessories, and finish with shading and coloring techniques. With practice and patience, you’ll be able to create beautiful teddy bear drawings that evoke joy and nostalgia.