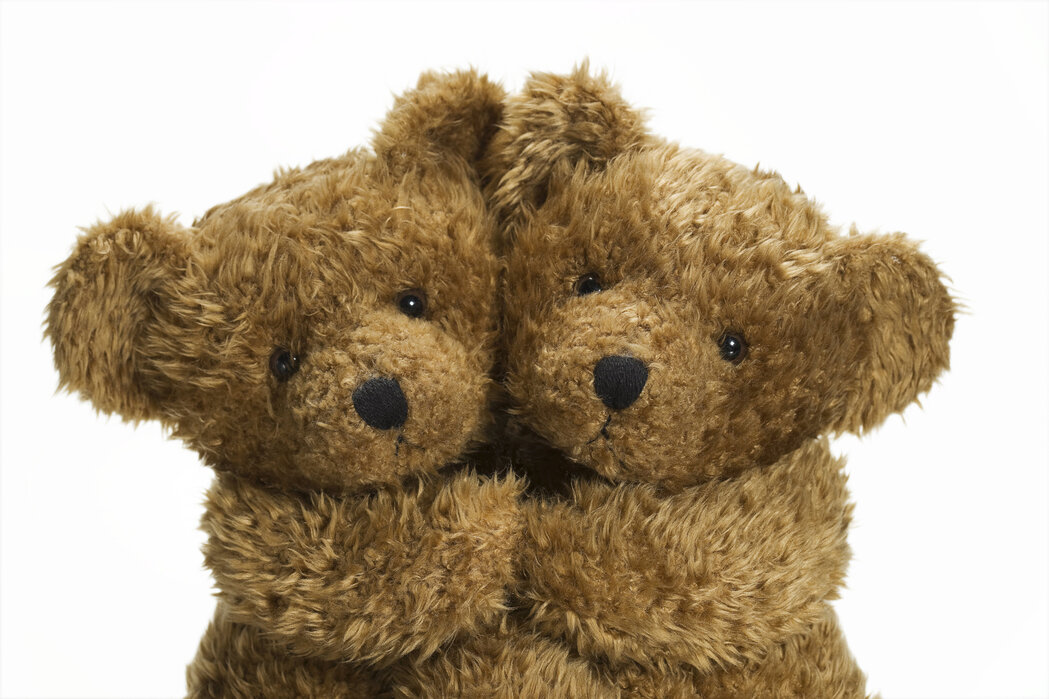
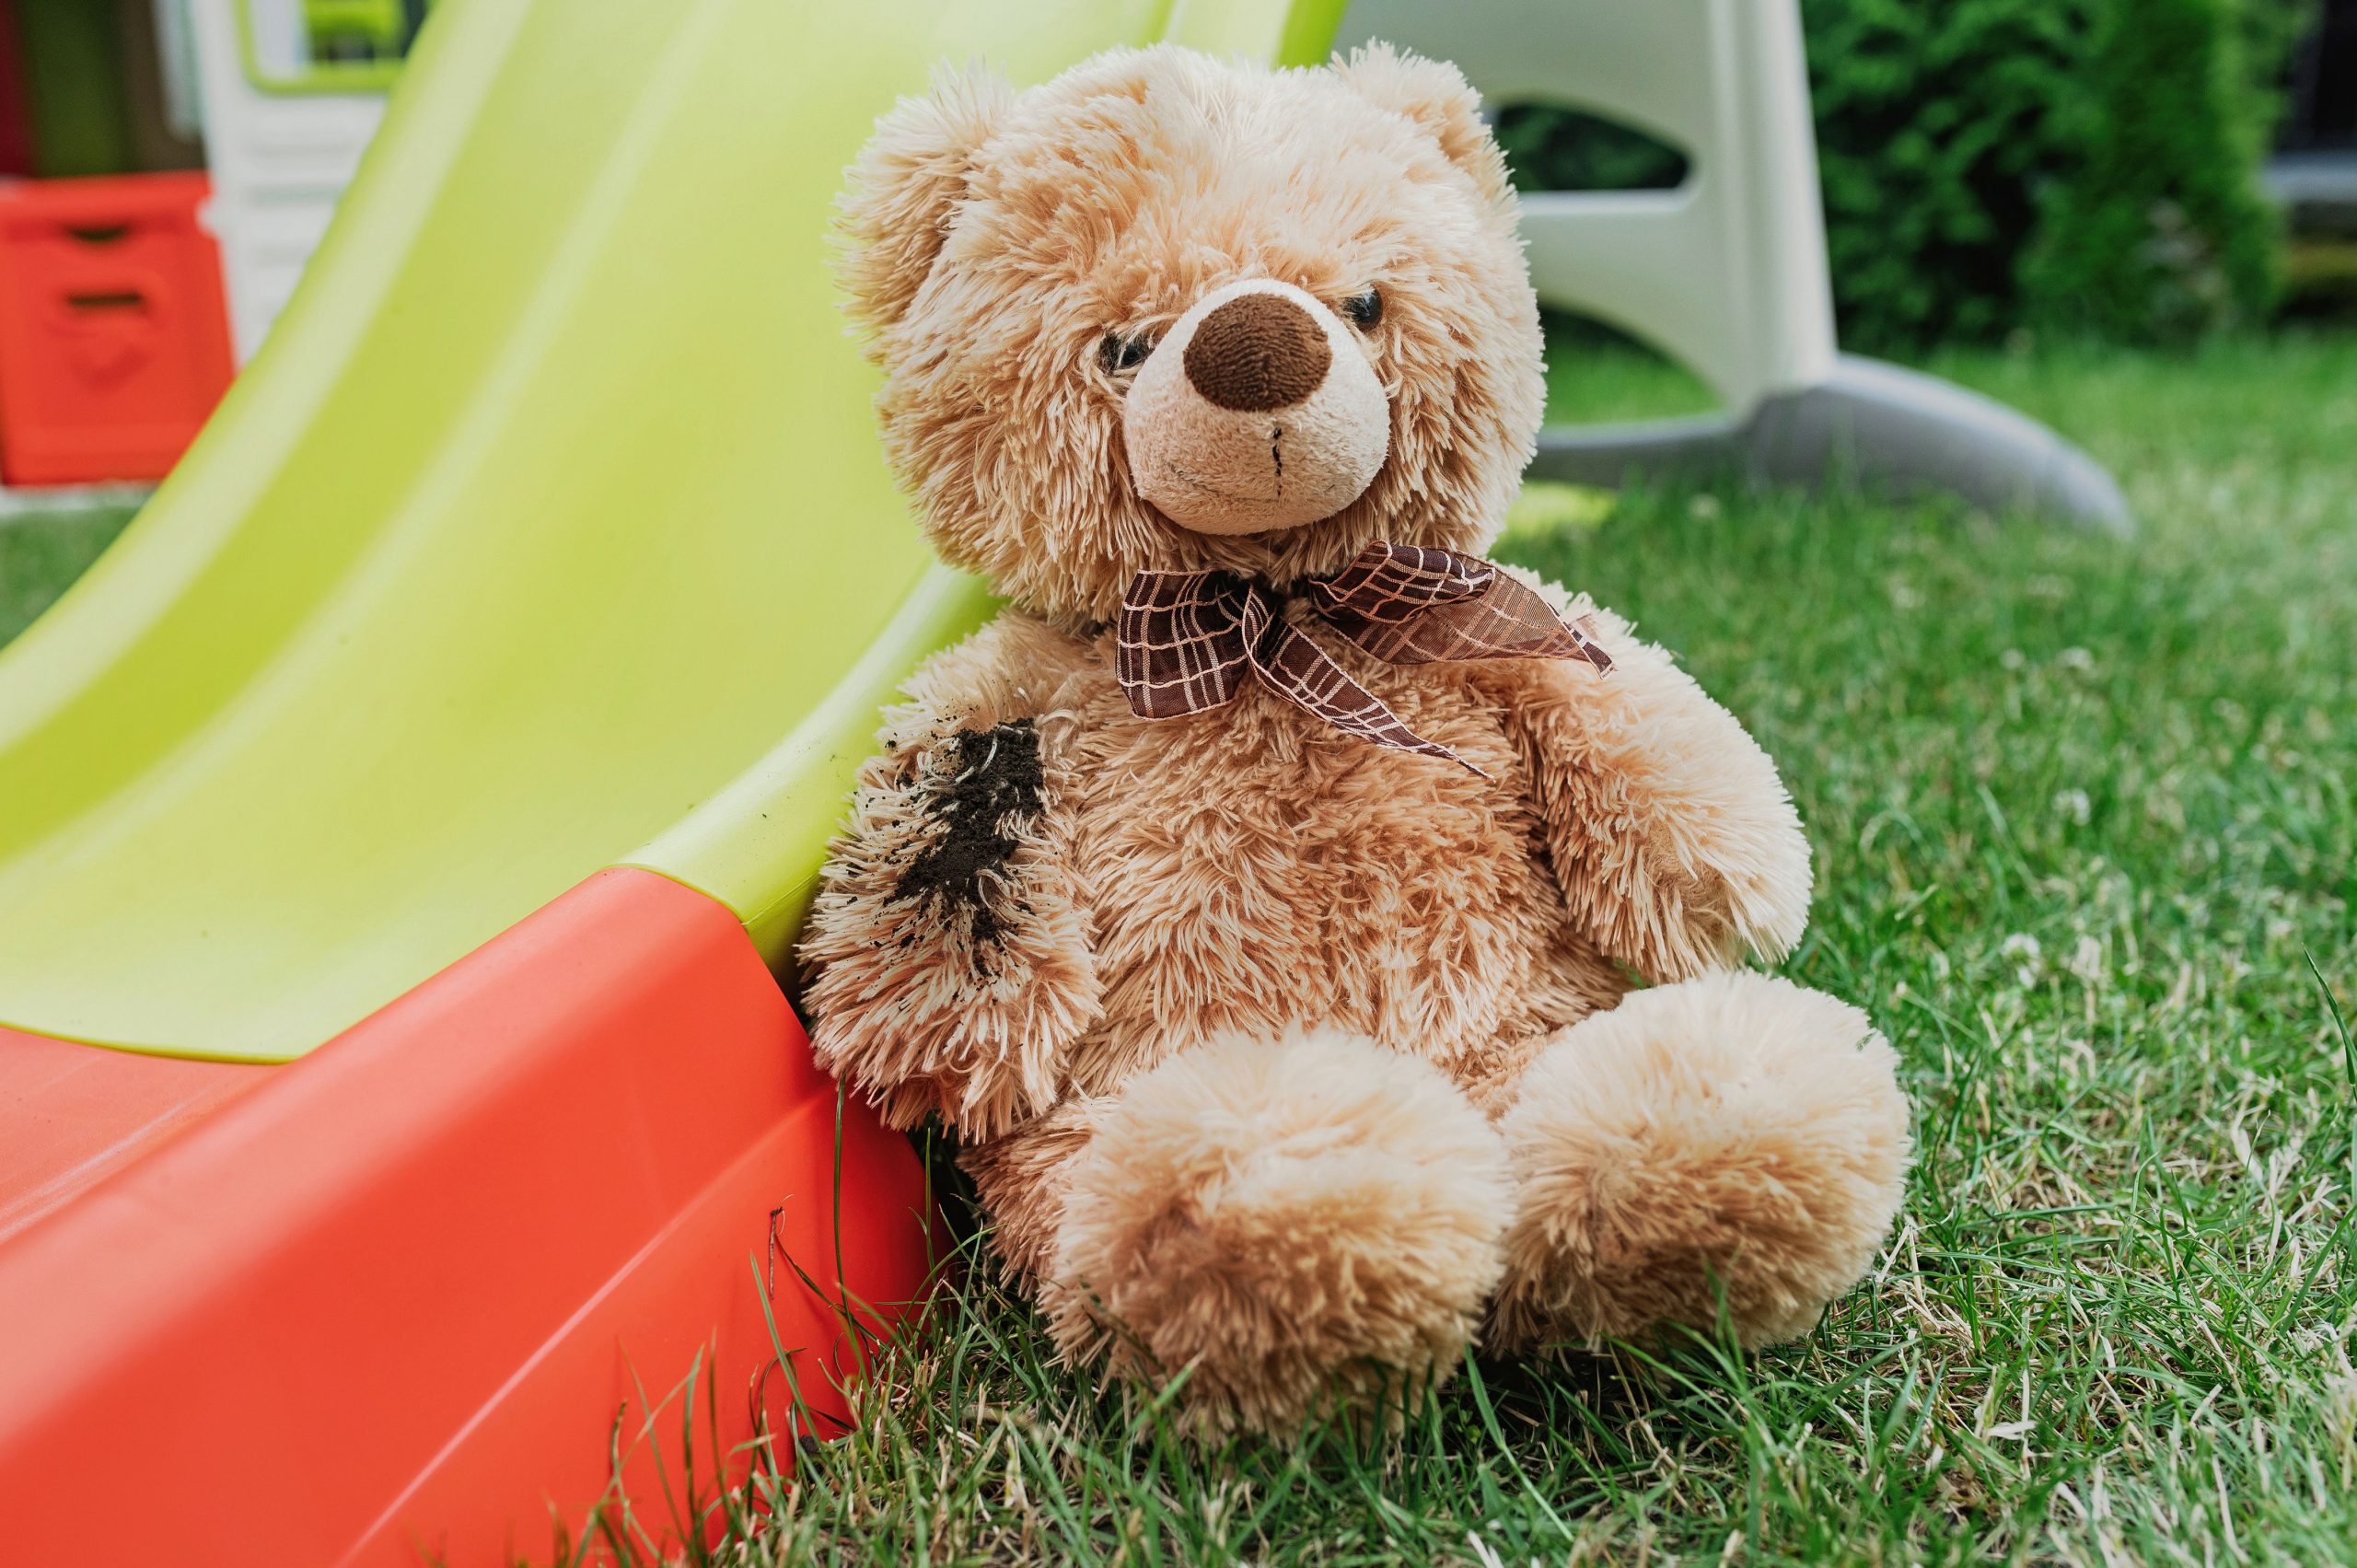
I. Introduction to Making a Teddy Bear
Teddy bears hold a special place in our hearts, providing comfort and companionship throughout our lives. Crafting your own teddy bear is a fulfilling endeavor that allows you to infuse love and creativity into a cherished friend. This guide will walk you through the process of creating a unique teddy bear from start to finish. By following these step-by-step instructions, you will be able to craft a one-of-a-kind teddy bear that captures your personal style and imagination. From selecting the perfect fabric to stitching on the final touches, this project promises to be a memorable and rewarding experience. Embrace the joy of bringing a teddy bear to life, ensuring that you have a lifelong companion to treasure and share with loved ones. Get ready to embark on a whimsical journey of creativity and warmth as you make your very own teddy bear.
II. Materials and Tools Needed
Before embarking on your teddy bear making journey, it is essential to gather all the necessary materials and tools. Here’s a list of what you’ll need:
1. When selecting fabric for your teddy bear, prioritize softness and cuddliness. Consider materials like mohair, faux fur, or plush, and choose a color or pattern that reflects the personality and style you want your bear to embody.
2. Create a huggable and plush teddy bear by using high-quality stuffing material. Opt for options like polyester fiberfill or wool to achieve the desired softness and cuddliness.
3. Ensure a seamless finish by using strong thread that matches or complements your fabric. This will provide durability and enhance the overall appearance of your teddy bear.
4. While hand-sewing is possible, using a sewing machine can make the process faster and more efficient. Consider utilizing a sewing machine to save time and achieve precise stitching.
5. Have a pair of sharp fabric scissors dedicated to cutting your fabric and thread. Sharp scissors make clean cuts and help maintain the integrity of your materials.
6. Keep a selection of hand sewing needles on hand, including those suitable for general sewing, embroidery work, and attaching eyes and other embellishments. Having a variety of needles ensures that you have the right tool for each task.
7. Depending on your teddy bear design, you may require additional supplies such as safety eyes, a nose, joints for movable limbs, and embroidery floss for decorative details. These supplies add depth and personality to your bear’s features.
III. Step-by-Step Instructions
Now that you have your materials and tools ready, let’s dive into the step-by-step process of making a teddy bear:
Step 1: Prepare the Pattern
– Start by locating or creating a teddy bear pattern. You can find free patterns online or purchase them from craft stores or teddy bear-making suppliers.
– Print and cut out the pattern pieces. Ensure that you have all the necessary pieces before proceeding.
Step 2: Cut Out the Fabric
– Place the pattern pieces onto your chosen fabric, ensuring that the grain of the fabric follows the pattern’s instructions.
– Pin the patterns to the fabric and carefully cut around them, leaving a small seam allowance.
Step 3: Sew the Body
– Begin by sewing the body pieces together, starting with the front and back. Use a sewing machine or hand sew using a backstitch.
– Leave an opening for turning and stuffing the bear.
– Turn the bear right side out and press it gently with an iron to remove any wrinkles.
Step 4: Stuff the Bear
– Stuff the bear’s body firmly with the chosen stuffing material, ensuring it is evenly distributed.
– Use a small wooden dowel or stuffing tool to reach into smaller areas such as the arms, legs, and head.
– Avoid overstuffing, as it can make the bear look lumpy.
Step 5: Sew the Openings
– Carefully hand sew the opening used for stuffing, using a ladder stitch or slip stitch, to close it securely.
Step 6: Attach the Arms and Legs
– Follow the pattern instructions to attach the arms and legs to the body. This may involve sewing or jointing methods, depending on your chosen design.
Step 7: Add Facial Features
– Embroider the bear’s eyes, nose, and mouth using embroidery floss and a needle. Alternatively, you can use safety eyes and a plastic or embroidered nose for a different look.
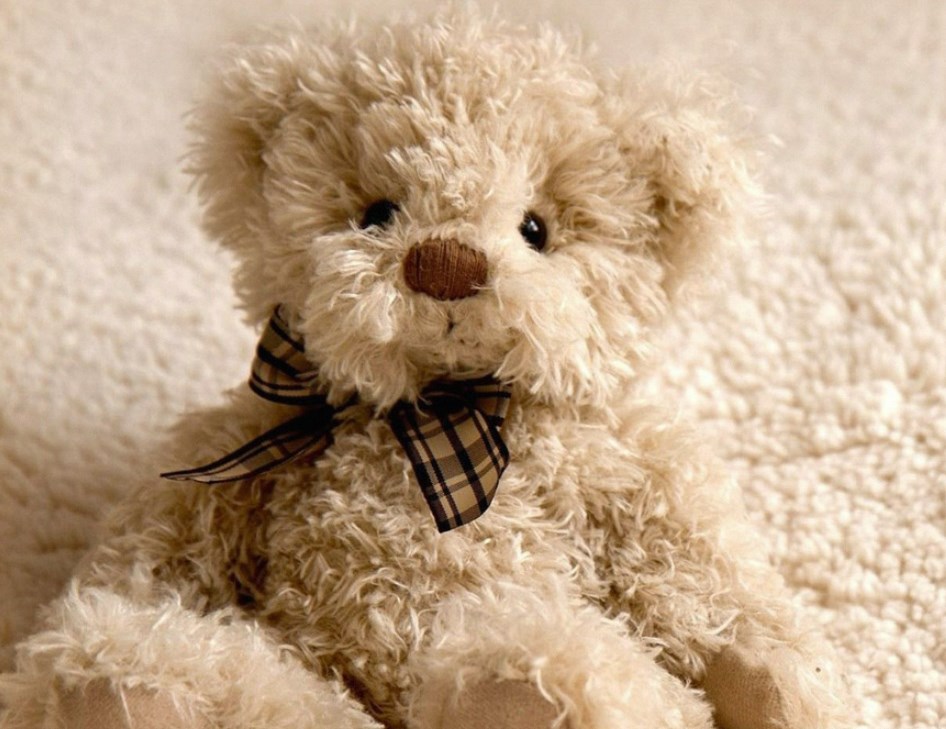
Step 8: Personalize Your Bear
– Get creative and personalize your bear by adding clothing, accessories, or other embellishments. You can sew tiny outfits or accessories or create a miniature scarf or bowtie.
IV. Personalization and Finishing Touches
After completing the basic steps, it’s time to add personalized touches to make your teddy bear truly unique. Here are a few ideas to consider:
1. Enhance your teddy bear’s style by sewing or knitting a charming outfit, whether it’s a trendy dress, cozy pants, or a fashionable sweater. Use small buttons or snaps for secure closures, adding a touch of realism to your bear’s wardrobe.
2. Take your bear’s accessory game to the next level with miniature add-ons like a delightful hat, a dainty backpack, or a stylish bowtie. Get creative by using small pieces of ribbon, fabric scraps, or even tiny trinkets to bring out your bear’s unique personality and style.
3. Elevate your bear’s appearance by considering embroidery. Use fine needlework to embroider the bear’s initials or a special design onto its paw pad or clothing. This personal touch adds character and individuality to your handmade creation, making it truly one-of-a-kind.
4. Create a personalized tag that adds a sentimental value to your bear. Craft a small tag with your name or a heartfelt message and attach it securely. This tag serves as a reminder of the love and care you put into making your bear, and it becomes a cherished memento for years to come.
V. Conclusion
Making a teddy bear allows you to tap into your creativity and create a cherished companion. With the right materials, tools, and a little patience, you can bring your perfect teddy bear to life. Whether you choose to follow a pattern or design your own, remember that each step is an opportunity to infuse your bear with love and personality. Enjoy the process and embrace the joy of making a teddy bear that will be treasured for generations.