Introduction to Sustainable Book Protection
In the modern world, sustainability has become a central focus for many people. Consequently, crafters and readers are looking for ways to combine creativity with eco-consciousness. One of the most timeless and practical crafts is creating a paper bag book cover. This simple project serves multiple purposes. It protects your favorite novels from wear and tear. Furthermore, it gives you a blank canvas to express your artistic side. As we move into 2026, the trend of upcycling everyday items is stronger than ever.
You no longer need to buy expensive plastic sleeves. Instead, you can use materials found right in your pantry. This approach is not only cost-effective but also environmentally responsible. Therefore, this guide will walk you through the entire process. We will explore the history, the methods, and the creative possibilities. Whether you are a student covering a textbook or an adult protecting a journal, this craft is for you. Additionally, we will answer common questions to ensure your success. So, gather your materials and let us dive into the world of DIY book protection.
The History and Resurgence of Paper Covers
The concept of covering books is not a new phenomenon. In fact, it has deep historical roots. For centuries, people have sought ways to protect valuable manuscripts. However, the specific trend of using brown paper bags became popular in the 20th century. Students often used grocery bags to protect their school textbooks. This practice was born out of necessity and frugality. Today, the paper bag book cover has made a massive comeback. It is driven by a desire to reduce plastic waste.
Furthermore, the aesthetic of “brown kraft paper” is currently very trendy in the design world. It offers a rustic, minimalist look that appeals to many. Consequently, what was once a utilitarian solution is now a fashion statement. Social media platforms are filled with videos of people customizing their covers. This resurgence highlights a shift in consumer values. We value durability, but we also value sustainability. By choosing paper over plastic, you contribute to a greener planet. Therefore, understanding this history adds a layer of appreciation to your crafting project. You are participating in a long tradition of care and resourcefulness.
Materials You Will Need for Your Project
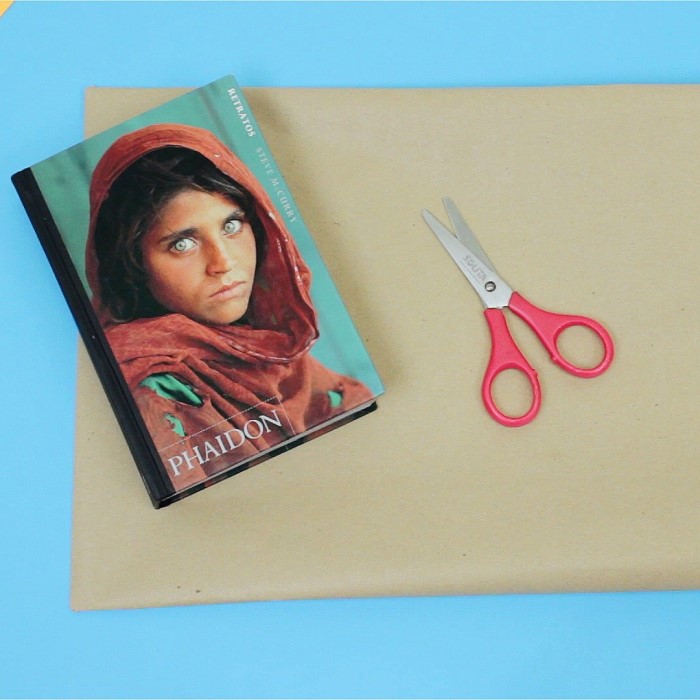
Before you begin, you must gather the necessary supplies. The beauty of this craft lies in its simplicity. You likely have most of these items at home already. First, you need a paper bag. A standard grocery bag works best for larger hardcover books. For smaller paperbacks, a lunch bag might be sufficient. Ensure the bag is clean and free of large tears. Next, you will need a pair of scissors. They should be sharp enough to cut through the paper cleanly. Additionally, a ruler or a straight edge is helpful for making crisp folds.
You will also need a pencil to mark your measurements. Furthermore, you might want decorating supplies. Markers, stickers, and washi tape are excellent choices. If you want a more polished look, clear contact paper can be applied later. However, the core project requires very little. This accessibility makes it a perfect activity for kids and adults alike. You do not need to invest in expensive art kits. Consequently, the barrier to entry is incredibly low. Once your table is cleared and your supplies are ready, you can start the process of creating your paper bag book cover.
Step-by-Step Guide to the Basic Cover
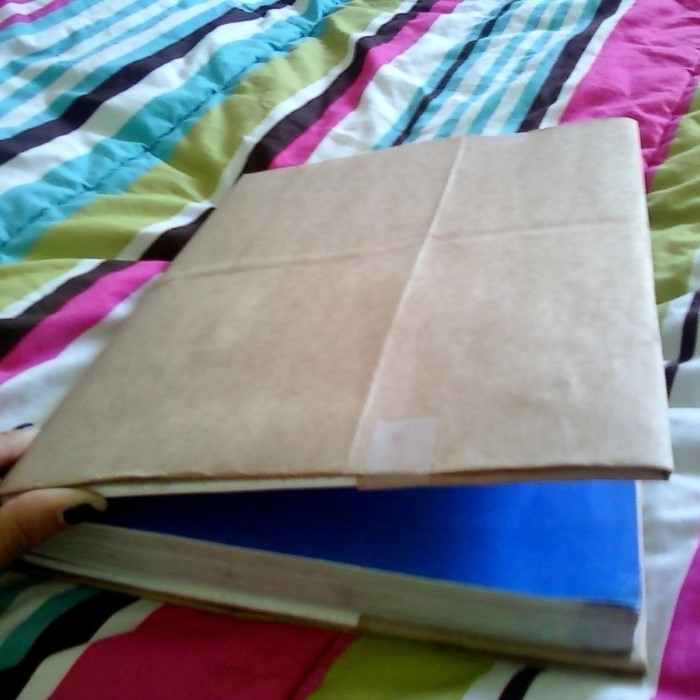
Creating the cover is a straightforward process. Follow these steps carefully for the best results. First, cut the bag open. You want to create a large, flat rectangle of paper. Cut along the seam of the bag and remove the bottom flap. Next, place your book in the center of the paper. Open the book slightly so it lies flat. Then, fold the top and bottom edges of the paper up. They should align with the top and bottom edges of the book pages. This creates a strip that matches the book’s height.
Afterward, fold the side flaps over the front and back covers. Ensure there is enough overlap to hold the cover securely. Usually, three to four inches is sufficient. Now, slide the front cover of the book into the left pocket. Then, slide the back cover into the right pocket. Close the book to check the fit. It should be snug but not too tight. If it is too loose, the cover will slip off. Consequently, you may need to adjust your folds. Finally, crease all the edges firmly. This gives your paper bag book cover a professional and neat appearance.
Creative Decoration Ideas for 2026
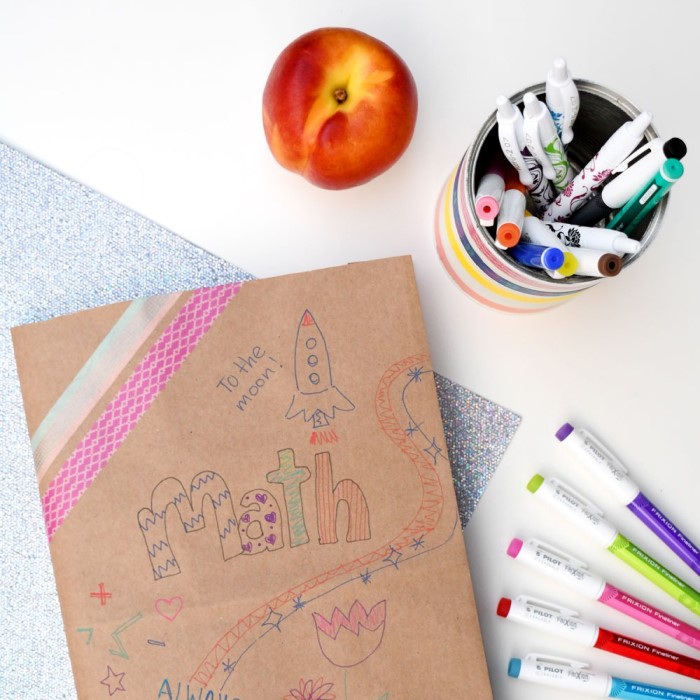
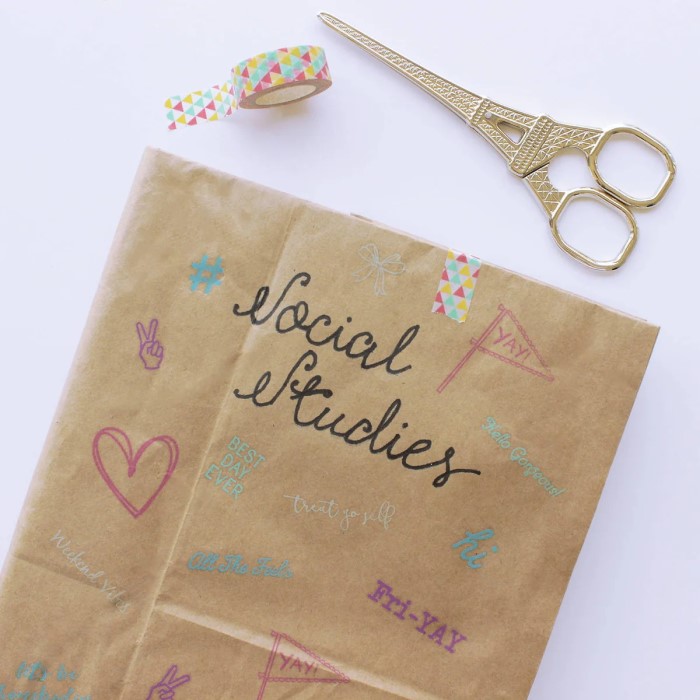
Once your basic cover is finished, the real fun begins. The brown paper serves as a perfect neutral background. In 2026, personalization is key. One popular trend is the “botanical” look. You can use leaf stamps or draw vines with green markers. Alternatively, you might prefer a geometric design.
Use masking tape to create stripes and triangles. Then, paint the exposed areas. When you peel the tape off, you have crisp lines. Furthermore, calligraphy is a timeless option. Write the title of the book in elegant script on the spine. This makes it easy to find on a shelf. For students, a paper bag book cover can be functional. You can create a “pocket” on the inside flap. This is perfect for holding homework or notes. Simply tape a piece of paper to the inside cover before sliding it onto the book. Additionally, you can use photos or magazine cutouts to create a collage. This “vision board” style is very inspiring. Whatever you choose, ensure the decorations are flat. Bulky items might damage the book or prevent it from closing properly. Let your imagination run wild with these creative ideas.
Troubleshooting Common Covering Issues
Sometimes, things do not go exactly as planned. Do not worry, as most issues have simple fixes. One common problem is the paper being too short. If the bag does not fully cover the book, you can add extensions. Simply tape another piece of paper to the side flap. Ensure the tape is on the inside so it does not show. Another issue is tearing. Brown paper can be fragile if folded too many times. If a tear occurs, use clear tape to repair it. However, try to fold precisely the first time to avoid weakening the paper.
Furthermore, the cover might slide off repeatedly. This usually happens if the pockets are too shallow. To fix this, remove the book and fold the side flaps deeper. This creates a tighter grip on the cover board. Conversely, if the cover is too tight, the book might not close. In this case, unfold the side flaps slightly. You want a balance between security and flexibility. Sometimes, the paper looks wrinkled. You can iron the paper on a low setting before you start. This creates a smooth surface for decorating. By anticipating these challenges, you can ensure a smooth crafting experience.
Eco-Friendly Benefits of Upcycling
Choosing to make a paper bag book cover is an environmentally conscious decision. Paper bags are biodegradable. Unlike plastic covers, they will not sit in landfills for centuries. Furthermore, you are giving a second life to a product that might otherwise be thrown away. This concept is known as upcycling. It reduces waste and demand for new materials. Consequently, your carbon footprint decreases. Additionally, paper is easier to recycle when the cover wears out. You can simply toss it into the recycling bin.
Plastic book covers often require specialized recycling facilities. Many curbside programs do not accept them. Therefore, paper is a much safer choice for the planet. Moreover, using paper bags teaches children about sustainability. It shows them that valuable items can come from humble beginnings. They learn to value resources rather than consuming new products constantly. In 2026, eco-awareness is a crucial skill. By adopting this habit, you set a positive example. You protect your books while simultaneously protecting the environment. This dual benefit makes the craft incredibly meaningful.
Advanced Techniques and Variations
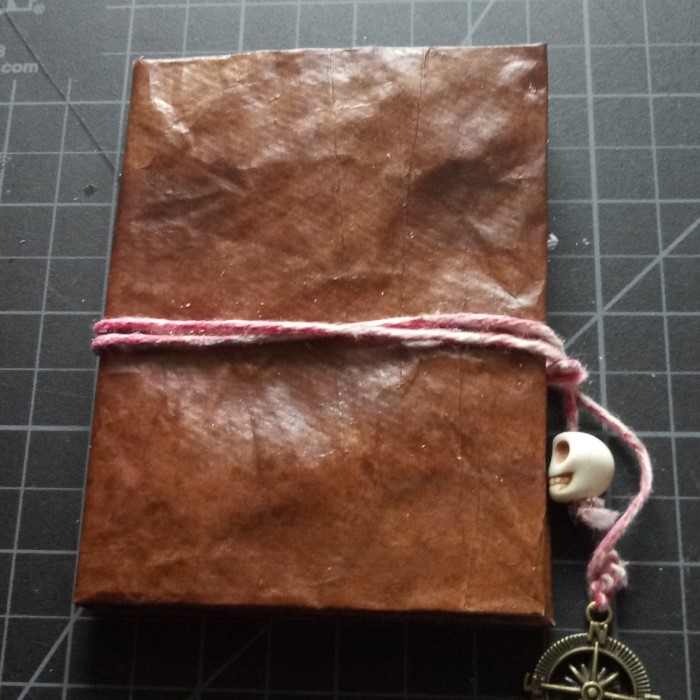
Once you master the basic technique, you can try advanced variations. For instance, you can create a “dust jacket” style cover. This involves cutting the paper to the exact size of the book. Then, you wrap it around like a store-bought jacket. This uses less paper and looks very sleek. Another variation involves sewing. If you have heavy-duty paper, you can sew the pockets with a needle and thread. This adds a rustic, handcrafted touch. Furthermore, you can mix materials.
Combine a paper bag with fabric scraps. Use fabric glue to attach a cloth spine. This reinforces the area that gets the most wear. You can also experiment with different types of paper. While the grocery bag is classic, you can use wrapping paper. Just be sure to add a backing for strength. Alternatively, try using old maps or sheet music. These materials create a unique narrative for your book. A paper bag book cover does not have to be boring. By exploring these advanced techniques, you elevate a simple craft into an art form. Challenge yourself to try something new with your next project.
FAQ: Answering Your Most Common Questions
How do you make a book cover out of a paper bag?
You start by cutting the bag open to lay it flat. Then, you place the book on the paper and fold the edges to create pockets. Finally, you slide the book covers into these pockets to secure the paper.
What is the paper cover over a book called?
This cover is often called a “dust jacket” if it is removable. However, when made from paper bags, it is typically referred to as a “book cover” or a “protective cover.”
Who invented the paper bag book?
The paper bag itself was invented by Margaret Knight in the 19th century. The specific practice of using them for books evolved organically as a DIY solution by students and librarians.
What’s the difference between paper cover and hardcover?
A hardcover refers to the rigid binding of the book itself. A paper cover is a removable protective layer placed over the hardcover or paperback to prevent damage.
Conclusion: Embracing the DIY Spirit
The art of making a paper bag book cover is more than just a craft. It is a statement of style and sustainability. As we have explored, the process is accessible to everyone. You only need a few simple materials to get started. Furthermore, the benefits are significant. You protect your cherished books from damage. You also contribute to a healthier planet by upcycling. In 2026, these values are more important than ever. Whether you are a student, a parent, or a creative professional, this project offers value.
It encourages you to slow down and engage with your physical books. Additionally, it provides a wonderful outlet for artistic expression. You can transform a plain brown bag into a masterpiece. So, the next time you bring home groceries, think twice before discarding the bag. It holds the potential for your next creative endeavor. Grab your scissors, fold your paper, and enjoy the process of making a paper bag book cover. Your books will thank you for the extra layer of love and protection.