Introduction
As pet owners, we constantly seek ways to provide comfort for our furry friends. One popular trend in the world of pet accessories is the felt cat cave. These cozy hideaways offer cats a secure space to curl up while adding a touch of style to your home. But rather than purchasing a pre-made cat cave, why not explore the art of crafting your own? DIY felt cat caves allow you to create a customized and unique shelter that caters to your cat’s specific preferences while showcasing your creativity.
In this article, we will delve into the benefits of felt cat caves, guide you through various DIY approaches, and offer tips to ensure your final product is both functional and fashionable. Whether you’re an experienced crafter or a beginner, this guide will provide you with all the information needed to create the ultimate cozy home for your cat.
Understanding the Benefits
1. Comfortable and Cozy
Felt is a soft and warm material that provides excellent insulation. Cats love the feeling of snuggling into a cave-like environment, which mirrors their instinctive desire for security.
- Warmth Retention: Felt cat caves trap heat very well, providing a warm retreat for your cat, especially in colder months.
- Safe Space: The enclosed design offers a safe haven, helping to reduce anxiety and promote relaxation in your pet.
2. Stylish Home Decor
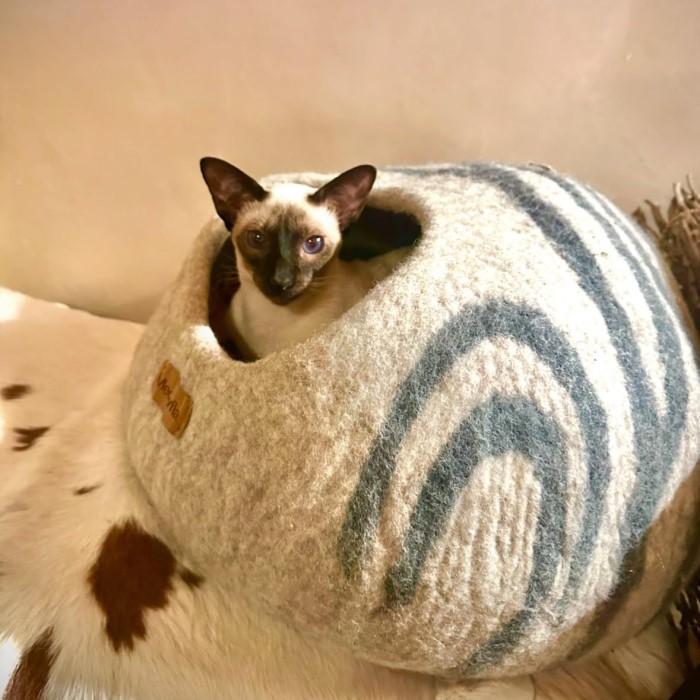
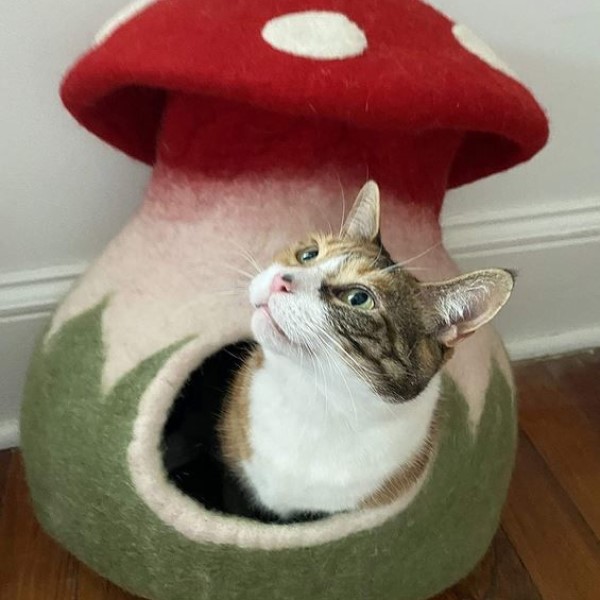
Felt cat caves come in various designs, patterns, and colors, allowing them to blend seamlessly with your home decor.
- Aesthetic Appeal: A DIY felt cat cave can be tailored to match your interior design style, whether modern, rustic, or eclectic.
- Unique Personal Touch: By creating your own cat cave, you can infuse personal elements such as color choices and embellishments, making it a true reflection of your taste.
3. Eco-Friendly Choice
Using felt, especially if it’s made from natural fibers, makes your cat cave an eco-friendly option.
- Sustainable Materials: Many felts are made from sheep wool or recycled fibers, which are biodegradable and sustainable, reducing your carbon footprint.
- DIY Sustainability: Crafting your own felt cat cave minimizes packaging waste and supports a sustainable lifestyle.
Essential Materials for Crafting a Felt Cat Cave
1. Choosing the Right Felt
When embarking on your DIY project, selecting high-quality felt is crucial.
- Wool Felt vs. Synthetic Felt: Wool felt offers superior durability and insulation compared to synthetic options. It is also softer and retains warmth better.
- Thickness Matters: Choose thick felt (around 3mm to 5mm) for structural integrity, ensuring the cave can stand on its own while being enjoyable for your cat.
2. Additional Supplies
Along with felt, you will need some extra supplies to complete your project.
- Scissors: A good pair of fabric scissors will help with clean cuts.
- Hot Glue Gun and Glue Sticks: For assembling parts of your cat cave, a hot glue gun works well to secure edges and seams effectively.
- Ruler and Marker: Use a ruler to measure accurately and a marker to outline your patterns on the felt before cutting.
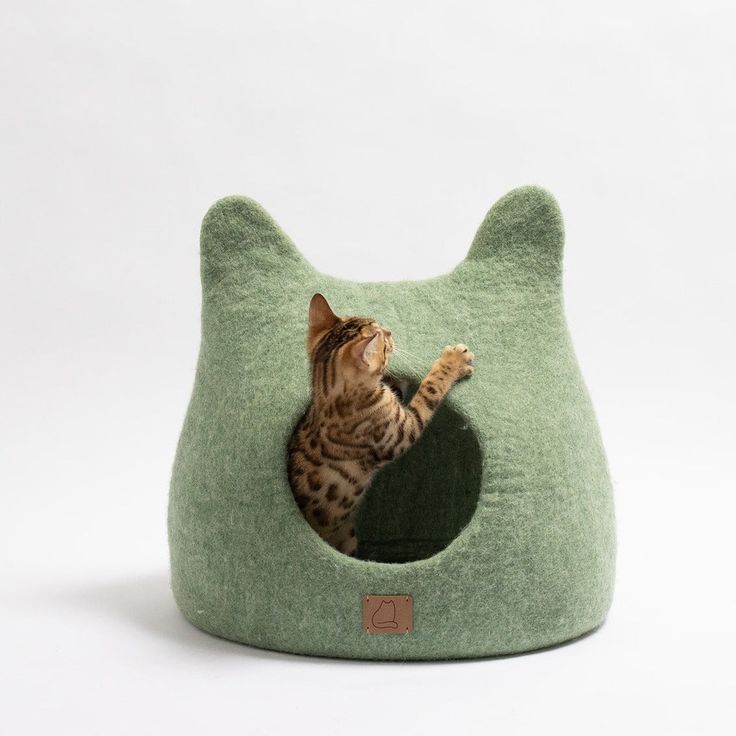
Designing Your DIY Felt Cat Cave
1. Planning the Design
Before diving into crafting, planning your design is essential.
- Size Considerations: Measure your cat to ensure the cave is spacious enough for them to rest comfortably.
- Shape Ideas: Popular shapes include domes and boxes. Each design should provide an adequate entrance while allowing your cat to curl up comfortably.
2. Creating the Pattern
Once you have a design in mind, it’s time to create a pattern on paper.
- Drawing the Template: Use the ruler to draw out the sides, base, and entrance of your cat cave. Ensure that proportionate dimensions suit your cat’s size.
- Transferring to Felt: After creating the paper pattern, place it on the felt and trace it out with a marker. Remember to include seam allowances in your measurements.
Step-by-Step Instructions
1. Cutting the Felt Pieces
Now it’s time to cut out the shapes you’ve marked on the felt.
- Careful Cutting: Use sharp scissors to cut along the outlines, ensuring clean edges for better assembly later.
- Count Your Pieces: You’ll typically need a base, sides, and an entrance flap. Double-check that you have all pieces before proceeding.
2. Assembling the Cat Cave
With all pieces cut, it’s time to start assembling your cat cave.
Joining the Sides
- Preparation of Materials: Before you start, gather all necessary materials, including a hot glue gun, glue sticks, and the side pieces that will be attached to the base. Ensure that the area is clean and free of distractions for a smooth working process.
- Applying Hot Glue: Apply a line of hot glue along the edge of the base where you plan to attach each side piece. Be generous with the glue, but avoid applying too much to prevent overflow.
- Attaching the Side Pieces: Carefully press the side pieces against the glued edge of the base, ensuring they are aligned properly. Hold each piece in place for a few seconds while the glue begins to set, ensuring a secure attachment.
- Checking Stability: After attaching each side piece, double-check to ensure that they are firmly in place. If any piece feels loose, reapply glue as needed and hold it until it sets completely.
Creating the Entrance
- Choosing the Location: Decide on the side of the cave that will serve as the entrance. It’s best to choose a location that allows easy access for your cat while ensuring the overall stability of the structure.
- Measuring the Opening Size: Before cutting, measure your cat’s size to determine how large the entrance should be. Consider its height and width to ensure that your cat can comfortably enter and exit.
- Making the Cut: Use a sharp utility knife or scissors to cut out a neat opening on the chosen side. Take care not to cut too roughly, as this could create sharp edges. Aim for a smooth, rounded entry that is inviting for your pet.
- Sanding Edges: Once the cut is made, gently sand or trim any rough edges around the entrance. This will help prevent injuries to your cat as they enter and exit the cave structure.
Reinforcing Seams
- Assessing the Structure: After the initial assembly is complete, check all the seams where the side pieces attach to the base. Identifying weak points will help you decide where additional support is needed.
- Cutting Felt Strips: Cut strips of felt material that match or complement the colors of your cave. The strips should be long enough to cover the entire length of the seams you want to reinforce.
- Gluing Additional Strips: Apply a layer of hot glue along the seams and carefully place the felt strips over the glued areas. Press down firmly to ensure good adhesion, and hold for a few seconds until the glue sets.
- Final Inspection: Once all reinforcing strips are in place, inspect the seams for strength. Gently tug on the sides to ensure that everything is securely attached. Consider adding more strips if you feel additional support is necessary for stability.
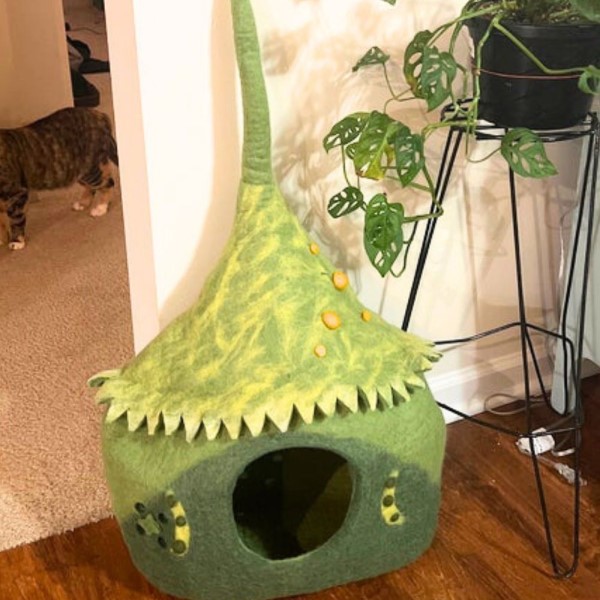
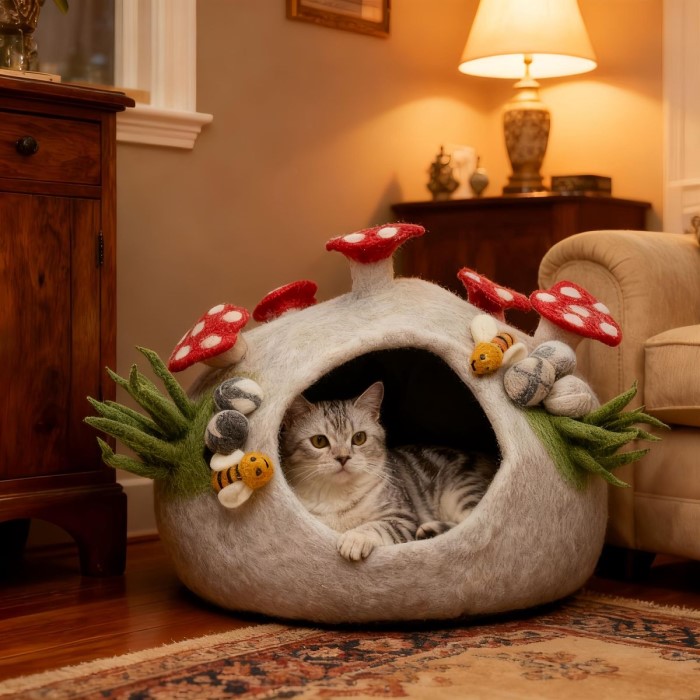
Personalizing Your Felt Cat Cave
1. Adding Unique Elements
To make your cat cave truly your own, consider personalizing it with additional designs.
- Embellishments: Incorporate fun elements like felt ears, bows, or other shapes on the outside to give your cave character.
- Names or Initials: Use lettered felt pieces or fabric paints to add your cat’s name or initials, further customizing their space.
2. Seasonal Decor
Just like your home decor, your cat cave can reflect the seasons.
- Themed Accessories: For different seasons or holidays, consider adding themed decorations or changing the color of the felt outside layer.
- Changing Interior Cushions: You can add a removable cushion or blanket inside to increase comfort, which can be switched out based on the season or color scheme.
Caring for Your Cat Cave
1. Regular Maintenance
Keeping your felt cat cave clean and in good shape is essential.
- Vacuuming: Regularly vacuum the felt to remove any cat hair or debris that may accumulate.
- Spot Cleaning: For stains, use a damp cloth and mild soap to spot clean only the affected areas.
2. Long-Term Care
Ensure that your cat cave stays appealing and functional over time.
- Inspecting for Wear: Regularly check for any signs of wear or damage. Repair small holes or areas that may be fraying to prolong its lifespan.
- Storage: When not in use, feel free to put the cave away, but store it flat to maintain its shape.
Frequently Asked Questions
Is felt a good material for coasters?
Yes, felt is an excellent material for coasters due to its moisture-absorbing properties, soft texture, and ability to prevent scratches on surfaces.
Can you use felt as a coaster?
Absolutely! Felt makes a practical and stylish coaster that protects surfaces from water rings, heat, and scratches while adding to your home decor.
Which material is best for coasters?
Choosing the best material for coasters depends on personal preference and usage. Felt coasters provide excellent absorbency and softness, while cork, ceramic, and silicone are also popular choices for coasters due to their durability.
Conclusion
In conclusion, creating your own felt cat cave is an enjoyable and rewarding project that caters to your cat’s desires while enhancing your home decor. The process allows for creativity while providing a cozy retreat for your feline friend. By understanding the benefits of felt and following the provided guidelines, you can craft a stylish, comfortable haven that your cat will love.
As you embark on your DIY journey, prioritize utilizing high-quality materials, incorporating personal touches, and maintaining the cave for long-lasting use. Not only will your cat benefit from their new space, but you will also enjoy the satisfaction of creating a functional piece of art in your home. Embrace the joy of crafting and provide your pet with the comfort they deserve!