Introduction
Liquid soap making is both a creative and practical activity. This process allows you to craft a product that is tailored to your skin’s needs. Understanding the basics of liquid soap making can help you create high-quality and safe products at home. Let’s explore what liquid soap is and the benefits of making your own.
What is liquid soap?
Liquid soap is a cleansing agent in liquid form. Unlike bar soap, it is typically made using potassium hydroxide rather than sodium hydroxide. This difference gives liquid soap its smooth, gel-like consistency. Liquid soap is versatile and used for personal hygiene, dishwashing, and general cleaning. It is often customizable with fragrances, colors, and skin-nourishing additives.
Benefits of making your own liquid soap
Creating your own liquid soap offers many advantages:
- Customization: You control the ingredients, fragrances, and additives for your specific needs.
- Cost-effectiveness: Homemade soap is often cheaper than store-bought options.
- Eco-friendliness: Reusable packaging reduces waste, benefiting the environment.
- Ingredient quality: You avoid harmful chemicals often found in commercial soaps.
- Creative freedom: Experiment with different scents, colors, and textures.
Making liquid soap is rewarding and can provide healthier, eco-friendly alternatives. It’s a great way to personalize your skincare routine and minimize chemical exposure.
Essential Ingredients
To make liquid soap, selecting the right ingredients is crucial. These ingredients determine the quality, lather, and skin benefits of your soap. Let’s look at the essentials and additional options for customization.
Key ingredients needed
These are the must-have ingredients for making liquid soap:
- Potassium hydroxide (KOH): This alkali is vital for liquid soap to achieve its saponification. Unlike sodium hydroxide, it creates a soft, liquid consistency.
- Distilled water: This ensures no impurities in your soap, creating a pure and safe product.
- Oils or fats: These are the base of your soap. Common choices include coconut oil, olive oil, or castor oil.
- Glycerin: It adds moisture to your soap, helping to keep your skin hydrated.
- Preservatives: If you want a longer shelf life, a safe preservative can help prevent microbial growth.
Optional ingredients for customization
Customizing your liquid soap allows you to create a unique product. Here are some optional ingredients to consider:
- Essential oils: Add fragrances like lavender, peppermint, or tea tree for a pleasant aroma and skin benefits.
- Natural colorants: Use ingredients like mica powder, turmeric, or beetroot powder for vibrant colors.
- Botanical additives: Consider aloe vera, chamomile extract, or oatmeal for added skin nourishment.
- Exfoliants: Jojoba beads, ground coffee, or crushed walnut shells can provide gentle exfoliation.
- Vitamins and proteins: Adding vitamin E or silk proteins can enhance your soap’s skin-loving properties.
Choosing high-quality ingredients is essential for making liquid soap. By sticking to the basics and tweaking with optional additives, you can craft unique, functional, and luxurious soap at home.
Tools and Equipment Required
Making liquid soap successfully requires the right tools and equipment. Using proper tools ensures your soap-making process is smooth, safe, and efficient. Below are the essentials.
Basic tools for liquid soap preparation
- Large stainless steel pot: A durable, non-reactive pot helps cook the soap paste evenly.
- Heat-resistant spatula or spoon: Stirring while the soap cooks is easier with a strong spatula.
- Digital scale: Accurate measurements are crucial for soap-making precision.
- Thermometers: Use digital or candy thermometers to monitor the temperature during saponification.
- Stick blender: This tool blends oils and potassium hydroxide for a smooth consistency.
- Glass mixing bowls: Glass is great for holding ingredients without reacting with them.
- Funnels: Safely transfer soap to bottles or containers with a funnel.
- Storage containers: Use clean containers to store the finished soap.
Safety equipment you’ll need
Soap-making involves working with caustic chemicals. Safety equipment protects you from harm.
- Safety goggles: Protect your eyes from splashes of lye.
- Gloves: Wear thick gloves to prevent skin contact with potassium hydroxide.
- Apron: A chemical-resistant apron keeps your clothes safe from spills.
- Ventilation: Work in a well-ventilated area to avoid inhaling lye fumes.
Having the right tools and equipment makes liquid soap preparation safer and more effective. Ensure everything is clean and well-maintained before starting.
Understanding the Soap Making Process
Liquid soap making combines science and creativity. Knowing the process ensures successful, high-quality soap.
The science of liquid soap making
Liquid soap making involves saponification, a chemical reaction between an alkali and fats or oils. Potassium hydroxide (KOH) is the alkali used, breaking down oils into soap and glycerin. Distilled water dissolves the KOH and ensures purity. Temperature is vital, as heat accelerates the saponification process. A stick blender mixes ingredients for uniformity and speeds up chemical reactions. Understanding these basics helps you make skin-safe, effective liquid soap.
Common techniques used in liquid soap production
- Hot process method: Heat accelerates saponification, creating soap paste quickly and efficiently.
- Cold process method: Ingredients react slowly at room temperature, requiring longer curing times.
- Dilution: Once soap paste forms, it’s diluted with distilled water for liquid consistency.
- Customization: Additives such as essential oils, colors, and vitamins enhance soap’s appeal and benefits.
- Testing: pH testing ensures your soap is safe for skin and maintains stability.
Mastering these techniques improves your liquid soap-making skills, allowing for consistent and creative results.

Step-by-Step Recipe
Making liquid soap at home can be simple and fun. Follow these straightforward steps.
Preparing your workspace
- Choose a well-ventilated area: Work in a place with good airflow to avoid lye fumes.
- Clean your equipment: Ensure all tools and containers are clean and dry.
- Set up safety gear: Wear gloves, safety goggles, and an apron to protect yourself from spills.
- Organize materials: Arrange all ingredients and tools within easy reach for a smooth process.
Measuring and mixing ingredients
- Measure oils and fats: Use a digital scale for precise quantities of chosen oils.
- Prepare potassium hydroxide solution: Mix potassium hydroxide with distilled water carefully to prevent splashes.
- Combine oils and lye solution: Add the lye mixture slowly into the oils using a stick blender.
- Achieve trace: Blend until the mixture thickens and achieves a smooth consistency.
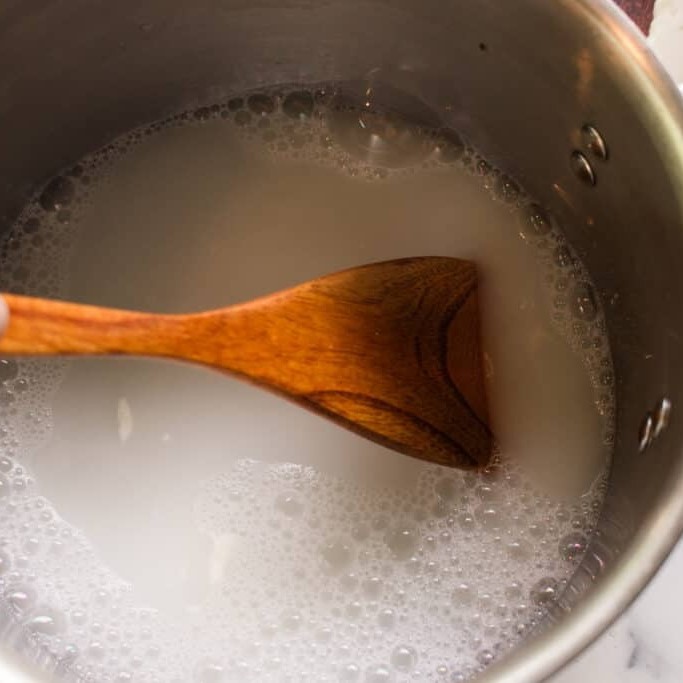
Cooking the soap paste
- Transfer to a pot: Pour the mixture into a large stainless steel pot.
- Cook on low heat: Stir continuously as the soap mixture heats up.
- Monitor temperature: Maintain a consistent heat to avoid burning the mixture.
- Check for transparency: The paste turns translucent when the saponification process is complete.
- Perform clarity test: Mix a small amount of paste with boiling water to ensure it’s fully diluted and clear.
Diluting the soap paste
- Add distilled water: Gradually add water to the cooked soap paste for a liquid consistency.
- Stir gently: Incorporate the water until the paste fully dissolves and no lumps remain.
- Test thickness: Adjust by adding more water if required to get the desired consistency.
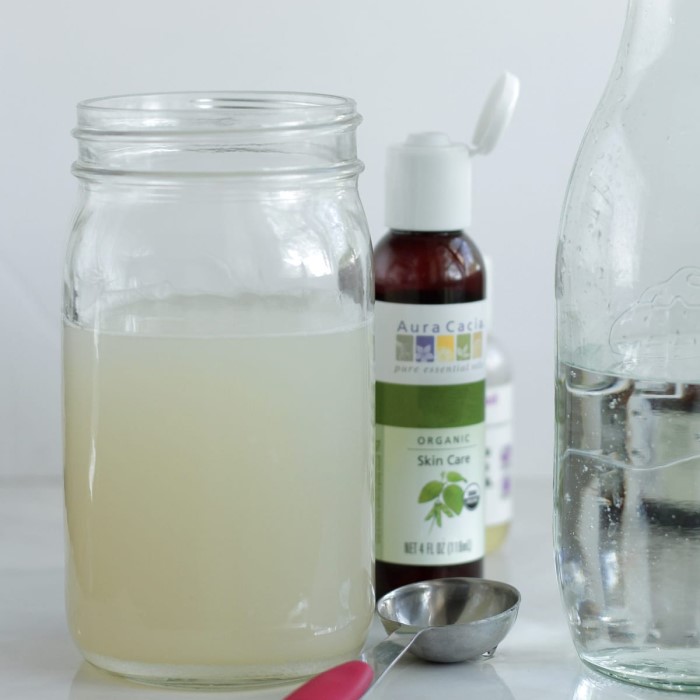
Adding fragrances, colors, and other additives
- Let the soap cool: Allow the diluted soap to cool slightly before adding additives.
- Mix in essential oils: Blend your chosen scents for a pleasant fragrance.
- Add colorants: Incorporate natural colorants like mica powder or turmeric for a vibrant look.
- Include extra nutrients: Enhance the soap with aloe vera, vitamins, or exfoliants as desired.
By following these steps, you’ll create a customized, high-quality liquid soap. Practice and experimentation improve results, so don’t hesitate to tweak your recipe over time.
Tips for Perfect Liquid Soap Every Time
Making liquid soap requires precision and care. Small adjustments can significantly improve your soap’s quality. Here are practical tips to ensure successful results.
Avoiding common mistakes
Mistakes can affect the quality and performance of your liquid soap. Here are tips to prevent them:
- Use accurate measurements: Always measure your ingredients with a digital scale.
- Mix potassium hydroxide correctly: Dissolve it gently in distilled water to avoid splashes or fumes.
- Maintain a stable temperature: Inconsistent heat can cause poor saponification or burning.
- Do not rush trace: Blend oils and alkali thoroughly until a smooth consistency is reached.
- Avoid contamination: Use clean tools and utensils for a safe and high-quality soap.
- Add additives cautiously: Overloading fragrances or colorants can affect the soap’s texture or irritate skin.
Fixing common issues with liquid soap
If problems arise, here’s how to fix them effectively:
- Soap is cloudy: Check for undissolved potassium hydroxide or oils. Reheat and mix thoroughly.
- Soap is too watery: Dilute with less distilled water next time or cook longer to reach transparency.
- Soap is too thick: Add small amounts of distilled water slowly to adjust consistency.
- Unpleasant smell: Avoid expired oils and use fresh essential oils for better fragrance.
- Skin irritation: Double-check pH levels; ideal soap should have a pH between 7-10.
By following these practices, you can enhance your soap-making skills and ensure great results every time.
Packaging and Storing
Proper packaging and storage of liquid soap preserve its quality and usability. Neglecting these aspects can lead to spoilage or diminished effectiveness. Here’s how to store and package your liquid soap effectively.
Best practices for storing your liquid soap
- Use clean, airtight containers: Prevent contamination and enhance shelf life by storing soap in sealed bottles.
- Maintain cool temperatures: Avoid direct sunlight or heat to prevent spoilage or separation.
- Label your soap: Include the production date and ingredients for easy identification and tracking.
- Store in dark places: Light exposure can affect fragrances and colorants in your soap.
- Check for expiration: Homemade liquid soap typically lasts 6 to 12 months. Use preservatives for longer shelf life.
Options for packaging and presentation
Pump bottles:
-
- User-friendly design: Pump bottles are designed for ease of use, allowing for quick and efficient dispensing of products.
- Versatile applications: They are suitable for a variety of household items such as soaps, lotions, and other skincare products, making them perfect for daily use.
- Minimized waste: The controlled dispensing mechanism reduces the likelihood of over-usage, helping to conserve product and prolong its life.
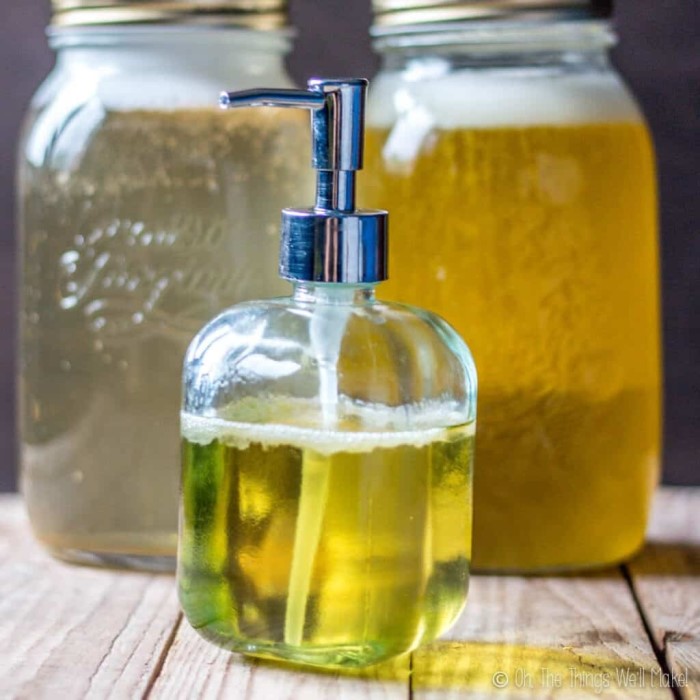
Mason jars or glass bottles:
-
- Elegant packaging option: Mason jars and glass bottles offer a classic and sophisticated aesthetic that enhances the presentation of your products.
- Ideal for gifting: These containers make thoughtful and visually appealing gift options, perfect for special occasions or homemade goods.
- Countertop display: Their stylish design makes them perfect for displaying on countertops, adding a decorative touch to kitchens and bathrooms.
Eco-friendly containers:
-
- Sustainable choice: Opting for biodegradable or recyclable packaging helps reduce environmental impact, contributing to a healthier planet.
- Consumer awareness: More consumers are focusing on sustainability, making eco-friendly containers attractive to environmentally conscious buyers.
- Promoting green practices: Choosing such packaging supports sustainable business practices and reflects a commitment to responsible consumption.
Custom labels:
-
- Brand identity: Create unique and attractive labels that reflect your brand’s personality, ensuring a memorable impression on customers.
- Informational content: Include essential information such as product designs, scents, and usage instructions to guide customers effectively.
- Enhancing appeal: Eye-catching designs and colors can draw attention, making your product stand out on the shelves or in gift presentations.
Travel-friendly sizes:
-
- Convenience on the go: Small containers are perfect for travel, allowing customers to easily carry their favorite soaps and skincare products wherever they go.
- Space-saving design: Compact sizes fit well in bags or luggage, making them ideal for vacation, business trips, or daily commutes.
- Encouraging trial and sampling: Offering travel-sized products can encourage customers to try new scents or formulations without committing to full sizes.
By adopting these practices, you can ensure the longevity and appeal of your homemade liquid soap. Proper packaging also adds a professional touch, making your soap suitable for personal use or gifting.
FAQs
Common questions and answers
Q: Can I use regular tap water instead of distilled water?
A: It is better to use distilled water. Tap water may contain impurities that affect the quality of your soap.
Q: Why does my soap have a strong chemical smell?
A: A strong smell can be caused by leftover potassium hydroxide. Ensure proper saponification and always measure ingredients accurately.
Q: Can liquid soap be made without potassium hydroxide?
A: No, potassium hydroxide is essential for the saponification process and liquid soap consistency.
Q: How do I make soap thicker?
A: Add less distilled water or adjust during paste dilution. Stir carefully to reach the right thickness.
Q: Can I use any cooking oil for soap-making?
A: No, choose oils like coconut, olive, or castor oil. These oils offer better skin benefits and lather.
Troubleshooting tips for beginners
Cloudy soap:
Check for undissolved potassium hydroxide or oils. Reheat and stir the mixture.
Soap separates:
Keep temperature consistent while cooking. Also, use a stick blender for thorough mixing.
Thick soap paste:
You can gradually add small amounts of distilled water to adjust the texture.
Soap irritates skin:
Ensure the soap’s pH is between 7 and 10. Test pH to ensure skin safety.
Weak fragrance or color:
Increase essential oils or colorants but stay within safe limits for skin use.
Making liquid soap takes practice. Keep experimenting and refining your steps for better results.
Conclusion: Embrace the Art of Making
Making liquid soap at home is not just a fun DIY project; it is a rewarding practice that benefits both you and the environment. As you engage in this creative endeavor, focus on the key ingredients, follow the outlined steps, and personalize your soap to suit your preferences. By mastering the art of making liquid soap, you can craft a product tailored to your needs while avoiding the harmful chemicals often found in commercial options. With a little patience and practice, your homemade soap will not only bring joy to your daily routine but also reflect your unique style. Now, go ahead and embrace the art of making liquid soap—your skin will thank you!