Introduction
Soap making is an enjoyable and rewarding craft that appeals to many. For beginners, diving into this art can seem daunting. However, the truth is that anyone can succeed at soap making with the right guidance and a few easy recipes. In this blog post, we will explore how to get started with soap making for beginners, providing insights into easy recipes that can help you create delightful soaps at home. Whether you want to craft personalized gifts or indulge in a fun hobby, this guide is your gateway to creating beautiful soaps.
What is soap?
Soap is a cleaning product made by combining fats or oils with an alkali. It is created through a chemical process called saponification. This process turns oils or fats into soap and glycerin. Soap works by breaking down dirt and oils, making them easier to wash away with water. Homemade soaps can include natural ingredients like essential oils and herbs.
History and basics of soap making
Soap has been used for thousands of years. Ancient civilizations like the Babylonians and Egyptians made soap-like substances. These early soaps were used for cleaning wool, skin, and other materials. The industrial revolution brought mass production, making soap widely accessible.
Modern soap making allows creative freedom. Beginners can choose methods, colors, scents, and designs. Understanding the basics gives beginners the confidence to create beautiful homemade soaps. With this knowledge, you can enjoy a rewarding soap-making experience.
Essential Tools and Materials
Starting your journey in soap making for beginners requires the right tools and ingredients. Having the proper equipment ensures safety and improves the quality of the final product. Here’s a breakdown of essential tools and common ingredients you’ll need.
Tools needed for soap making
- Digital scale: Helps measure ingredients precisely to achieve the correct soap formula.
- Mixing bowls: Use heat-resistant bowls to mix oils, lye, and other ingredients safely.
- Spatulas and spoons: Silicone or stainless steel tools are best for mixing and scraping.
- Thermometer: Monitors the temperature of oils and lye to ensure the right conditions.
- Stick blender: Speeds up the saponification process and ensures smooth, well-blended soap batter.
- Soap molds: Molds help shape your soap. Silicone molds are easy to use and clean.
- Measuring cups and spoons: These are crucial for precise ingredient measurement.
- Protective gear: Safety goggles, gloves, and an apron protect you from potential lye splashes.
By gathering these tools, you’ll be well-prepared. Using the right equipment makes soap making safe and efficient.
Common ingredients used
- Oils and fats: Olive oil, coconut oil, and palm oil are commonly used base oils.
- Lye (sodium hydroxide): Essential for the saponification process that turns oils into soap.
- Distilled water: Ensures purity and consistency in your soap recipes.
- Essential oils: Provides natural fragrances like lavender, peppermint, or eucalyptus.
- Colorants: Natural clays, micas, or plant-based powders add vibrant colors to your soap.
- Additives: Ingredients like oatmeal, dried herbs, or coffee grounds create texture and exfoliation.
- Preservatives: Vitamin E or rosemary extract can help extend your soap’s shelf life.
Having these ingredients on hand allows you to experiment and customize your soap. Always follow reliable recipes when combining tools and materials.
Equipped with the proper tools and ingredients, you’re ready to begin your soap-making adventure.
Types of Soap Making Techniques
Soap making offers several techniques to explore. Each method has unique processes and benefits. Beginners can pick a method that suits their experience level and preferences.
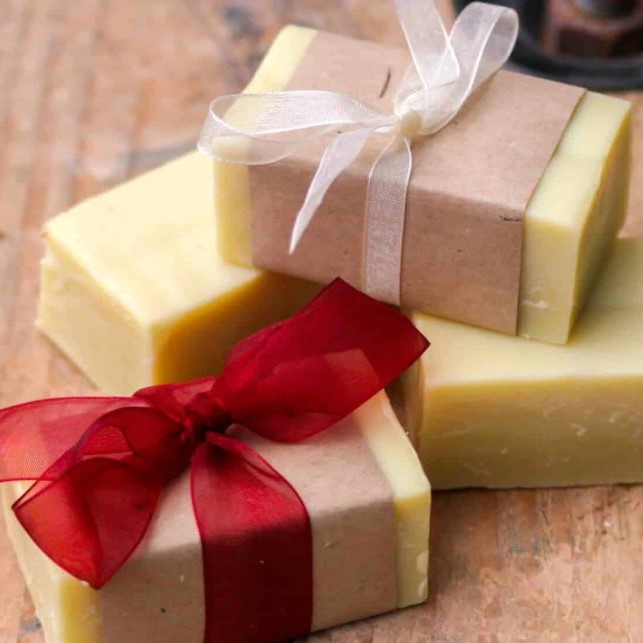
Cold process soap making
Cold process is popular among soap makers. It uses oils and lye to create soap through saponification. The mixture is poured into molds and left to cure for 4-6 weeks. This method allows customizing scents, colors, and textures.
Advantages:
- Creates firm, long-lasting soap.
- Allows full control over ingredients.
- Offers endless design possibilities.
Things to Note:
- Requires patience due to curing time.
- Precise measurements and temperatures are essential.
Hot process soap making
Hot process soap making speeds up curing by applying heat. The mixture is cooked in a slow cooker or double boiler. After cooking, the soap can be molded and used sooner than cold process soap.
Advantages:
- Soap is ready faster.
- Rustic appearance with natural textures.
- Safer as lye is fully neutralized during cooking.
Things to Note:
- Final designs are less customizable.
- Requires careful temperature control to avoid overheating.
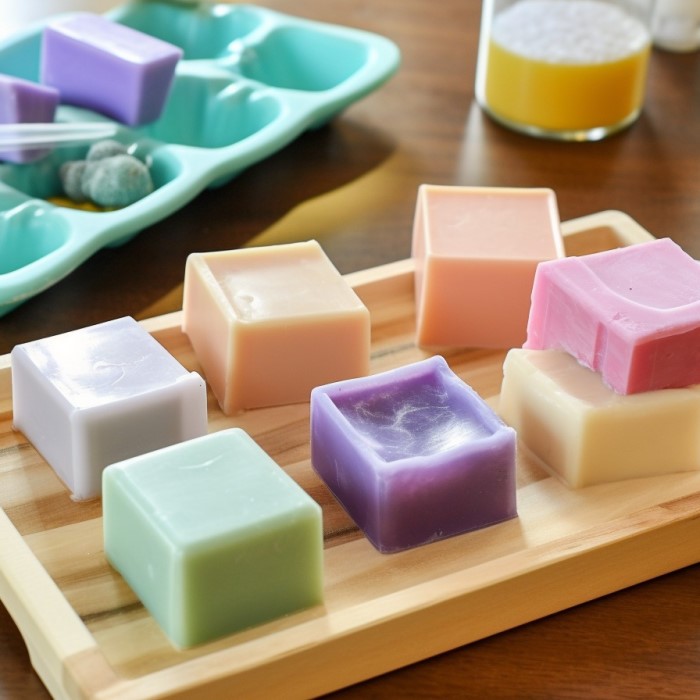
Melt and pour soap making
Melt and pour is ideal for beginners. It involves using a pre-made soap base. The base is melted, then enhanced with additives like colors, fragrances, or exfoliants. It is poured into molds and hardens within hours.
Advantages:
- No handling of lye.
- Quick and easy process.
- Great for creative projects.
Things to Note:
- Limited control over soap base composition.
- May lack durability compared to other methods.
By understanding each technique, you can choose the best option for your soap-making journey. Whether you prefer cold process, hot process, or melt and pour, all methods offer fun and rewarding experiences.
Safety Tips and Precautions
When making soap, safety should be your top priority. Handling lye and other materials requires care and preparation. Following safety tips can help prevent accidents and ensure a smooth soap-making process.
Handling lye safely
Lye (sodium hydroxide) is essential for soap making but must be handled responsibly. Here are safety tips for working with lye:
- Work in a well-ventilated area: Lye can release fumes. Good airflow reduces exposure.
- Add lye to water, not vice versa: Pouring lye into water prevents dangerous splashes.
- Stir slowly: Avoid rapid mixing to minimize splattering and heat buildup.
- Never touch lye with bare hands: Direct contact can burn skin. Always use protective gear.
- Store lye safely: Keep lye in a sealed, labeled container, away from children and pets.
- Dispose of lye solution properly: Follow local guidelines to ensure safe disposal.
By handling lye carefully, you can reduce risks during soap making.
Protective equipment recommendations
Using proper protective gear helps safeguard against accidents. Here’s what you’ll need:
- Safety goggles: Protect your eyes from lye splashes.
- Rubber gloves: Shield your hands from chemicals and hot mixtures.
- Long-sleeved clothing: Prevent lye or oils from contacting your skin.
- Apron: A sturdy apron keeps your clothing clean and safe.
- Closed-toe shoes: Protect your feet from accidental spills.
Wearing this equipment ensures a safe working environment. Always prioritize safety when making soap.
By following these precautions, you’ll create soap with confidence and peace of mind.
Step-by-Step Guide to Soap Making
Creating soap at home involves several steps. Following these steps ensures your soap turns out well. Beginners should start with simple recipes and gradually explore more complex techniques.
Choosing your soap recipe
- Determine your soap-making method: Decide if you’ll use cold process, hot process, or melt and pour.
- Consider your ingredients: Choose oils, fragrances, and additives that suit your preferences and skin type.
- Find a reliable recipe: Use trusted sources designed for soap making for beginners.
- Start small: Begin with smaller batches to minimize waste and practice the process.
Select recipes that match your skill level. Look for step-by-step guides online or in soap-making books.
Measuring and mixing ingredients
- Weigh your ingredients carefully: Use a digital scale for precise measurements.
- Prepare your lye solution safely: Add lye to water slowly and stir until dissolved.
- Measure and heat oils: Warm your oils to the temperature required by your method.
- Combine lye and oils: Slowly mix lye into your oils while stirring continuously.
- Blend the mixture: Use a stick blender to achieve trace, a pudding-like consistency.
Accuracy and patience are crucial for this step. Always double-check your measurements.
Pouring and curing your soap
- Prepare your molds: Choose clean molds and lightly grease them if needed.
- Pour the soap batter: Carefully pour your mixture into the molds.
- Tap the molds gently: Remove air bubbles by tapping the molds on a flat surface.
- Allow soap to set: Let the soap harden for at least 24-48 hours.
- Remove soap from molds: Gently take the soap out without breaking it.
- Cure your soap: Leave soap to dry in a ventilated space for 4-6 weeks.
Curing improves soap’s hardness and ensures it is skin-friendly. Remember to label and store your finished soap properly.
With this step-by-step guide, you can confidently create homemade soap. Enjoy the rewarding experience!
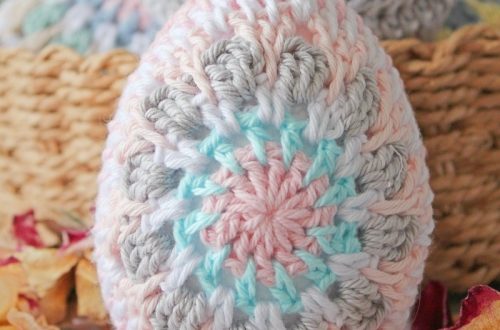
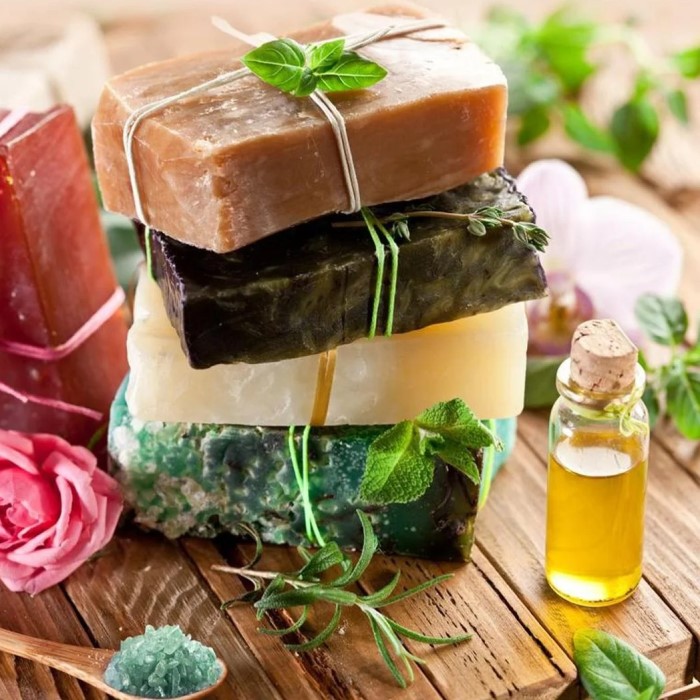
Creative Soap Making Ideas
Soap making for beginners opens doors to many creative possibilities. With the right techniques and ingredients, you can craft unique and stunning soaps. Below are some fun and creative ideas to try.
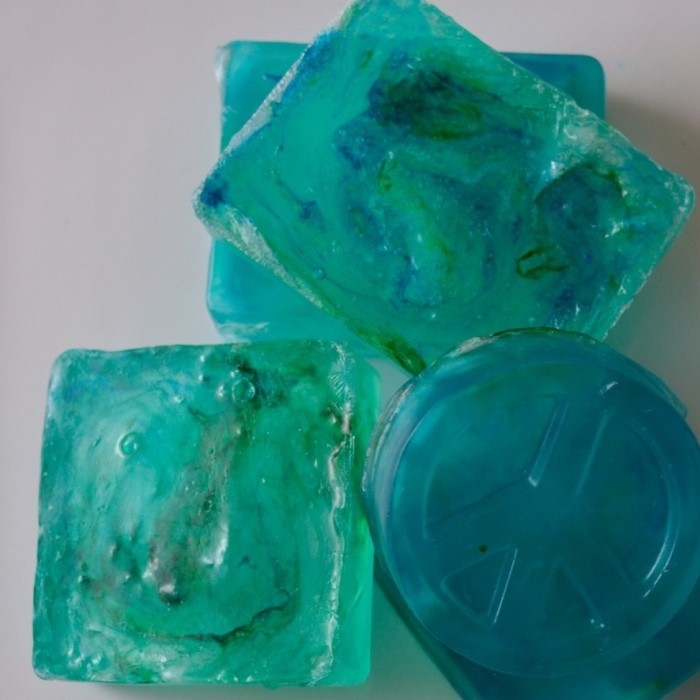
Adding colors and fragrances
Adding colors and fragrances makes your soap visually appealing and pleasing to the senses. Here’s how to get started:
- Choose natural colorants: Use clays, micas, or plant-based powders like turmeric or beetroot.
- Add essential oils: Scents like lavender, citrus, or eucalyptus are popular choices.
- Combine colors and scents: Match fragrances with colors to create a harmonious theme.
- Layer your soap: Pour different colored layers to make striped or gradient soap designs.
- Use swirling techniques: Use a skewer or spoon to swirl colors for artistic effects.
Experiment with combinations to create unique soaps that match your style.
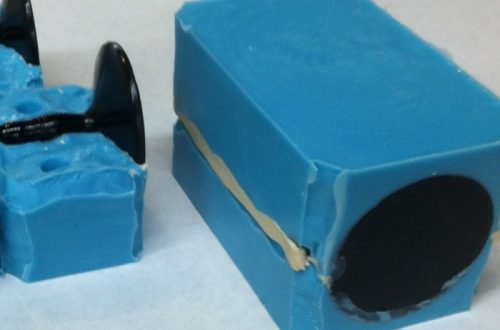
Using molds for unique shapes
Molds can transform soap into fun and eye-catching designs. Here’s how to choose and use molds:
- Silicone molds: Easy to clean and available in various shapes like flowers or animals.
- Custom molds: Create molds with intricate patterns for decorative soaps.
- Household items: Use muffin tins or plastic containers as molds for simple designs.
- Layer different designs: Combine molds to create multi-dimensional shapes.
- Holiday themes: Choose festive molds for Christmas, Halloween, or other special occasions.
Using molds allows unlimited customization and creativity in soap making.
Creating exfoliating soaps
Exfoliating soaps are both functional and luxurious. Add ingredients to provide gentle scrubbing effects:
- Oatmeal: Soothes skin and gently exfoliates.
- Coffee grounds: Stimulates the skin and removes dead cells.
- Poppy seeds: Adds a mild exfoliating texture.
- Sea salt: Provides a refreshing and mineral-rich scrub.
- Dried herbs: Rosemary, lavender, or calendula for a natural feel and added benefits.
Customize exfoliating soaps for different needs and skin types. They are perfect for gifting too.
Unleash your creativity with these soap-making ideas to craft stunning, personalized soaps. Enjoy the process and have fun!
Troubleshooting Common Soap Making Issues
Soap making can occasionally present challenges, especially for beginners. Knowing how to address these issues is key to ensuring a successful outcome. Below are some common problems and solutions to help you troubleshoot effectively.
Avoiding and fixing curing problems
- Soap remains soft: Check your oil-to-lye ratio. A higher percentage of soft oils can cause this. Adjust your recipe to balance hard and soft oils.
- Soap has oily spots: This may happen if mixing was incomplete. Blend the soap batter thoroughly. Use a stick blender for consistency.
- Crumbly or brittle soap: Low water content might be the issue. Ensure you use the correct water-to-lye ratio.
- Soap develops white powder: This is soda ash. Cover molds during curing to reduce exposure to air. Lightly mist surfaces with alcohol before curing.
- Soap takes too long to cure: Test room conditions. Ideal curing happens in a cool, ventilated space. Avoid excess humidity.
- Uneven curing or color fades: Rotate soap bars weekly for even drying and preserve in a shaded, dry area.
Proper attention to curing ensures firm, high-quality soap ready for use.
Tips for texture and appearance
- Soap feels gritty: Check that powders or additives are finely ground before mixing. Avoid coarse particles.
- Soap batter separates: This is often caused by high temperatures. Maintain consistent oil and lye temperature.
- Soap design looks faded: High temperatures can alter colors. Use cooler temperatures and high-quality colorants.
- Air bubbles in soap: Tap molds gently after pouring. Prevent bubbles by blending at slower speeds.
- Layered soap designs smudge: Let layers fully set before adding new colors or designs.
- Fragrances vanish after curing: Use appropriate fragrance amounts and choose oils designed for soap making.
Small texture and appearance adjustments can improve the beauty and utility of your homemade soaps.
Troubleshooting is an essential skill for every soap maker. With these tips, you can solve common issues effectively.
Resources for Beginner Soap Makers
When starting your soap-making journey, having access to the right resources is crucial. These resources will provide guidance, inspiration, and support as you learn the craft. Explore various options to build your confidence and skills.
Classes, tutorials, and workshops
- Local community centers or craft stores: Many host in-person soap-making classes for beginners.
- Online video tutorials: Platforms like YouTube offer free step-by-step guides for different techniques.
- Virtual workshops: Join live interactive sessions conducted by experienced soap makers.
- Soap-making kits with instructions: These kits often include materials and an instructional guide for beginners.
- Social media groups: Connect with other soap makers on platforms like Facebook or Instagram. Participate in discussions, share tips, and find support.
Attending classes and engaging with communities helps you learn faster and avoid common mistakes.
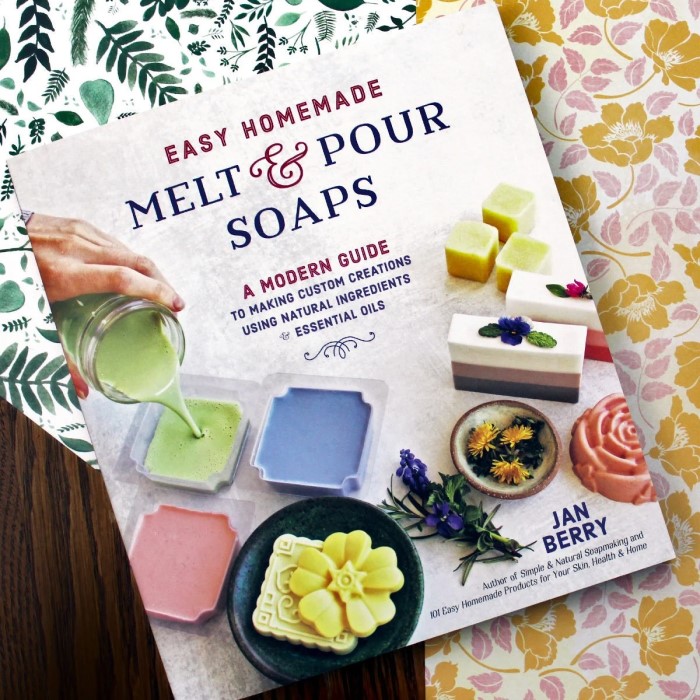
Recommended books and online guides
- Books for soap-making beginners:
- Look for detailed guides on basic techniques and recipes.
- Popular titles include “The Everything Soapmaking Book” by Alicia Grosso and “Smart Soapmaking” by Anne L. Watson.
- Online blogs and websites:
- Search for trusted bloggers who specialize in soap making.
- Blogs like “Soap Queen” and “Lovin Soap” offer reliable tips and inspiration.
- E-books and PDFs:
- Many experts offer downloadable guides with detailed soap-making instructions.
- Courses on learning platforms:
- Websites like Udemy or Skillshare have structured soap-making classes.
- Manufacturer websites:
- Explore essential oil or soap base supplier websites for recipes and tips.
These resources will enhance your learning experience. Choose the ones that suit your learning style and needs.
By leveraging these classes, workshops, books, and guides, you can master the art of soap making. Learn, experiment, and enjoy creating beautiful, handmade soaps.
Conclusion
In summary, soap making for beginners is a delightful journey filled with creativity and personalization. By following the easy recipes outlined in this guide, you can begin crafting your soap safely and effectively. Remember to gather essential supplies, prioritize safety, and avoid common mistakes. As you gain confidence, consider exploring new additives and join a community of fellow soap makers. The world of soap making is vast and exciting, and with practice, you can create beautiful, fragrant soaps to enjoy or share with loved ones. Start today, and let your creativity flow as you dive into the wonderful world of soap making!