What is Kinetic Sand?
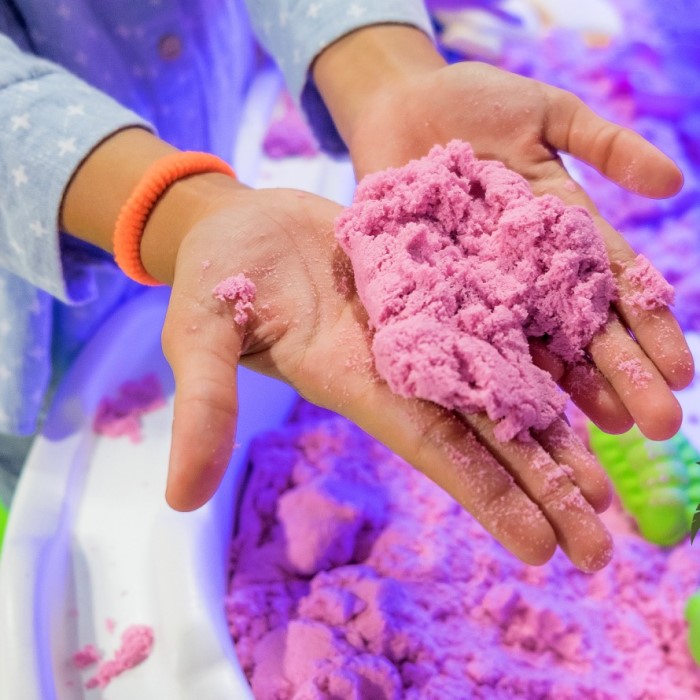
Kinetic sand is a moldable sand-like material. It feels soft and squishy in your hands. Unlike regular sand, kinetic sand sticks together to form shapes. This makes it ideal for creative play and crafting. The secret behind kinetic sand is its unique texture. It combines ordinary sand with a binding agent, often silicone oil. This mix allows it to move like a liquid while holding its shape. Kinetic sand is non-toxic and safe for children. It is also mess-free, as it clings to itself rather than scattering. Parents appreciate its easy cleanup. Many people use kinetic sand for sensory activities. It stimulates touch and helps with relaxation. Kids love it for building castles, animals, or other designs. DIY kinetic sand lets you create this fun material at home. You can control the ingredients and customize colors to suit your needs. Making DIY kinetic sand is a rewarding and enjoyable process.
Benefits of Making DIY Kinetic Sand
Control Over Ingredients
Making DIY kinetic sand lets you choose the ingredients. You can ensure the sand is non-toxic. Customize it according to any allergies or sensitivities. Avoid harmful chemicals by using safe materials.
Cost-Effective and Budget-Friendly
DIY kinetic sand is cheaper than store-bought options. You can use materials you already have at home. It’s a fun and cost-effective project for the entire family. Making it yourself saves money in the long run.
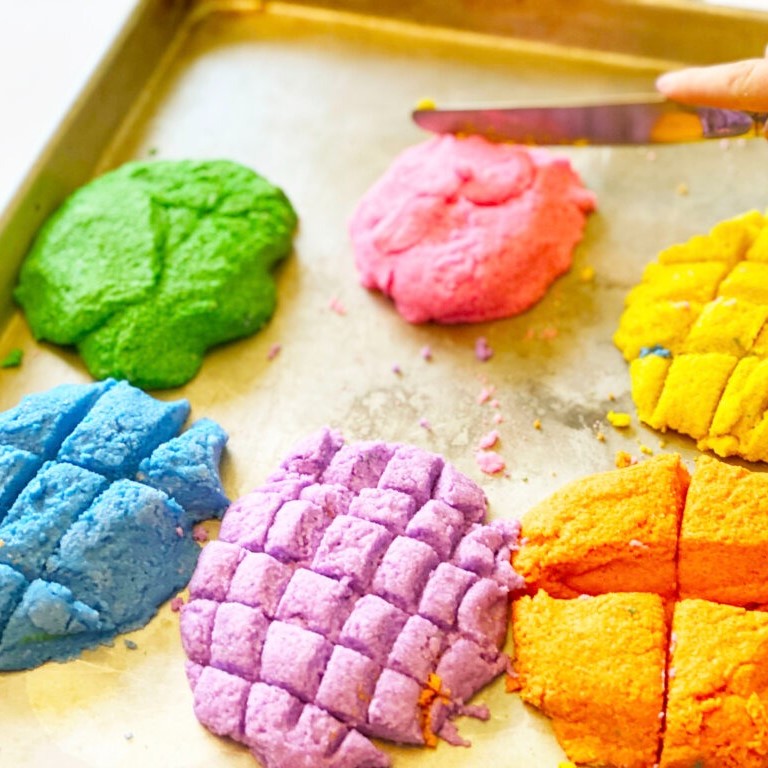
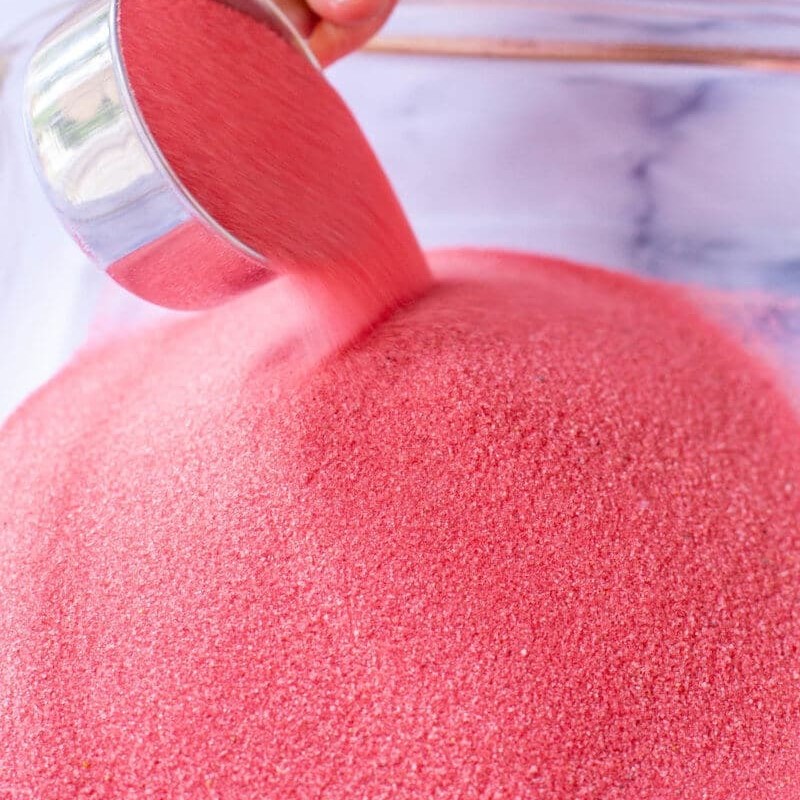
Customizable Colors and Textures
You can make kinetic sand in any color or texture. Mix in food coloring or glitters for unique designs. Adjust the consistency to suit different crafting needs. Personalize it for creative play or sensory activities.
Fun and Educational Activity
Creating DIY kinetic sand teaches kids about science and mixing. It promotes hands-on learning and engages creativity. Kids enjoy experimenting with colors and shapes. It’s a great activity for quality family bonding.
Environmentally Friendly Option
DIY kinetic sand reduces packaging waste compared to store-bought alternatives. Use sustainable materials like organic play sand or natural oils. This helps support eco-friendly practices at home.
Easy Cleanup
DIY kinetic sand clings to itself, making cleanup simple. It’s a mess-free material that parents love. There’s no scattering, keeping play areas cleaner.
Relaxation and Stress Relief
Creating kinetic sand is calming and therapeutic. The texture aids in relaxation during play. Both kids and adults can use it for stress relief or sensory stimulation.
Materials Needed
Creating DIY kinetic sand at home is simple and affordable. You’ll need just a few basic materials.
- Fine Sand: Use clean, dry, and smooth fine sand. Craft stores or online shops sell play sand, which is ideal.
- Cornstarch: This helps achieve the unique binding quality of kinetic sand, giving it a soft texture.
- Water: Use warm water to mix all the ingredients smoothly.
- Dish Soap or Liquid Soap: Use a small amount to provide the sand with a squishy, moldable feel.
- Oil: Add silicone oil, baby oil, or vegetable oil to make the sand pliable and moist.
- Optional Food Coloring: Add a few drops to create vibrant and fun-colored kinetic sand.
- Optional Glitter: For a sparkling effect, mix in craft glitter.
- Mixing Bowl and Spoon: Use these to blend your ingredients properly.

Suggested Pro Tips for Choosing Materials
- Play Sand: Opt for non-toxic options that are labeled as safe for kids.
- Food Coloring: Choose natural, non-toxic food dyes if the sand is for children.
- Special Extras: You can add scents like vanilla extract for a sensory experience.
Having these materials ready ensures your DIY kinetic sand project goes smoothly. You can also customize your mixture based on your preferences. Get creative and enjoy the process of making your own unique kinetic sand!
Step-by-Step Guide
Making DIY kinetic sand is simple and fun. Follow these steps to create your own!
Mixing the Ingredients
- Prepare Your Materials: Gather fine sand, cornstarch, water, dish soap, oil, and optional extras.
- Start with Sand: Pour 2 cups of fine sand into a large mixing bowl.
- Add Cornstarch: Mix in 1 cup of cornstarch. Stir until the mixture looks even.
- Combine Liquids: In a separate bowl, mix 1/4 cup warm water and 1-2 tablespoons of dish soap.
- Add Silicone Oil: Pour in 1 tablespoon of silicone oil or baby oil to the liquid mixture.
- Mix Everything: Gradually add the liquid to the sand. Stir thoroughly to combine.
- Check Texture: Ensure the sand is moist and holds together when squeezed.
- Add Color/Glitter: Mix in food coloring or glitter for a fun and customized look.
Adjusting the Consistency
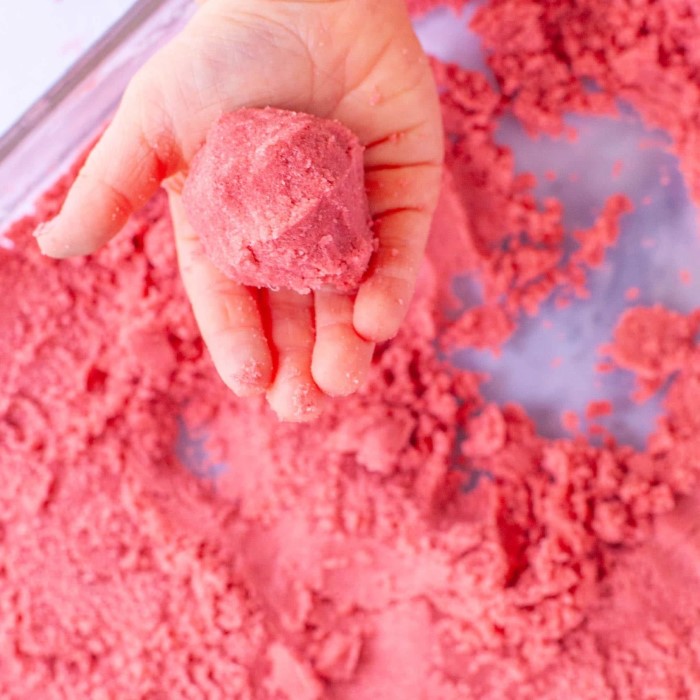
- Test the Sand: Squeeze a handful to see if it holds its shape.
- Too Dry? Add small amounts of water or oil to moisten the sand.
- Use drops at a time to avoid over-wetting.
- Too Wet? Mix in small amounts of cornstarch or fine sand.
- Blend well to maintain consistency.
- Customize Feel: Adjust ingredients for a softer or firmer texture.
- Recheck: Test the mixture again until it reaches the perfect balance.
Making DIY kinetic sand is a satisfying experience. Take time to perfect the material. Enjoy the creative process and the fun that follows!
Tips for Customizing Your DIY Kinetic Sand
Customizing your DIY kinetic sand adds a personal touch to your creation. You can try various ideas to make your kinetic sand unique, colorful, and even fragrant. Here are practical tips to guide you:
Experiment with Colors
- Use food coloring to add vibrant hues to your kinetic sand.
- Mix different colors for exciting blends and shades.
- Opt for natural food dyes for a safer choice for kids.
Add Sparkle with Glitter
- Blend craft glitter into the sand for a shimmering effect.
- Choose glitter colors that complement your sand.
- Experiment with different amounts of glitter for subtle or bold sparkle.
Incorporate Scents
- Add a few drops of vanilla extract or essential oils for pleasant aromas.
- Select kid-safe and non-toxic scents for younger children.
- Mix the scent evenly to avoid strong patches.
Adjust the Texture
- Add cornstarch for a softer and smoother feel.
- Use less water for firmer sand suitable for detailed shapes.
- Adjust oil amounts for more pliable and moist sand.
Include Fun Extras
- Add small objects like beads for sensory exploration.
- Mix in mini figurines for themed play activities.
- Test extras carefully to ensure safety for younger kids.
Customize for Sensory Activities
- Opt for organic play sand for a natural, fine texture.
- Combine sand with soothing scents like lavender for relaxation.
- Ensure no sharp or harmful particles are included.
Being creative with DIY kinetic sand is easy and fun. Try different ideas to suit your needs and preferences for crafting or playing!
Common Problems and How to Fix Them
When making DIY kinetic sand, a few issues may arise. Here are common problems and solutions:
Sand is Too Sticky
- Problem: The kinetic sand sticks to hands and surfaces excessively.
- Cause: Too much liquid or oil in the mix.
- Solution: Add more fine sand or cornstarch. Mix thoroughly to balance the texture.
Sand is Too Dry
- Problem: The sand crumbles and won’t hold its shape.
- Cause: Not enough liquid or oil.
- Solution: Gradually add a few drops of water or oil. Knead the mixture for even texture.
Difficulty Mixing Colors
- Problem: Food coloring isn’t blending well with the sand.
- Cause: Insufficient moisture in the sand.
- Solution: Mix food coloring with a small amount of water before adding to the sand. Stir well.
Sand Feels Too Grainy
- Problem: The sand feels rough or coarse.
- Cause: The sand used is too coarse.
- Solution: Use finer play sand and replace some of the coarse sand.
Sand is Losing Its Elasticity
- Problem: The kinetic sand becomes hard and less pliable over time.
- Cause: Lack of sufficient moisture or oil.
- Solution: Add a small amount of water and oil. Mix well until texture improves.
Color is Fading
- Problem: The vibrant color of the sand becomes dull.
- Cause: Exposure to sunlight or washing.
- Solution: Refresh the color by adding a few drops of new food coloring. Mix thoroughly.
Unpleasant Odor
- Problem: The kinetic sand smells bad.
- Cause: Mold or improper storage.
- Solution: Discard the affected part. Store new sand in a dry, airtight container.
Addressing these common issues can enhance your DIY kinetic sand experience. Don’t hesitate to experiment to achieve the ideal texture and consistency.
Creative Ideas
DIY kinetic sand is a versatile material that encourages creativity and fun. Here are different creative ideas for using it:
Build Unique Structures
Sand Castles
- Mold Miniature Castles: Use various molds or your hands to shape the sand into stunning miniature castles.
- Intricate Designs: Add details such as towers, walls, and drawbridges to make your sand castle unique.
- Decoration Options: Incorporate natural elements like seashells, pebbles, or small sticks to embellish your castle, giving it a more lifelike appearance.
- Creative Themes: Experiment with different architectural styles, such as medieval turrets or modern skyscrapers, to enhance your creations.
Animal Figures
- Create Your Favorite Animals: Use your imagination to sculpt animal figures like turtles, dinosaurs, or other beloved creatures.
- Focus on Details: Pay attention to fine details, such as the texture of scales on a dinosaur or the shell pattern on a turtle, to make them look more realistic.
- Diverse Animal Choices: Don’t limit yourself to just one animal; try creating a whole zoo or safari scene with a variety of creatures.
- Color and Texture Variations: Consider using colored sand or adding textures to represent different species, enhancing the visual appeal of your animal figures.
Fantasy Sculptures
- Craft Magical Creatures: Let your imagination run wild as you create enchanting figures such as unicorns, dragons, or fairies.
- Design Unique Features: Focus on unique elements like wings, horns, or intricate patterns that define these mythical beings.
- Create a Fantasy Scene: Build a whole fantasy landscape, incorporating castles, forests, and other elements to complement your magical creatures.
- Storytelling Potential: Use your sculptures as part of a larger story, creating narratives around the characters you’ve made, which encourages imaginative play.
Sensory Play
- Feel the Texture: Kids and adults can enjoy the soft, moldable feel.
- Search and Find: Hide small toys for kids to uncover.
- Interactive Play: Create thematic scenes for imaginative storytelling.
Educational Activities
- Letter and Number Shapes: Form letters and numbers to teach early learning concepts.
- Using Cookie Cutters: Shape the sand into educational forms using cutters.
- Color Mixing: Blend different colored sands for experimenting with colors.
Party Activity
- Theme Decor: Mold patterns for birthday or themed party decoration.
- Tactile Fun: Set up a kinetic sand play station for party entertainment.
- Take-Home Gifts: Offer custom kinetic sand packs as party favors.
Relaxation and Stress Relief
- Calming Play: Use it for relaxing sensory activities.
- Improve Focus: Engage in sand sculpting to relieve stress.
- De-Stress Squeezing: Squeeze it gently for therapeutic relaxation.
Seasonal Crafts
- Holiday Decorations: Make ornaments or seasonal designs with sand.
- Seasonal Themes: Craft items like snowmen for winter or pumpkins for fall.
- Gift Wrapping Concepts: Design sand shapes for a unique gift wrapping touch.
DIY kinetic sand is not just for fun; it fosters creativity and relaxation. Experiment with these ideas and enjoy endless possibilities for crafting, learning, and play!
Storing and Maintaining
Proper storage and maintenance help keep DIY kinetic sand in good condition. Follow these tips to ensure long-lasting usability and preserve its unique texture.
How to Store DIY Kinetic Sand
- Use Airtight Containers: Store the sand in airtight jars or containers to prevent drying.
- Keep Away from Heat: Avoid exposing the sand to direct sunlight or heat sources.
- Choose Dry Storage Areas: Store the containers in a cool, dry place to avoid moisture damage.
- Label Containers: Mark the containers if storing different colors or scented sands.
- Avoid Overcrowding: Do not compress the sand tightly; leave room for airflow.
Cleaning and Sanitizing
- Remove Dirt: Check for debris or foreign objects stuck in the sand.
- Wash Hands Before Play: Always ensure hands are clean to keep the sand hygienic.
- Disinfect Gently: Mist with a small amount of alcohol and mix thoroughly to sanitize.
- Discard Moldy Sand: If mold appears, throw away the affected batch immediately.
Refreshing the Texture
- Add Oil or Water: If the sand turns dry, add a few drops of oil or water.
- Mix Thoroughly: Knead the mixture by hand or spoon for even distribution.
- Adjust Ingredients: If too sticky, increase cornstarch or fine sand slightly.
Pro Tips for Long-Term Maintenance
- Avoid Overloading Additives: Use minimal glitter or food coloring to keep the sand consistent.
- Rotate Usage: Use different batches periodically to maintain freshness.
- Monitor Texture: Check regularly for changes in texture and make necessary adjustments.
Following these tips ensures your DIY kinetic sand stays fresh, clean, and fun to use. Proper storage and care make it last longer and maintain its quality.
Conclusion
In conclusion, learning how to make DIY kinetic sand provides a delightful and engaging activity that promotes sensory play at home. From the benefits of fine motor skill development to the sheer joy of creativity, DIY kinetic sand enriches children’s play experiences. By following the steps outlined in this article, you can create your own kinetic sand at home, providing countless hours of fun for kids and adults alike.
Ultimately, the process of making and playing with kinetic sand merges learning and play, showcasing that educational opportunities can arise in the most enjoyable ways. So gather your materials, get creative, and dive into the wonderful world of DIY kinetic sand!