Introduction to Air Dry Clay Painting
If you’ve been exploring artistic ventures, you’ve likely heard of air dry clay. It’s a versatile medium that allows for creativity without the need for firing. Whether you’re a beginner or an experienced crafter, knowing how to paint air dry clay can enhance your projects immensely. In this article, we’ll explore trendy techniques for 2025, making it easier for you to achieve professional-looking results.
Preparing Air Dry Clay for Painting
Proper preparation of air dry clay is essential for great painting results. By following these steps, you will achieve a smooth and clean surface for painting.
Cleaning and Smoothing the Surface
- Remove dust and debris: Use a soft, damp cloth to gently wipe the surface. Ensure the clay is completely dry before painting.
- Sand the surface: Use fine-grit sandpaper to remove bumps and imperfections. Sand in circular motions for an even texture.
- Clean again after sanding: Wipe the surface with a slightly wet cloth. This removes dust from sanding and creates a clean base.
Sealing Air Dry Clay Before Painting
Choose the Right Sealant
Selecting the appropriate sealant is a crucial step in the process of protecting your air dry clay project. A clear acrylic sealer or primer is highly recommended for this purpose. These types of sealants provide a protective barrier that prevents moisture and dirt from damaging the clay. Additionally, they enhance the durability of the painted surface by making it less prone to chipping or fading over time. Always check the label for any specific instructions, as some sealants may have different properties or drying times.
Apply a Thin Coat
When you’re ready to apply the sealant, make sure to use a clean, high-quality brush for the best results. Dip the brush into the sealant, making sure it’s not overloaded to avoid drips and uneven coverage. Gently spread a thin layer of the sealant over the entire surface of your clay piece. It’s important to apply it evenly to ensure consistent protection. Using a thin coat will help avoid any clumping or pooling of the sealant, which can create an undesirable finish. Make sure to cover all corners and details of the piece for full coverage.
Let It Dry Completely
After applying the sealant, patience is key. You must allow it to dry thoroughly to ensure optimal protection. Depending on the type of sealant used and the environmental conditions, this can usually take a few hours. While it may be tempting to rush the process, skipping the complete curing time can result in a tacky finish or may affect the adhesion of any paint applied afterward. Check to see if it is touch-dry and, if in doubt, let it cure longer just to be safe. Following this step will provide a solid foundation for your painting process.
Preparing air dry clay properly enhances paint adhesion, ensures durability, and improves final results.
Selecting the Right Paints for Air Dry Clay
Choosing the right paint for your air dry clay project is crucial. Different paints offer varying finishes, effects, and durability. Considering their properties will help achieve the best results for your artwork.
Acrylic Paint vs. Other Types of Paints
Acrylic paint is the most popular choice for air dry clay. Here’s why:
- Quick drying: Acrylic paints dry faster than other types of paint.
- Easy to use: They are simple to apply, even for beginners.
- Versatile finishes: Matte, glossy, and metallic options are available.
- Durability: Once dry, acrylic paints create a strong, water-resistant surface.
Other types of paint, such as watercolor or oil paint, are less suitable. Watercolor paint lacks durability and can fade over time. Oil paints take longer to dry and may not adhere well to clay surfaces. Acrylic paints remain the top choice for best results.
Choosing Paint Colors and Effects
Selecting colors and effects enhances your clay pieces. Consider these tips:
- Plan your design: Visualize the final look before picking colors.
- Base colors: Choose neutral or solid shades for base layers.
- Bold accents: Use bright or metallic shades for prominent features.
- Mix colors: Blend acrylic paints to create unique custom shades.
- Special effects: Experiment with glitter, pearl, or textured finishes.
By selecting the right paints and planning your color palette, your air dry clay creations will stand out beautifully.
Tools and Materials Needed
Having the right tools and materials is essential for painting air dry clay. Proper equipment helps achieve professional and durable results. Below are the key supplies you will need.
Paintbrush Types and Sizes
- Flat brushes: Ideal for applying base layers evenly.
- Round brushes: Perfect for detailed designs and intricate patterns.
- Angle brushes: Useful for edges and sharper corners in designs.
- Fine tip brushes: Great for outlining and small details.
- Large brushes: Helps cover larger surfaces quickly and smoothly.
Invest in high-quality brushes to ensure smooth paint application sans streaks. Clean brushes after every use to maintain their condition.
Additional Supplies for Painting and Finishing
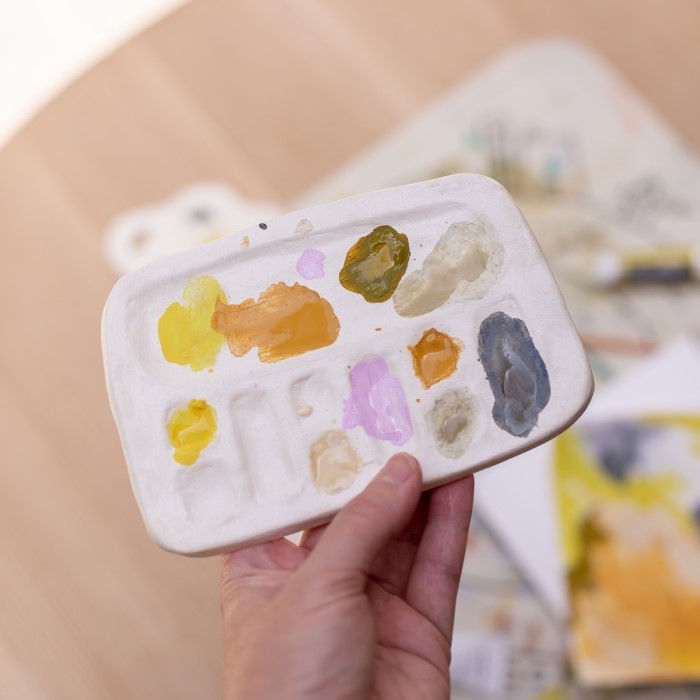
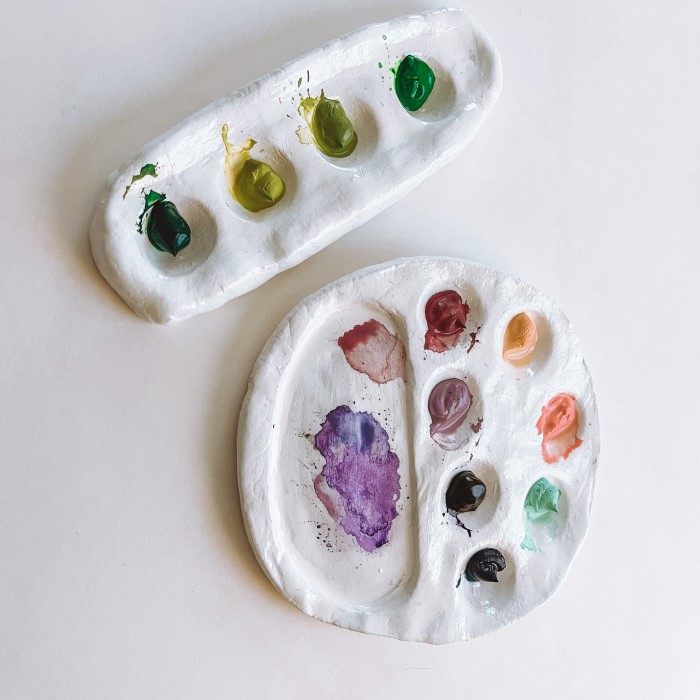
- Paint palette: Useful for mixing and organizing paint colors.
- Acrylic paints: Opt for durable paints that dry fast and provide vibrant finishes.
- Water container: Keeps brushes clean between colors and adjusts paint thickness.
- Clear acrylic sealer: Protects your final design and enhances durability.
- Sandpaper: Smooths the clay surface before painting. Fine-grit sandpaper works best.
- Clean cloth: Wipes away dust and ensures a clean surface.
- Toothpicks or dotting tools: Adds fine details and textures to designs.
- Masking tape: Helps create straight edges and adds structure to patterns.
Make sure all supplies are easily accessible. Having organized tools minimizes mess and helps you focus on your artwork.
How to Paint Air Dry Clay
How to paint air dry clay? Painting air dry clay requires proper technique to achieve beautiful and durable results. Following these steps ensures you create stunning pieces.
Applying Base Layers
- Choose a base color: Pick a neutral or solid color for an even foundation.
- Use flat brushes: Apply base layers with flat brushes for smooth coverage.
- Thin your paint: Add a small amount of water for easier application.
- Start with small strokes: Spread the paint evenly without leaving thick patches.
- Let it dry completely: Ensure the first coat is fully dry before adding more layers.
Start with lighter colors for your base layer as they help create contrast later. You may need multiple coats for a solid finish.
Adding Details and Textures
- Use fine-tip brushes: These help in adding intricate details and outlines effectively.
- Plan your design: Sketch the patterns lightly on clay before painting.
- Experiment with tools: Use toothpicks or dotting tools for unique textures and small accents.
- Layer colors: Start with darker shades and work towards lighter ones for depth.
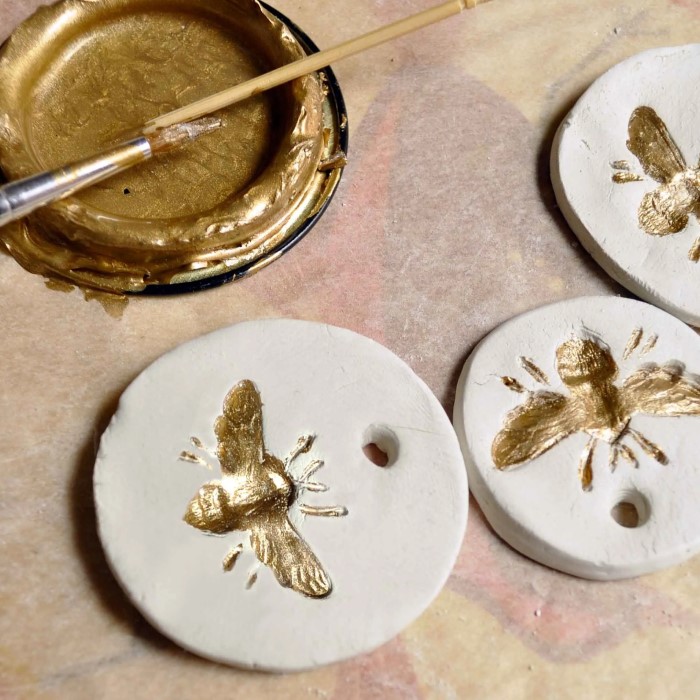
- Create highlights: Use metallic or glitter paints for striking effects.
Adding details gives your artwork individuality and creativity. Textures can make your clay pieces look dynamic and lifelike.
Mixing and Blending Colors Effectively
- Prepare a palette: Arrange your selected colors for easy mixing.
- Blend complementary colors: Mix two colors to create unique shades.
- Test first: Try new combinations on a scrap piece of clay.
- Use water for blending: Add water sparingly to achieve gradient effects.
- Be patient: Blend slowly to achieve a smooth transition between colors.
Experimenting with color mixing brings out your artistic flair. Blended colors create depth and complexity in your designs.
Techniques and Tips for Best Results
To achieve the best painting results with air dry clay, it is crucial to use proper techniques and follow helpful tips. These methods ensure your clay remains smooth, your paint flawless, and your design long-lasting.
Avoiding Cracks or Uneven Paint
- Dry clay thoroughly: Before painting, make sure the clay is completely dry. Uneven drying can lead to cracks.
- Use thin paint layers: Thick layers increase the risk of cracking. Apply thin coats for better coverage.
- Seal before painting: A good sealant ensures paint adheres evenly and prevents cracking.
- Sand uneven spots: Smooth out surface imperfections before painting for a flawless look.
- Work in a stable environment: Avoid painting in humid or extremely hot conditions. These can affect clay and paint.
- Monitor drying: Check your clay during drying processes to catch and fix issues quickly.
With these steps, you can avoid common painting problems and create beautiful clay art.
Drying and Layering Techniques
- Dry each layer completely: Ensure every paint layer dries fully before adding another one.
- Start with light colors: Begin layering with light shades and move toward darker tones for depth.
- Use controlled strokes: Apply paint evenly to prevent thick patches and streaks.
- Air-dry painted clay: Place your painted clay in a ventilated space with stable temperature.
- Avoid rushed drying: Do not use heat or blow dryers, as they may damage your design.
- Build layers gradually: Create depth and dimension by layering different shades and textures step-by-step.
Perfect drying and layering techniques ensure your air dry clay projects look polished and last longer.
Sealing Painted Air Dry Clay
Once you’ve finished painting your air dry clay project, sealing it is the final step. Sealing serves to preserve your work, protect it from damage, and enhance its appearance. A proper seal adds a finishing touch, making your creation more durable and long-lasting.
Choosing the Right Sealant
The type of sealant you choose will depend on your desired finish and purpose of the clay piece. Here are some options:
- Acrylic Sealer: A versatile option that offers a clear, protective layer. It provides a glossy or matte finish.
- Mod Podge: A simple alternative for both sealing and adding a smooth texture.
- Spray Sealants: Available in different finishes, sprays are easy to use for even coverage.
- Polyurethane Varnish: Provides excellent durability for functional or outdoor items.
- Epoxy Resin: Ideal for a high-gloss finish and maximum protection for decorative items.
Tips for choosing a sealant:
- Opt for water-resistant or weatherproof sealants for outdoor projects.
- Test the sealant on a small, painted area to ensure compatibility.
- Select a finish (matte, satin, or glossy) that enhances your design.
How to Apply Sealant Properly
Applying sealant correctly is essential for achieving a smooth, protective finish. Follow these steps:
- Prepare the clay surface: Ensure the paint is completely dry before applying the sealant.
- Clean the surface: Use a soft, damp cloth to remove dust or debris before sealing.
- Select application tools: Use a clean brush, sponge, or spray bottle, depending on the sealant type.
- Apply a thin layer: Spread the sealant evenly over the entire painted surface. Avoid thick layers.
- Let it dry thoroughly: Allow the first layer to dry completely as per the sealant’s instructions.
- Add multiple layers: Apply 2–3 thin coats for extra protection and strength.
- Avoid smudges: Handle the clay carefully during the sealing process and avoid touching the wet sealant.
A well-applied sealant will leave your painted air dry clay shining and safeguarded against wear-and-tear. Take your time with this step for the best results.
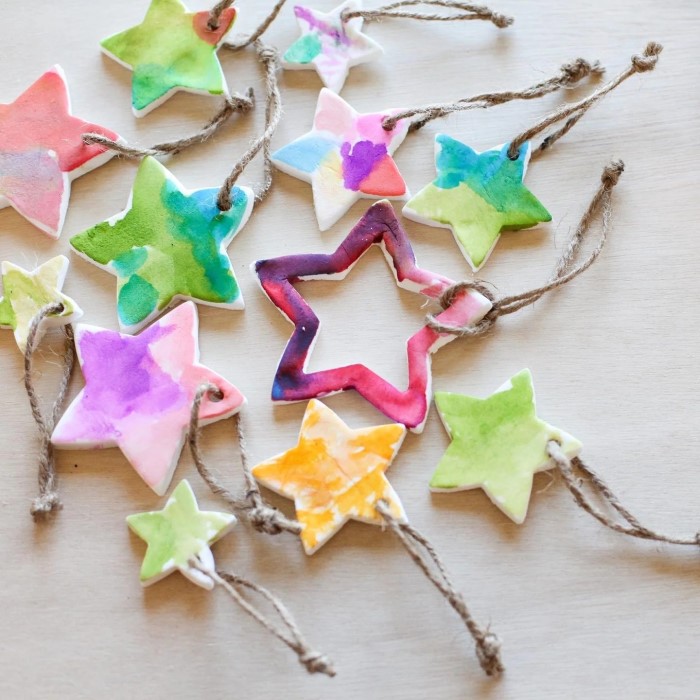
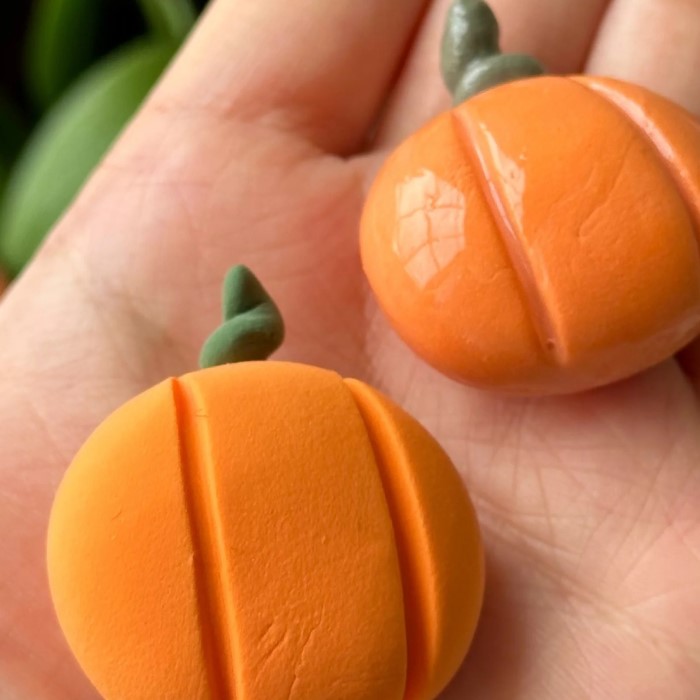
Creative Design Ideas for Painted Air Dry Clay
Painting air dry clay offers endless possibilities for creativity. From simple patterns to intricate designs, there are ideas for every skill level. Explore various styles and techniques to make your clay creations truly unique.
Patterns and Styles to Try
- Geometric Patterns: Use triangles, lines, or circles to create modern and minimalist designs.
- Floral Motifs: Paint flowers, leaves, or vines for a natural and delicate look.
- Animal Print Designs: Try zebra stripes, leopard spots, or snake patterns for bold, trendy artwork.
- Abstract Art: Experiment with splashes of color, swirls, or random brushstrokes for a contemporary feel.
- Mandala Designs: Use fine-tip brushes and dotting tools for intricate, symmetrical mandala patterns.
- Ombre Effects: Blend colors gradually to create beautiful gradient effects.
- Personalized Monograms: Add initials, names, or custom messages for gifts or keepsakes.
- Mixed Media: Incorporate glitter, rhinestones, or beads for a unique and textured finish.
Focus on clean lines and symmetry for balanced designs. Reference photos may help with accuracy and inspiration.
Inspiration for Beginners and Advanced Artists
For Beginners:
- Polka Dots: Easy to apply with dotting tools or the end of a brush.
- Stripes: Use masking tape to guide straight lines and create simple patterns.
- Solid Blocks of Color: Experiment with color combinations or complementary shades.
For Advanced Artists:
- Detailed Landscapes: Paint scenic views with layers of colors for depth.
- Animal Figures: Create realistic-looking creatures using textures and fine details.
- Galaxy Themes: Blend dark hues with glitter to mimic a starry sky.
Let your imagination guide you while experimenting with different styles. Testing ideas on scrap clay pieces can also help. With practice, you’ll develop your own signature aesthetic for painted air dry clay creations.
Final Thoughts
In conclusion, learning how to paint air dry clay opens up many creative opportunities. By selecting the right paint, preparing your workspace, and practicing both basic and advanced techniques, you can produce beautiful artwork. Remember, the key to successful air dry clay painting is patience and experimentation. Don’t hesitate to explore new trends and develop your unique style in 2025 and beyond.
With dedication and practice, your skills will improve, and your projects will flourish. Embrace your creativity, and enjoy the process of painting air dry clay!