Introduction: The Art of Smoothing Polymer Clay
Polymer clay is a versatile and popular medium for crafting, offering endless possibilities for creative expression. However, if you’re working with polymer clay, one challenge you may face is achieving a smooth, polished finish on your projects. How to smooth polymer clay is a common question among crafters, whether you’re making jewelry, decorative items, or miniatures. Smoothing the surface can dramatically enhance the appearance of your work, making it look more professional and refined.
In this comprehensive guide, we will explore various techniques and tips for effectively smoothing polymer clay, ensuring your creations stand out. Whether you’re a beginner or an experienced artist, mastering the smoothing process will elevate your work and enhance the final product. Let’s delve into the world of polymer clay and discover the best practices for achieving a flawless finish.
Understanding Polymer Clay and Its Characteristics
What is Polymer Clay?
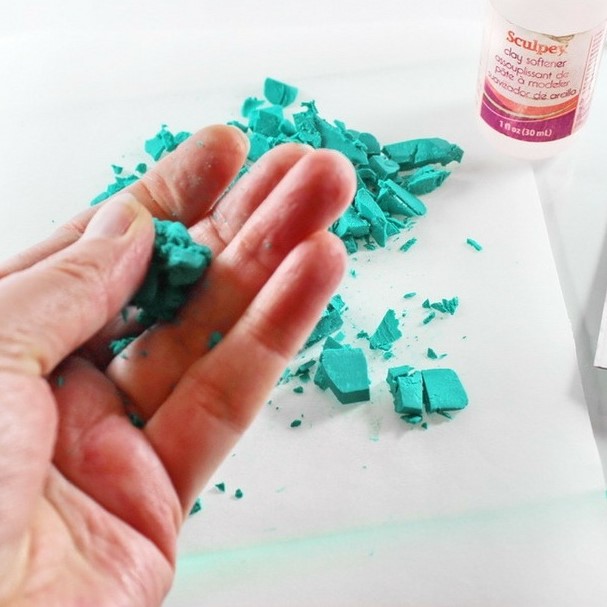
Polymer clay is a type of modeling clay made from polyvinyl chloride (PVC). It is soft and pliable, allowing artists to create detailed and intricate designs. Once baked in a conventional oven, polymer clay hardens to a durable, lightweight finish.
- Wide Array of Colors: One of the unique features of polymer clay is that it comes in a vast range of colors, which can be mixed to create custom shades. Artists can combine colors to achieve gradients, blends, and unique effects.
- Versatility: Polymer clay can be used for various applications, including jewelry making, sculpture, home decor, and even miniature food models. Its versatility makes it a favorite among artists of all skill levels.
Common Issues with Polymer Clay
How to smooth polymer clay? While polymer clay is widely loved, several issues can arise during the crafting process, particularly concerning surface finish. Some common problems include:
Surface Imperfections
- Common Sources of Imperfections: Surface imperfections in polymer clay can arise from various factors, including fingerprints, dust, and small air bubbles. As you work with the clay, it’s easy for these minor flaws to accumulate and create an uneven texture.
- Effects of Fingerprints: Fingerprints can be particularly troublesome. When handling the clay, oils from your fingers may leave smudges or indentations. These imperfections disrupt the smoothness of the surface, making it difficult to achieve a polished look in the final product.
- Dust Accumulation: Dust particles present in the workspace or on the surface where the clay is being shaped can also lead to imperfections. Even a small amount of dust can get trapped in the clay, creating bumps or rough patches that detract from its overall finish.
- Air Bubbles: Small air bubbles can form during the kneading or mixing process. If not addressed, they can become embedded in the surface of the clay, resulting in unsightly pockmarks when the piece is baked. These bubbles can disrupt the visual continuity and the overall aesthetic of the work.
- Prevention Strategies: To minimize surface imperfections, it is essential to clean your workspace before starting. Use gloves or tools when handling the clay to reduce fingerprints, and ensure that you’re working in a dust-free environment. Additionally, knead the clay thoroughly to remove any air bubbles before shaping.
Seams and Joint Lines
- Visible Seams: When joining pieces of polymer clay or shaping components together, seams and joint lines often remain visible. These seams can be unsightly and may draw attention away from the overall design of the finished piece.
- Causes of Joint Lines: Seams may occur due to improper joining techniques or incomplete blending of the edges. If the edges of the clay pieces aren’t adequately fused, the join might become prominent once the piece is baked.
- Desire for Seamless Design: Many artists strive for a seamless look in their creations. Visible seams can detract from the realism and aesthetic appeal, especially in pieces like figurines or realistic food replicas.
- Smoothing Techniques: To minimize the visibility of seams, utilize smoothing techniques before baking. This may include using your fingers, tools, or polymer clay-specific smoothing agents to blend the edges neatly.
- Post-Baking Solutions: After baking, if seams are still visible, consider utilizing fine sandpaper or sanding pads to gently remove excess material around the seam. Applying a thin layer of paint or varnish to the entire surface may also help in visually disguising the joint lines.
Baking Issues
- Importance of Proper Baking: Proper baking of polymer clay is crucial to achieving the desired hardness and durability. If the clay is not baked at the correct temperature or for the recommended duration, it can lead to various problems.
- Risk of Brittleness: One common baking issue is brittleness. If the clay is over-baked, it can become overly hard and brittle, making it prone to cracking or breaking when handled. This brittleness can ruin the integrity of the final product.
- Uneven Curing: On the other hand, if the clay is under-baked, it may remain soft or rubbery. This uneven curing affects the clay’s ability to hold form and can hinder how well it can be smoothed later. Soft areas can also invite fingerprints and imperfections during finishing.
- Temperature Consistency: Polymer clay requires a consistent temperature for even curing. An oven that has hot spots or fluctuates in temperature can lead to parts of the clay baking unevenly, resulting in inconsistencies in texture and color.
- Tips for Successful Baking: To ensure proper baking, always follow the manufacturer’s instructions regarding temperature and time. Additionally, using an oven thermometer can help guarantee that the temperature is accurate throughout the baking process. Baking on a ceramic or glass tile can also provide an even heat distribution.
Understanding these potential issues will equip you to take steps to prevent them and ensure a smooth final product.
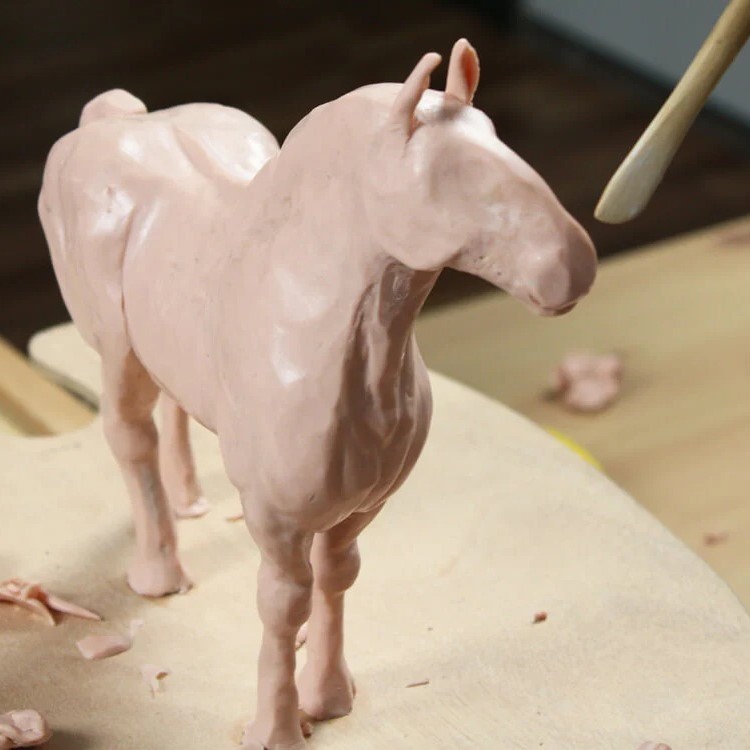
Techniques for Smoothing Polymer Clay
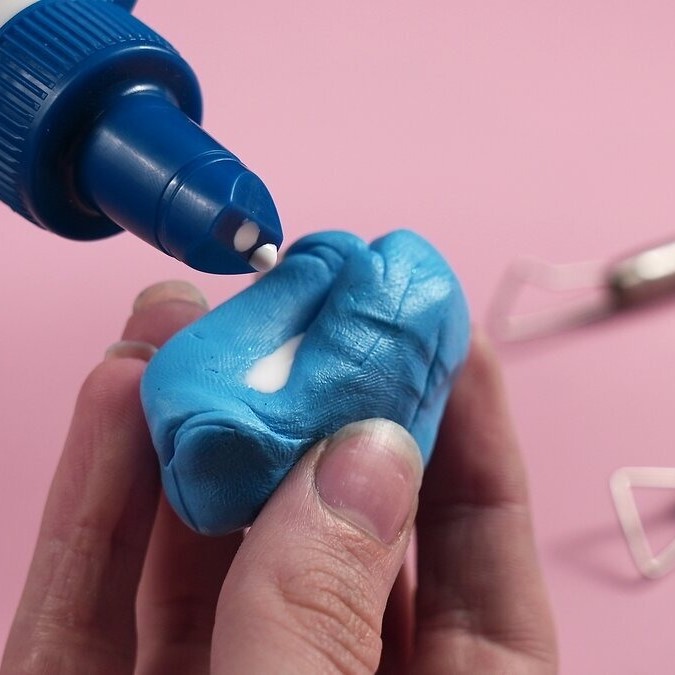
1. Using Rubbing Alcohol
One effective method for smoothing polymer clay is by using rubbing alcohol.
- Application Method: Lightly dip a cotton ball or makeup sponge into rubbing alcohol and gently rub it over the surface of your clay. The alcohol acts as a lubricant, helping to smooth out imperfections without distorting the underlying shape.
- Maintain Control: Be careful not to oversaturate the clay, as too much moisture can cause swelling. Use just enough rubbing alcohol to dampen the surface.
2. Water Method
Another commonly used technique involves wetting the surface of the clay before smoothing.
- How to Use Water: Dampen your fingers or a soft cloth with water and gently rub it against the areas needing smoothing. The water creates a barrier that reduces friction and makes it easier to smooth the clay.
- Benefits: This method is particularly effective for larger surfaces, as it allows for quicker smoothing. However, always remember to use minimal water to prevent the clay from becoming overly soft.

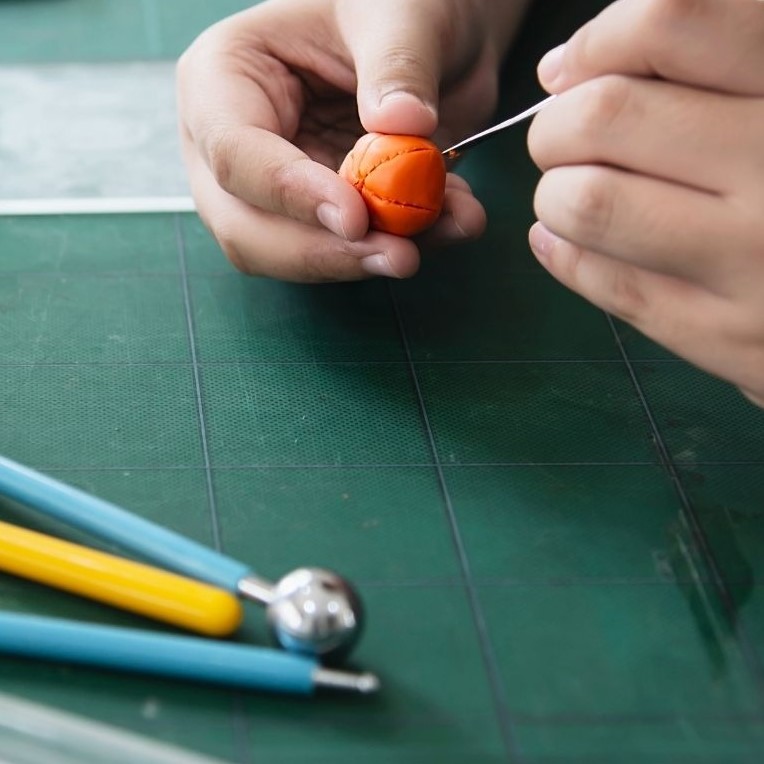
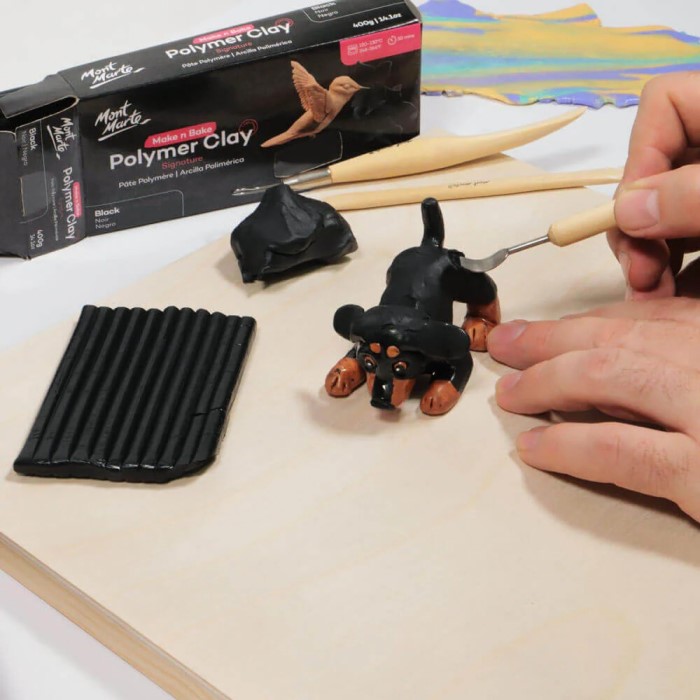
3. Smoothing Tools
Investing in specialized tools can make the smoothing process easier and more effective.
- Silicone Tip Tools: These tools come in various shapes and sizes, allowing for precise application of smoothing techniques. The flexible silicone tips glide over the clay surface effortlessly.
- Palette Knives: Metal or plastic palette knives can be used to scrape off rough edges while also smoothing surfaces. Their flat edges are ideal for achieving a polished look.
4. Baking and Finishing
Baking your polymer clay correctly is crucial in achieving a smooth finish.
- Proper Baking: Follow the manufacturer’s instructions for baking time and temperature to ensure that your clay cures evenly. Overbaking can lead to a hard, brittle surface that is difficult to smooth.
- Post-Baking Smoothing: Once baked, you can also use fine sandpaper or a sanding block to smooth any remaining imperfections. Gently sand the surface, ensuring that you don’t remove too much material.
5. Using Gloss Finishes
Finishing your polymer clay items with a gloss coating can greatly enhance their appearance.
- Types of Finishes: Consider using a polymer clay gloss or varnish to give your finished pieces a shiny, professional look. Apply the gloss smoothly with a brush or cloth.
- Protection: In addition to improving appearance, gloss finishes can also offer added protection against scratches and fading.
Tips for Achieving Perfect Results
Practice Patience
- Take Your Time: Smoothing polymer clay is often a process that requires patience. Rushing through might lead to uneven surfaces. Allow yourself ample time to achieve the desired finish.
Assess the Clay Condition
- Start with a Clean Surface: Before applying any smoothing techniques, ensure your clay is clean and free of dust. This will prevent any particles from getting trapped in the surface during the smoothing process.
Experiment with Techniques
- Find What Works Best: Different techniques may work better for different projects. Experiment with various methods to find the smoothing technique that produces the best results for your style of work.
Protect Your Work Area
- Use a Clean Surface: Always work on a clean and smooth surface. Consider using a dedicated work mat for polymer clay to minimize dust and debris.
FAQ: Common Questions About Smoothing Polymer Clay
Does rubbing alcohol smooth polymer clay?
Yes, rubbing alcohol can effectively smooth polymer clay. By using a cotton ball or sponge dipped in rubbing alcohol, you can reduce surface imperfections and achieve a smoother finish.
Can you wet polymer clay to smooth it?
Absolutely! Wetting polymer clay with a small amount of water can help in the smoothing process. Just be cautious not to oversaturate the clay, as excessive water can distort its shape.
How to smooth seams in polymer clay?
To smooth seams, you can use a combination of rubbing alcohol, water, or smoothing tools. Gently rub along the seam to blend it into the surface. After baking, consider using fine sandpaper to refine the seam further.
Conclusion: Mastering the Art of Smoothing Polymer Clay
Incorporating effective smoothing techniques into your polymer clay projects is essential for achieving polished, professional-looking results. Learning how to smooth polymer clay not only enhances the aesthetic quality of your work but also boosts your confidence as an artist.
By understanding the unique characteristics of polymer clay and utilizing methods such as rubbing alcohol, water application, and specialized tools, you’ll be well on your way to creating stunning pieces. Remember to be patient, practice different techniques, and most importantly, enjoy the creative process! With a little effort and experimentation, you can master the art of smoothing polymer clay and elevate your projects to new heights.