Introduction
Paper mache is a beloved crafting technique suitable for all ages, especially children. It’s a wonderful way to encourage creativity while developing essential motor skills. In this article, we will explore various easy paper mache ideas using the glue paper mache recipe that anyone can follow! From colorful masks to decorative bowls, this method allows kids to create exciting and unique projects.
Engaging in paper mache can be both fun and educational. As children tear, glue, and craft, they learn about shapes, colors, and textures. Without a doubt, this hands-on experience is invaluable. So, let’s dive into some imaginative projects that will inspire creativity in kids!
What is Paper Mache?
Paper mache, originating from the French term “chewed paper,” refers to a crafting technique that combines paper with a binding agent. This versatile method allows children to create three-dimensional objects using simple materials. The beauty of paper mache lies in its accessibility; it only requires torn paper, glue (or other adhesive), and creativity.
- Materials and Techniques: Common materials include newspapers, magazines, or any thin paper that can absorb glue easily. The adhesive can be homemade, like a glue-water mixture, or store-bought craft glue. The process typically involves tearing the paper into strips, applying glue, and layering them over a mold.
- Benefits of Paper Mache: This craft encourages fine motor skills by improving hand-eye coordination while fostering creativity. It also opens up discussions about recycling and reusing materials, making it an eco-friendly activity.
The Easy Glue Paper Mache Recipe
To get started, let’s outline an easy glue paper mache recipe that you can use for various projects.
Ingredients Needed
White School Glue or PVA Glue
- Primary Adhesive Choice: White school glue, often found in most classrooms and homes, serves as the primary adhesive for paper mache projects. It’s user-friendly and safe for children, making it a popular choice for crafting.
- PVA Glue Explained: PVA (polyvinyl acetate) glue is a type of white glue that dries clear and is known for its strong bonding qualities. It dries relatively quickly, allowing for efficient layering and quicker project completion.
- Advantages of Using Glue: Unlike traditional flour paste, using white school glue or PVA glue minimizes mess and enhances durability. Furthermore, it provides a smoother finish and adheres better to various types of paper, reducing the risk of peeling.
- Tips for Use: When selecting glue, ensure it is non-toxic and safe for children’s crafts. For larger projects, consider buying glue in bulk to avoid running out mid-creation.
Water
- Role in Paper Mache: Water is an essential ingredient in the paper mache recipe as it helps dilute the glue. This dilution creates a more manageable, fluid consistency that allows for easy application of the glue mixture onto the torn paper.
- Creating Workable Consistency: The right water-to-glue ratio is crucial. A typical mixture is equal parts glue and water. This balance ensures that the glue covers the paper adequately without making it too drippy or difficult to work with.
- Avoiding Over-Watering: Careful attention should be paid to assure that too much water is not added, as it can weaken the adhesive properties of the glue and lead to a less sturdy final product.
- Enhancing Drying Time: Using water can also assist in evenly distributing moisture throughout the project, helping to minimize air bubbles during the application process and ensuring a smooth, even drying.
Torn Paper
- Materials to Use: Torn paper is a fundamental component of paper mache projects. Depending on the desired outcome, you can use various types of paper, including newspapers, colored paper, or tissue paper, each offering its unique texture and appearance.
- Benefits of Using Torn Paper: Tearing paper instead of cutting creates softer edges, which blends more seamlessly when layered. This technique results in a smoother finish, enhancing the overall look of the finished project.
- Choosing the Right Paper:
- Newspapers: These are excellent for cost-effective projects and provide a classic look.
- Colored Paper: Using vibrant colored paper can add excitement and depth to your creations.
- Tissue Paper: This lightweight option can create a delicate and translucent effect when layered effectively.
- How Much Paper to Prepare: It’s a good idea to prepare a generous amount of torn paper strips in advance. Different sizes can also be used for various design elements, allowing for more creative flexibility.
A Mixing Bowl
- Purpose of the Mixing Bowl: A mixing bowl is necessary for combining the glue and water to create the adhesive mixture used in the paper mache process.
- Choosing the Right Bowl: Opt for a bowl that is large enough to fit the amount of glue you plan to use. A bowl with higher sides can help prevent spillage and allow for easier mixing.
- Cleaning Considerations: Since glue can become sticky and difficult to clean, select a bowl that is easy to clean or use an old bowl that you don’t mind getting messy.
- Mixing Technique: Use a whisk or stick to stir the glue and water thoroughly until the mixture is well combined. This ensures that the composition is smooth and ready for application.
A Paintbrush or Sponge
- Application Tools: A paintbrush or sponge is essential for applying the glue mixture onto the torn paper strips, facilitating an even coating.
- Choosing Between a Brush and Sponge:
- Paintbrush: Using a paintbrush allows for precision application, making it easy to control the amount of glue you use on each paper strip. Brushes with a wide bristle surface can cover more area quickly.
- Sponge: Sponges can hold more glue, making them a faster option for applying the mixture, especially for larger projects. They also help achieve a soft texture.
- Cleaning Tools After Use: After completing your project, remember to clean your brushes or sponges immediately with water, as dried glue can be tough to remove.
- Alternative Application Methods: If you do not have a paintbrush or sponge, clean hands can also be used to apply the glue mixture directly to the paper strips, adding an element of tactile engagement to the crafting process.
Step-By-Step Instructions
- Prepare Your Workspace: Before starting, ensure your workspace is clean and protected. Lay down newspaper or plastic sheets to catch spills.
- Mix the Glue and Water: In a bowl, mix equal parts of white glue and water. Stir the mixture well to create a smooth consistency, which helps the paper adhere better.
- Tear Your Paper: Instead of cutting, tear your paper into strips. Tearing creates softer edges which blend better together for a smooth finish.
- Dip the Paper Strips: Take a strip of paper and dip it into the glue mixture. Make sure to coat it thoroughly before removing any excess glue.
- Apply to Mold: Place the glue-coated paper onto your chosen mold, gently smoothing it down as you go. Repeat this process, layering paper strips until the desired thickness is achieved.
- Let It Dry: Allow your project to dry completely, which can take several hours to overnight, depending on humidity and thickness.
- Decorate: Once dried, children can paint and decorate their creation with markers, glitter, or other embellishments to personalize their artwork.
Creative Ideas
Now that you have the basic recipe, let’s explore various easy paper mache ideas to fuel creativity:
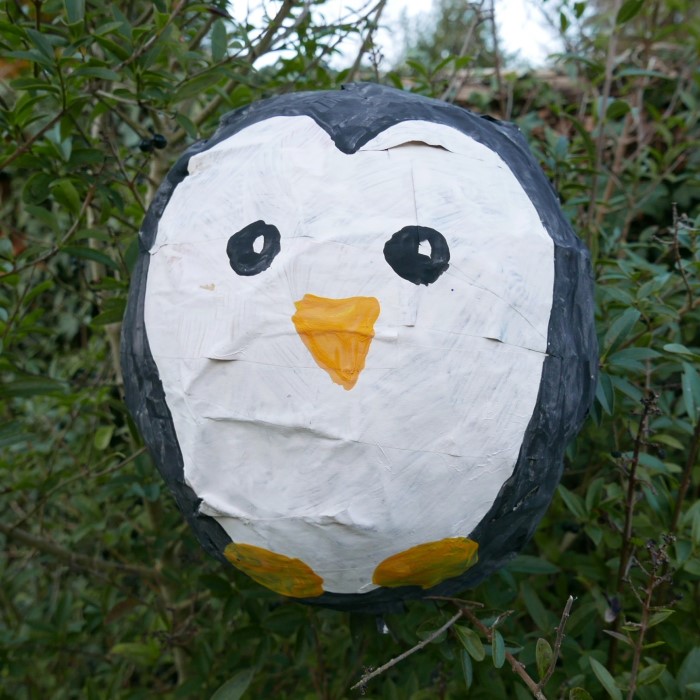
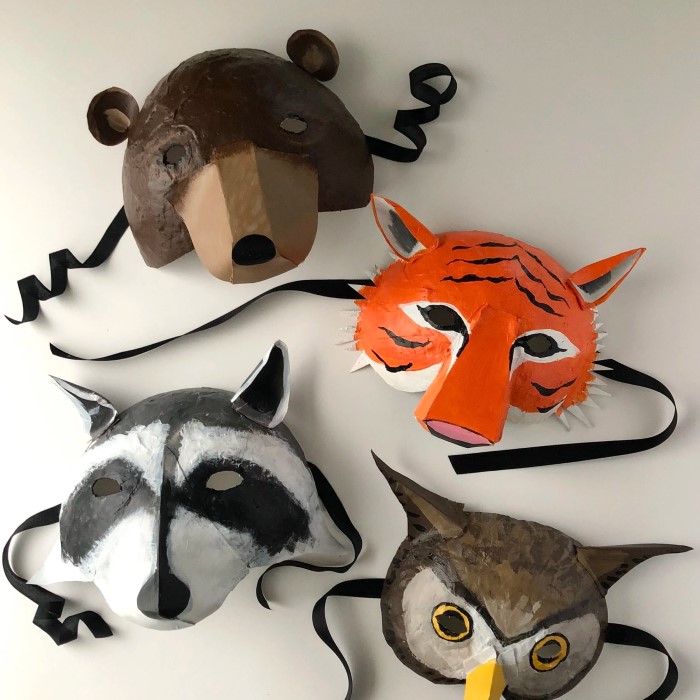
1. Animal Masks
- Instructions: To create an animal mask, use a balloon as the base. Once the paper mache is dry, pop the balloon and cut out eye holes. Children can paint their animals and add ears or whiskers made from paper or felt.
- Benefits: This activity fosters imagination, allowing kids to explore different animal designs, colors, and features.
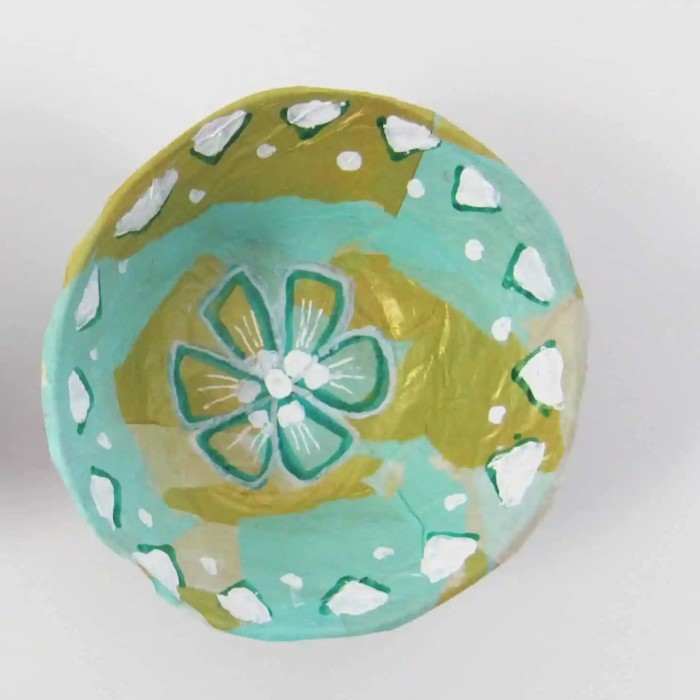
2. Decorative Bowls
- Instructions: For a beautiful bowl, shape the paper mache over a mold such as a bowl or balloon. Once dry, remove the mold, and paint or decorate the bowl as desired.
- Benefits: This project teaches children about shapes and forms while creating a functional item they can use.
3. 3D Sculptures
- Instructions: Encourage kids to create small sculptures, such as flowers, trees, or abstract shapes, using various sizes of molds or wire frames. They can layer and shape the paper mache to achieve the desired forms.
- Benefits: Creating sculptures helps develop spatial awareness and boosts fine motor skills.
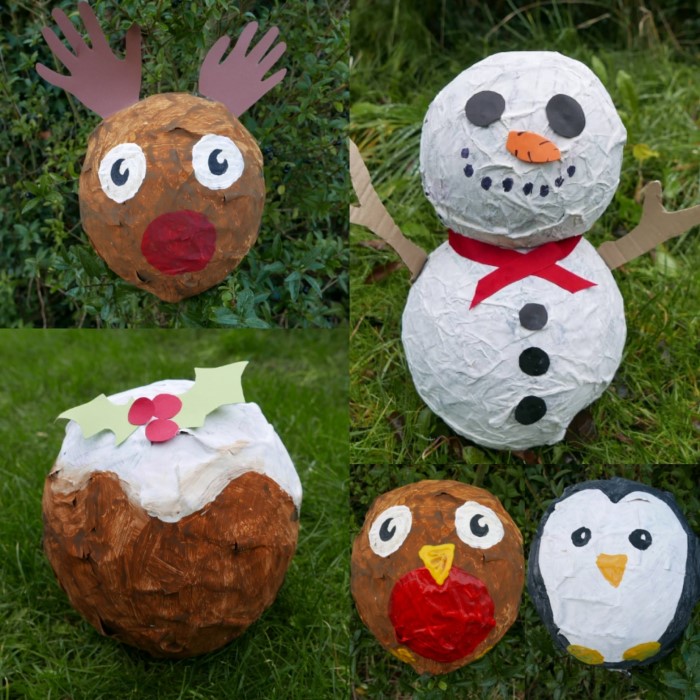
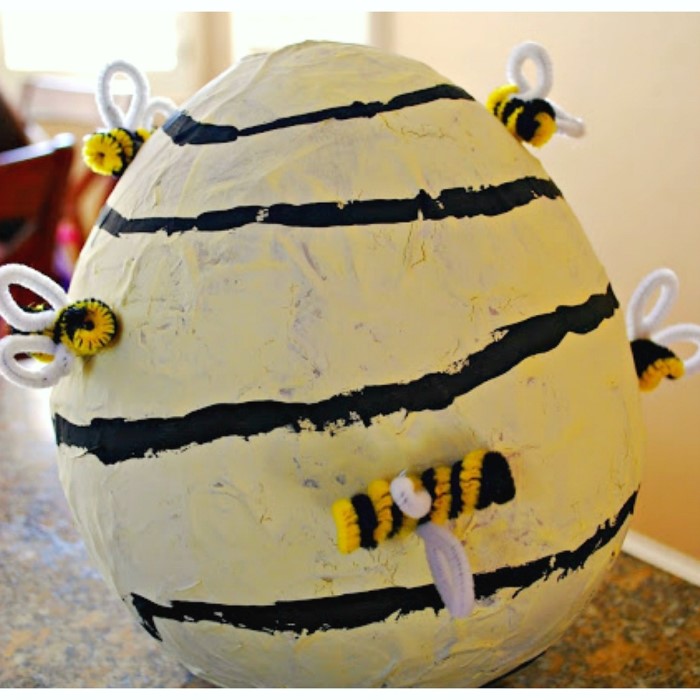
4. Holiday Decorations
- Instructions: Use paper mache to create ornaments for holidays. For example, a globe for Earth Day or a pumpkin for Halloween. Once dry, kids can paint their creations in festive colors.
- Benefits: This activity connects crafting with holiday celebrations, enhancing excitement and engagement.
Tips for Successful Paper Mache Projects
- Use Thin Paper Strips: Thinner paper strips will wrap better around molds and allow for smoother finishes.
- Apply More Layers for Strength: When working on larger items, apply more layers to ensure durability.
- Keep It Simple: For first-time creators, start with basic shapes and designs to build confidence.
- Experiment with Colors: Using colored paper or lively paints enhances the artistic flair of any project.
- Patience is Key: Allow ample drying time between layers to prevent collapse and ensure a sturdy final product.
Frequently Asked Questions (FAQ)
What is the easiest paper mache to make?
The easiest paper mache to make involves using a simple mixture of equal parts glue and water with torn paper strips. Projects like masks or bowls are particularly beginner-friendly.
Why add vinegar to paper mache?
Adding a small amount of vinegar to paper mache can act as a preservative. It helps prolong the life of the project by preventing mold and improving adhesion.
Is paper mache just glue and water?
While a common method uses glue and water, traditional recipes might involve flour, water, and other additives. Glue-water mixtures are often preferred for their convenience and strength.
Does paper mache turn hard?
Yes, once dried, paper mache turns hard and rigid, making it suitable for crafting durable objects and sculptures.
Conclusion
In summary, immersing yourself in easy paper mache ideas using a glue paper mache recipe can be a rewarding experience filled with delight and discovery. This engaging activity encompasses creativity, fun, and education, making it ideal for kids of all ages.
With various project ideas at your fingertips, crafting paper mache can become a staple in family bonding moments. An exciting world awaits when children are given the tools to express themselves through art. So gather your materials, unleash your creativity, and enjoy beautiful crafting moments with your little ones! Happy crafting!