Introduction
In today’s digital age, many aspiring writers are asking themselves, “How to make a book?” Whether it’s a personal memoir, a thrilling novel, or an informative guide, the process of self-publishing has become more accessible than ever. Understanding the steps involved can significantly enhance your chances of success. This article provides a comprehensive overview of the self-publishing process, offering valuable insights and practical tips for new authors.
Materials and Tools Needed to Make a Book
To make a book, you’ll need the right tools and materials. These are essential for crafting a high-quality result. You can also enhance your experience with optional advanced tools.
Essential Supplies for Bookbinding
- Paper: Choose high-quality paper for durability and a professional finish.
- Cardstock or Chipboard: Use this for the book cover for sturdy support.
- Thread: Strong waxed thread ensures secure binding.
- Needle: A bookbinding needle works best for sewing pages together.
- Glue: Acid-free glue helps attach covers and pages.
- Bone Folder: Use it for sharpening folds and creases.
- Ruler and Cutting Tool: Ensure precise cutting and measurements.
- Clamps or Weights: These hold pages or covers in place while glue dries.
Optional Tools for Advanced Bookbinding
- Awl: For punching neat holes in paper and covers.
- Book Press: Helps achieve a flat, professional look for pages.
- Corner Rounder: Smooths edges for an elegant finish.
- Paints or Stamps: Decorate covers or add unique designs.
- Leather or Cloth Covering Tools: For upscale, durable book covers.
- PVA Glue Brush: Allows accurate glue application in tight spaces.
- Templates for Layouts: For consistent folding and stitching.
Gathering these supplies and tools is the first step. It sets the foundation for a successful bookmaking project.
Preparing the Content for Your Book
How to make a book? Creating a book starts with thoughtful preparation of your content. This section outlines the key steps.
Writing and Organizing Your Content
- Begin with an Outline: Sketch an outline of your chapters or sections. This provides structure.
- Write Drafts: Start writing and focus on capturing ideas. Avoid aiming for perfection in the first draft.
- Organize by Sections: Arrange your content into orderly sections. Group similar ideas or themes together.
- Review for Flow: Check the sequence of sections. Ensure smooth transitions from one topic to the next.
- Refine Your Language: Use concise, clear language. Avoid distractions and unnecessary jargon.
- Validate Information: Research and confirm facts. Ensure all parts of the book are accurate.

Formatting and Editing the Content
- Choose Consistent Formatting: Select a font style and size that matches the book’s tone.
- Set Margins and Spacing: Leave enough margins and line spacing for readable pages.
- Align Your Text: Ensure precise alignment for a clean and professional appearance.
- Proofread Thoroughly: Check your content for grammar, spelling, and typos. Read aloud for better review.
- Use Editing Software: Utilize tools for editing and layout. These streamline the process and ensure precision.
- Get Feedback: Ask others to review your work. Their input can improve your book’s quality.
- Make Final Changes: Adjust formatting and text based on feedback and thorough reviews.
Preparing content properly lays the groundwork for a successful and well-organized book project.
Choosing the Right Type of Bookbinding
How to make a book? Selecting the right bookbinding method is crucial for achieving your desired book style. The method you choose should match your project’s purpose, aesthetic, and durability needs.
Overview of Bookbinding Styles
Bookbinding comes in various styles, each offering unique benefits:
- Case Binding: Known for its durability, case binding uses a hard cover. It is ideal for professional or long-lasting books.
- Perfect Binding: A budget-friendly and lightweight option, perfect binding involves glue to attach the pages to the spine.
- Spiral Binding: Features a wire spiral to hold pages together, suitable for notebooks or reference books.
- Saddle Stitching: A simple method where pages are folded and stapled. Best for thinner booklets.
- Japanese Stab Binding: An artistic binding style using visible stitches along the spine for decorative purposes.
- Coptic Binding: Enables the book to lie flat, with exposed stitching for a unique look.
Selecting the Best Option for Your Project
To choose the right bookbinding method, consider these factors:
- Book Purpose: For books meant to last, consider case binding or Coptic binding. For quick projects, saddle stitching is ideal.
- Page Count: Use spiral bindings for thicker books. Choose saddle stitching for lightweight, fewer pages.
- Aesthetic Value: Opt for Japanese stab binding or Coptic styles for a creative, handmade appeal.
- Durability Needs: Case binding is perfect for books that need extra sturdiness.
- Budget Constraints: Perfect binding and saddle stitching are cost-effective options.
- Usability: Spiral and Coptic options allow for flat openings, increasing usability.
Selecting the best bookbinding style ensures your book aligns with its purpose and design preferences.
Creating the Book Cover
The book cover protects the pages and reflects the book’s theme. A well-crafted cover combines durability with design.
Materials for Book Covers
To begin, gather essential materials for your book cover:
- Cardstock or Chipboard: These provide structure and stability. Chipboard is thicker and more durable.
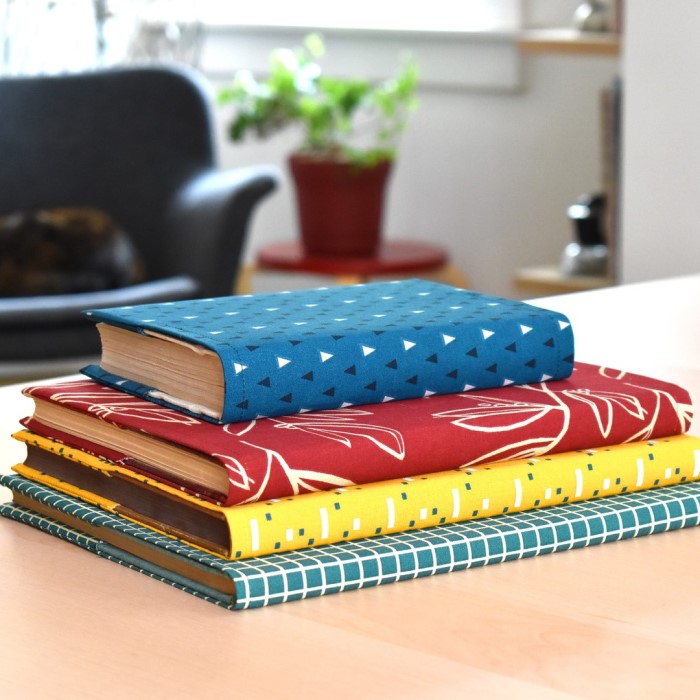
- Covering Material: Choose paper, fabric, or leather for an appealing exterior. Each adds a unique texture.
- Glue: Use acid-free glue for attaching covering materials. This prevents damage over time.
- Decorative Tools: Stamps, paints, or markers allow for personalized designs.
- Ruler and Cutting Tool: Precise cuts ensure a clean and professional appearance.
- Bone Folder: Use it to create sharp folds for a polished finish.
Selecting the right materials ensures the cover is both sturdy and visually appealing.
Designing and Constructing a Durable Cover
Follow these steps to create a strong and attractive book cover:
- Measure and Cut: Cut cardstock or chipboard to match your book’s height and width, leaving some margin.
- Prepare the Cover Material: Trim your chosen material slightly larger than the board for easy wrapping.
- Attach the Material: Apply glue evenly. Smooth out any wrinkles or bubbles using a bone folder.
- Fold and Secure Edges: Fold over the edges neatly and adhere them to the back of the board.
- Add Details: Decorate with designs, embossing, or stamps for a personal touch.
- Attach to the Book: Once dry, attach the cover to the spine or binding structure securely.
A durable and well-designed book cover enhances the book’s overall quality and presentation.
Assembling and Binding the Book
Assembling and binding your book brings all the elements together. This step transforms your prepared content and cover into a finished book.
Preparing the Pages and Signatures
Proper preparation of pages and signatures ensures a smooth binding process. Follow these steps:
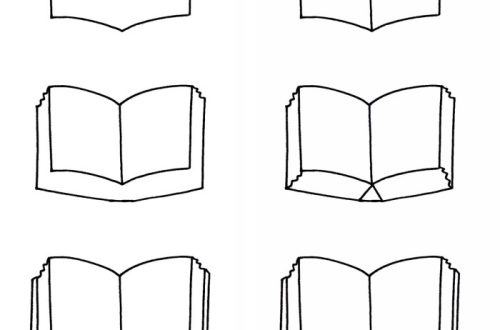
- Fold the Pages: Fold each sheet of paper neatly in half for even edges.
- Group Into Signatures: Arrange folded sheets into groups of 4–6 pages per signature.
- Align the Edges: Tap the edges of signatures to ensure uniformity and alignment.
- Punch Holes: Use an awl to make binding holes along the spine. Ensure even spacing.
- Label the Order: Number or mark each signature to maintain sequence during binding.
Taking time to prepare pages properly enhances ease and precision in binding.
Binding Techniques Step by Step
Choose a binding technique that works for your book type. Below are basic steps for common methods:
- Sew the Signatures (Coptic/Case Binding):
- Thread a needle with waxed thread.
- Stitch through the holes in each signature, connecting them in sequence.
- Secure the last knot tightly.
- Glue the Spine (Perfect Binding):
- Clamp the aligned pages together tightly.
- Apply an even layer of glue to the spine.
- Attach the cover and let the glue dry completely.
- Insert the Spiral (Spiral Binding):
- Align holes on the pages and cover.
- Feed the spiral wire through the holes carefully.
- Crimp the wire ends to secure.
- Staple the Pages (Saddle Stitching):
- Fold the booklet along the middle.
- Staple along the crease using a saddle stitch stapler.
By choosing an appropriate technique and following these steps, you can bind your book securely and effectively.
Adding Finishing Touches
Once your book is assembled, focus on refining its look and ensuring top quality.
Decorating and Personalizing Your Book
Adding personal touches to your book makes it truly unique. Here are some ideas:
- Cover Design: Use stamps, paints, or markers to add artistic elements to your cover.
- Title and Labels: Apply stickers, embossing, or handwritten text for titles and themed labels.
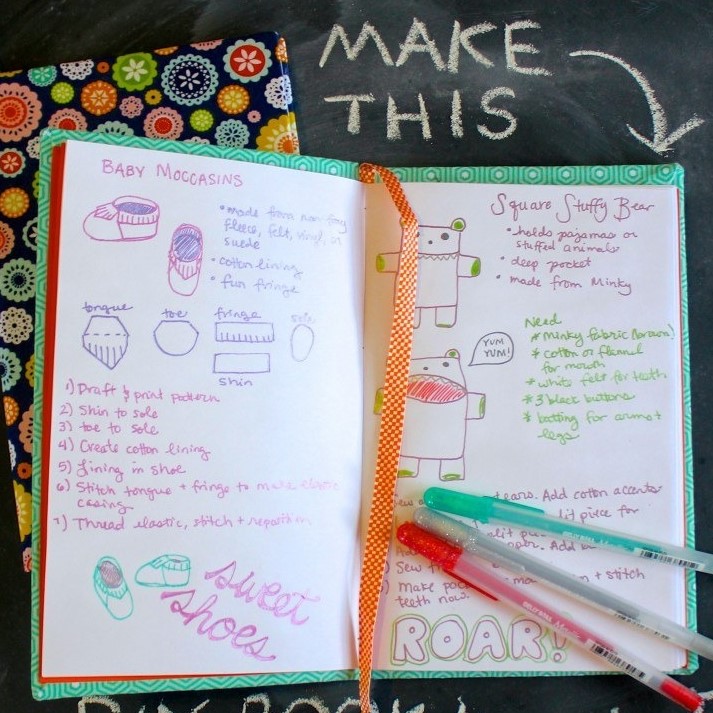
- Page Decoration: Add borders, illustrations, or decorative stamps on book pages.
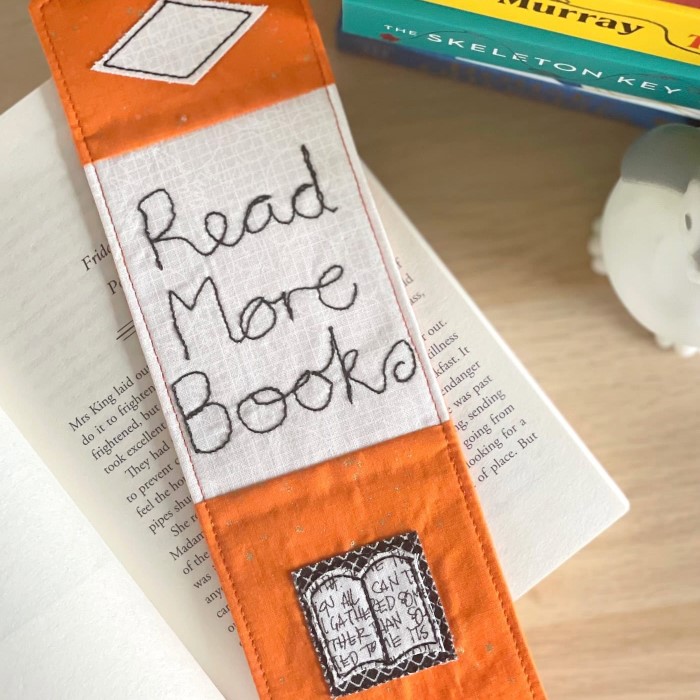
- Ribbon or Bookmark: Attach a ribbon or personalized bookmark for added functionality and charm.
- Theme Customization: Align decorations with the book’s theme or purpose for cohesiveness.
- Special Features: Include pockets, fold-outs, or envelopes for extra interest.
Personalizing your book makes it meaningful and enhances its appeal.
Quality Checks and Final Adjustments
Ensuring high-quality finishing involves attention to detail. Follow these steps:
- Inspect Binding: Check for loose threads or glue spots. Make necessary adjustments.
- Examine Alignment: Ensure pages and covers align perfectly. Trim uneven edges if needed.
- Test Page Turns: Flip through the book to confirm smooth functionality and absence of binding issues.
- Secure Cover: Confirm that the cover adheres firmly and looks professional.
- Review Decorations: Check for smudges, incomplete designs, or poorly fixed embellishments. Fix any errors.
- Final Clean-Up: Gently clean surfaces to remove glue stains or dust.
Careful finishing guarantees a polished, professional book that you can proudly showcase.
Tips for Beginners in Bookmaking
Starting your bookmaking journey can be challenging but exciting. These tips help beginners avoid pitfalls and learn efficiently.
Avoiding Common Mistakes
- Skipping Preparation: Always organize materials and plan steps to avoid confusion during crafting.
- Using Low-Quality Tools: Invest in reliable tools for better results and smoother processes.
- Rushing the Binding Step: Take time to align pages and signatures for a secure and neat binding.
- Choosing Inappropriate Binding: Pick a method that suits your book’s purpose, size, and durability needs.
- Overloading Decorations: Keep the design simple and balanced to prevent a cluttered appearance.
- Neglecting Proofreading: Always check content thoroughly before assembling it into the book.
- Overusing Glue: Apply glue sparingly to prevent wrinkled pages or messy covers.
- Poor Cutting Technique: Use sharp tools to ensure precise measurements and edges for a professional finish.
- Ignoring Feedback: Seek advice from others to refine your bookmaking skills and design.
Learning from common mistakes ensures smooth progress as you build your crafting expertise.
Resources for Learning More About Bookbinding
Explore these resources to enhance your knowledge and skills:
- Online Tutorials: Watch step-by-step videos on video platforms to understand techniques visually.
- Books on Bookbinding: Find written guides with detailed instructions and expert tips.
- Workshops and Classes: Join local bookbinding events for hands-on learning and professional guidance.
- Social Media Groups: Connect with other enthusiasts who share tips and project ideas.
- Crafting Forums: Participate in discussions to ask questions and learn from experienced makers.
- Library Resources: Borrow historical and modern craft books to broaden your understanding.
- Specialized Blogs: Read articles focusing on techniques, materials, and unique designs.
- Practice Kits: Buy starter kits that include tools and instructions for beginners.
Using these resources helps beginners grow their skills and master bookmaking more effectively.
Creative Ideas for Handmade Books
Creating handmade books allows for unique and creative expressions. These books can be customized to match personal tastes or special occasions.
Custom Books for Gifting
Handmade books make exceptional gifts. They show thoughtfulness and add a personal touch to any occasion.
- Memory Books: Compile photos, messages, and memorable dates for a gift that celebrates shared moments.
- Recipe Books: Write down family recipes with illustrations or photos for a treasured culinary keepsake.
- Travel Journals: Create a book for someone to record their travel adventures with maps or themed designs.
- Baby Keepsake Books: Make a baby album with milestones, photos, and sweet notes for parents to cherish.
- Personalized Notebooks: Customize blank notebooks with unique covers, stickers, or embossed initials.
- Event Milestone Books: Celebrate birthdays, anniversaries, or graduations by capturing meaningful details in crafted pages.
These creative gifting ideas make handmade books special and unforgettable.
Artistic Approaches to Book Design
Experimenting with artistic designs gives handmade books a distinct and eye-catching appeal.
- Mixed Media Covers: Combine paint, textures, and stamps to create a visually rich design.
- Hand-Drawn Illustrations: Add sketches, doodles, or drawings to personalize the book further.
- Eco-Friendly Materials: Use recycled paper, leaves, or fabric for a natural and artistic look.
- Layered and Textured Pages: Include layered papers, embossed surfaces, or textured additions for tactile interest.
- Thematic Concepts: Match book designs with themes, such as nature, vintage styles, or modern aesthetics.
- Typography Art: Play with fonts, lettering styles, and custom calligraphy for dynamic textual designs.
- Interactive Elements: Incorporate pop-outs, foldable pieces, or creative cutouts for engaging features.
Using these approaches, your handmade book becomes a unique piece of art that stands out.
Conclusion
In summary, learning how to make a book involves different stages—from writing and editing to designing and marketing. Each step plays a pivotal role in the self-publishing journey. Remember, the key is to remain focused on your goals and to take one step at a time. As you embark on this rewarding venture, keep the tips mentioned in this article in mind. With dedication and creativity, you’ll be on your way to successfully publishing your own book. Whether your aim is to inspire, educate, or entertain, your contribution to the literary world starts with taking that initial step.