Introduction
Lego remote control car combines creativity with technology. These cars are fully functional vehicles built entirely from Lego pieces. They are designed for movement and control through RC (Remote Control) equipment.
Building your own Lego RC car fosters both learning and fun. From engineering the frame to installing motors, the process encourages critical thinking. Plus, you get to enjoy the thrill of seeing your creation in action.
What Makes Lego Remote Control Cars Unique?
Lego RC cars stand out due to their customizability. Unlike store-bought RC cars, you can modify every aspect of a Lego car. You can pick your preferred shape, size, and color. You’re free to innovate the design or replicate existing car models.
Their modular nature lets you rebuild and modify. You can swap parts, upgrade components, or tear them apart to start fresh. Lego RC cars also allow you to integrate advanced features like sensors and programmable parts.
Moreover, these cars cater to both hobbyists and serious builders. Beginners can create simple designs, while experienced builders can tackle complex models. This adaptability makes them suitable for all skill levels.
Why Build Your Own Lego RC Car?
Building your own Lego RC car is incredibly rewarding. It’s not just about the final product, but also the journey.
First, it stimulates creativity and problem-solving. You’ll experiment with different designs, troubleshoot issues, and refine your work.
Second, it creates a sense of accomplishment. Every piece you add and every test you run makes the project exciting.
Lastly, it’s highly educational. You learn about mechanics, electronics, and even programming if you include smart functions. It’s a fantastic hands-on way to understand how things work.
DIY Lego RC cars also help you bond with others. You can share your creations, collaborate on designs, or learn from experienced builders. The Lego community is vast and welcoming, offering endless inspiration and support.
Tools and Materials Needed
Creating a Lego remote control car requires the right tools and materials. Having everything ready saves time and frustration. Let’s break down the essentials you’ll need.
Essential Lego Pieces for RC Cars
To start, you need standard Lego bricks and plates for the car’s structure. Technic Lego pieces are particularly useful for building sturdy frames and functional parts.
Some must-have pieces include:
- Technic beams and liftarms: Provide structural support.
- Axles and connectors: Allow movement and hold parts together.
- Gears and pulleys: Essential for transferring motor power.
- Wheels and tires: Choose based on your desired terrain (smooth surface or off-road).
- Pins and bushings: Hold components securely while enabling rotation.
Using genuine Lego pieces ensures quality and compatibility. It also minimizes the risk of your car falling apart during use.
Motors, Sensors, and Remote Control Equipment
The key to making your Lego car move lies in motors and remote control equipment. Here’s what you’ll need:
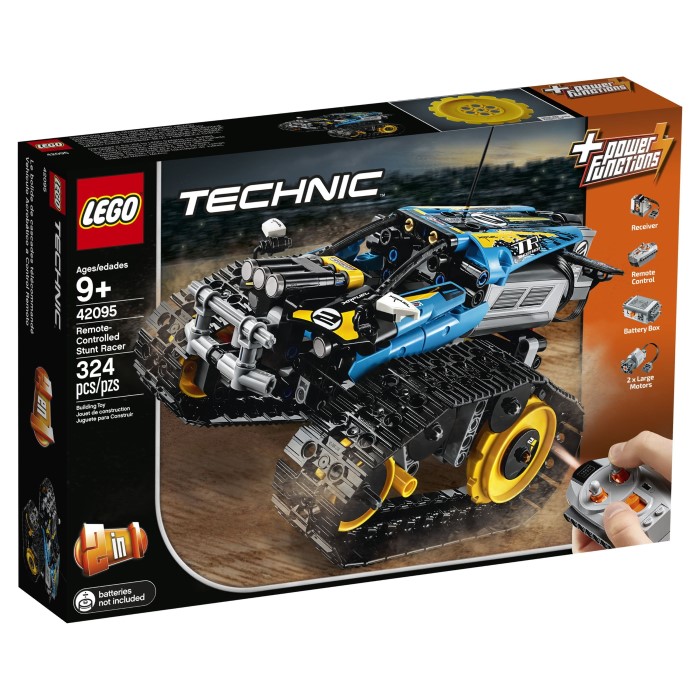
- Motors: Power the wheels or steering system. Lego Power Functions and Powered Up motors work great.
- Battery Box: Supplies electricity to the motors. Opt for lightweight options to avoid extra weight.
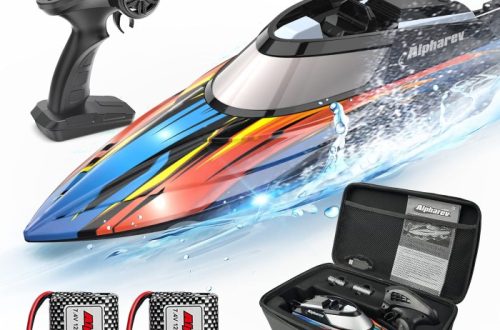
- Remote Control (RC): Controls the car. Lego’s Bluetooth-enabled remote or app-based systems are ideal.
- Receivers: Ensure wireless communication between the remote and the car’s motors.
- Sensors (optional): Add features like obstacle detection or autonomous driving.
Using modular systems like Lego’s Power Functions makes assembly and troubleshooting easier.
Additional Tools You’ll Need
Besides Lego pieces and RC components, you’ll need some additional tools:
- Lego separator: Helps you take apart pieces without damaging them.
- Small screwdriver: Useful for securing battery connections or assembling non-Lego RC elements.
- Cutting pliers: Trims cables if necessary.
- Tape or zip ties: Organizes wires neatly inside the car.
Optional tools, like a magnifying glass, can help with intricate builds. Having these tools on hand makes the building process smooth and enjoyable.
Planning Your Lego RC Car Design
Planning your Lego remote control car design is crucial for creating a functional and sturdy vehicle. A thoughtful approach ensures better stability, performance, and customization options.
Choosing a Base Structure for Stability
A solid base structure is the foundation of your Lego RC car. Stability is vital for smooth operation and reliable movement.
- Opt for Technic pieces: Use beams, liftarms, and plates for constructing a durable frame.
- Distribute weight evenly: Balance components to prevent tilting or flipping during operation.
- Reinforce connections: Use pins and bushings to secure the frame tightly and avoid part detachment.
A stable base makes your vehicle handle better, especially at high speeds or uneven terrains.
Selecting Wheels and Suspension Systems
Wheels and suspension systems influence your car’s maneuverability and versatility. Choose components based on your design goals.
- Pick appropriate wheels: Use standard tires for smooth surfaces or off-road tires for rough terrains.
- Add suspension systems: Incorporate springs or hinged mechanisms for shock absorption.
- Test wheel alignment: Ensure wheels help in stable and precise movements.
Well-selected wheels and suspension systems improve handling and adaptability on various terrains.
Incorporating Aesthetic Features
Aesthetic features give your Lego RC car personality and visual appeal. Creativity plays a key role in this step.
- Choose unique colors: Mix bricks in vibrant hues to make your design stand out.
- Add cosmetic elements: Include Lego pieces like spoilers, headlights, or decals for customization.
- Ensure functionality: Avoid aesthetic choices that compromise structure or performance.
Incorporating aesthetic features turns your car into a unique expression of creativity while retaining its functionality.
Step-by-Step Guide to Building a Lego RC Car
Building a Lego remote control car can be broken down into manageable steps. Each step focuses on a crucial part of the project, ensuring your car is functional, durable, and ready to run. Follow this process to turn your creative ideas into a working Lego RC car.
Building the Chassis
Start with a sturdy chassis as the foundation of your car.
- Select Technic bricks and beams: Use durable parts for strength.
- Snap pieces together securely: Ensure all connections are tight to prevent wobbling.
- Leave space for motors and gears: Plan placement for easy installation.
- Add mounting points: Include spots for attaching wheels and steering components.
A solid chassis lays the groundwork for performance and design.
Installing the Motors and Gears
Motors and gears make your car move effectively.
- Choose compatible motors: Use Lego Power Functions or Powered Up motors.
- Attach gears carefully: Ensure proper alignment for smooth power transfer.
- Connect motors to the chassis: Secure them firmly to avoid dislocation during movement.
- Test rotation: Verify gears and motors are working before proceeding.
Proper motor and gear installation ensures efficient operation.
Attaching Wheels and Steering Mechanisms
Wheels and steering mechanisms enhance functionality and maneuverability.
- Pick appropriate wheels: Match tires to the surfaces you’ll drive on.
- Install axles securely: Attach them to the chassis for stability.
- Incorporate steering control: Add swiveling mechanisms for directional movement.
- Verify alignment: Ensure wheels are straight and balanced.
Good wheel and steering setup leads to smoother navigation.
Connecting the Remote Control System
The remote control system brings your car to life.
- Install receivers: Place them to communicate wirelessly with the remote.
- Connect power sources: Attach the battery box for energy supply.
- Sync with the remote: Pair the control to your car for operations.
- Test functionality: Ensure motors respond accurately to commands.
Proper remote system integration completes your Lego RC car for remote operation.
Programming and Testing Your Lego RC Car
Programming and testing your Lego remote control car ensures maximum functionality and performance. This phase is vital for smooth operation and unlocking advanced features. Below, we cover key steps to configure, troubleshoot, and enhance your RC car.
Configuring the Remote Control Functions
Proper remote control configuration is essential for seamless car operation. Follow these steps:
- Pair the remote with the receiver: Ensure the devices communicate without signal interference.
- Assign functions to buttons: Map controls for forward, reverse, and steering functions logically.
- Adjust speed settings: Use app-based systems or remote controllers to fine-tune motor speeds.
- Test basic functions: Verify that commands for movement and steering respond accurately.
Proper configuration guarantees that your Lego RC car performs as intended.
Troubleshooting Common Issues
Encountering issues is normal, but swift troubleshooting keeps the car running. Address common problems like this:
- Check connections: Ensure motors, sensors, and the battery box are all securely attached.
- Inspect the battery: Replace weak or dead batteries for consistent power.
- Fix misaligned gears: Realign gears if the car shows uneven movement or grinding noises.
- Assess range issues: Ensure the receiver and remote are within the operational range.
- Resolve software bugs: Update firmware for app-based controls if glitches occur.
Troubleshooting effectively minimizes disruptions in your Lego RC car’s functionality.
Enhancing Performance Through Adjustments
Performance tweaks can elevate your Lego RC car’s capabilities. Here’s how to make it better:
- Optimize gear ratios: Modify gears to balance speed and torque for desired performance.
- Lighten the load: Remove unnecessary parts to improve speed and battery efficiency.
- Fine-tune steering response: Adjust servo motor angles for sharper or smoother turns.
- Incorporate sensors: Add obstacle detection or acceleration sensors for enhanced features.
- Test on various terrains: Experiment on smooth, rough, or inclined surfaces.
Enhancements help refine your Lego RC car for optimal functionality and exciting features.
Customizing Your Lego RC Car
Customizing your Lego remote control car allows you to make it truly unique. These modifications enhance both its look and functionality, providing a more personal and immersive experience. Let’s explore some easy and advanced ways to customize your creation.
Adding Personal Touches with Colors and Accessories
Personalizing your Lego RC car with colors and accessories makes it stand out. Here are some ideas:
- Mix vibrant colors: Experiment with different Lego brick shades for a unique design.
- Incorporate themed accessories: Add spoilers, roof racks, or decorative parts to enhance style.
- Use stickers or decals: Decorate your car for a racing or custom theme.
- Add miniature details: Install Lego headlights, grills, or tiny driver figures for realism.
- Keep it functional: Ensure aesthetic additions don’t affect the car’s performance.
With these modifications, your car becomes a perfect expression of your creativity.
Upgrading Motors and Sensors for Better Control
Enhancing your RC car’s performance can be achieved with motor and sensor upgrades. Consider these steps:
- Install stronger motors: Use high-torque motors for faster speed and better control.
- Upgrade the battery box: Choose one with a higher capacity for extended runtime.
- Add steering servos: Improve steering precision with advanced servo mechanisms.
- Integrate sensors: Use obstacle detection or acceleration sensors for smarter functionalities.
- Explore programmable systems: Experiment with Lego Mindstorms or Powered Up for enhanced automation.
These upgrades deliver better control and expand the car’s technical capabilities.
Transforming into Specialty Vehicles (Off-Road, Racing, etc.)
Redesigning your Lego RC car to take on specific challenges can be exciting. Here’s how to do it:
- Build an off-road model: Add bigger tires and suspension systems for rough terrains.
- Create a racing variant: Make it lightweight with aerodynamic elements for maximum speed.
- Convert to a truck or jeep: Reinforce the chassis for carrying loads or off-road adventures.
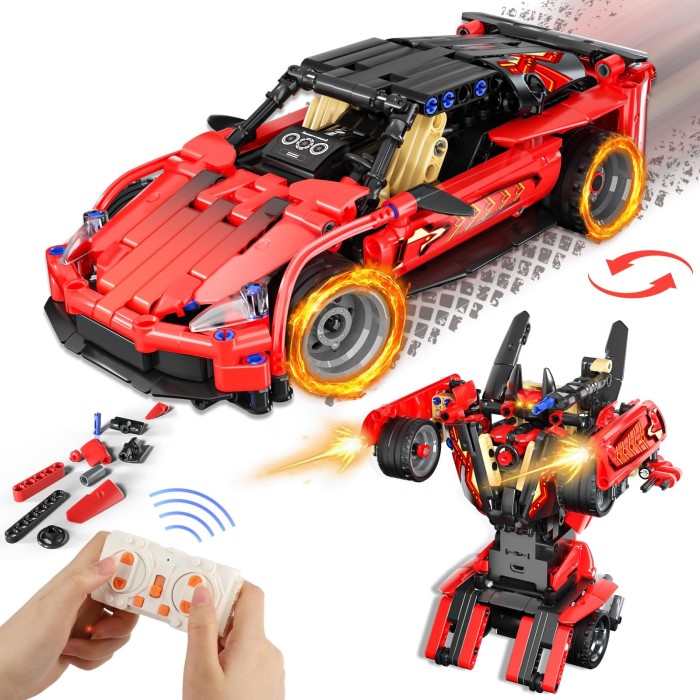
- Design a futuristic car: Use unique shapes and transparent Lego pieces for a sci-fi theme.
- Test it out: Always ensure your modifications align with the car’s structural integrity.
Custom specialty vehicles give you a chance to explore more functionality and creative designs.
Personalizing, upgrading, and transforming your Lego remote control car can elevate your building experience. Whether for visuals or better performance, these customizations guarantee a one-of-a-kind creation.
Popular Lego RC Car Models to Inspire You
Exploring popular Lego remote control car models can ignite your creativity. These designs offer innovative ideas and highlight the endless possibilities of what you can build.
Best Design Ideas from Lego Experts
Lego experts constantly push boundaries with their creations. Here are some standout ideas:
- Speed Champions-Inspired Models: These recreate real-world sports cars like Ferrari or Lamborghini in RC form.
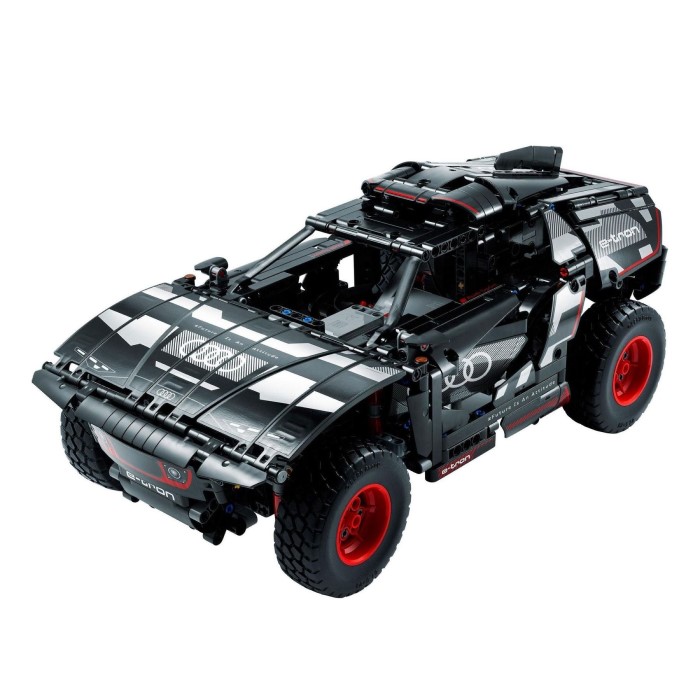
- 4×4 Off-Road Vehicles: Designed for rugged terrain, these include suspension systems and large, durable tires.
- Compact Race Cars: Lightweight yet fast, ideal for speed challenges on smooth tracks.
- Functional Dump Trucks: Built for carrying weight, with working beds and reinforced chassis.
- Supercars: Include advanced elements like gull-wing doors and sleek aerodynamic shapes.
These designs focus on aesthetics, functionality, or both. They inspire builders to explore ways to improve their Lego RC cars.
Community Creations That Stand Out
The Lego community produces extraordinary RC car models. Here are some amazing creations:
- Monster Trucks: Built with massive tires and sturdy frames, designed for jumps and tough terrain.
- Custom Hot Rod Cars: Unique vintage-inspired designs featuring detailed exteriors and vibrant color schemes.
- Electric Buggies: Perfect for off-road fun, with powerful motors and adjustable suspension.
- Sci-Fi Cars: Futuristic models with transparent bricks and LED lights for a glowing effect.
- Fully Programmable Cars: Created with Lego Technic or Mindstorms for added automation and smart features.
These inspiring community builds demonstrate creativity and technical mastery. They also encourage others to experiment and share their projects.
Exploring these expert and community ideas will fuel fresh concepts for your next Lego remote control car adventure.
Tips for Maintenance and Long-Term Use
Proper maintenance ensures your Lego remote control car remains functional and durable over time. Here are effective strategies to keep your creation in top shape and safely store it.
Keeping Your Lego RC Car in Good Condition
Regular care is crucial for extending the life of your Lego RC car.
- Clean components regularly: Remove dust and dirt from bricks and motors to prevent damage.
- Check connections: Ensure all pieces, gears, and wires fit tightly and function properly.
- Inspect moving parts: Verify axles, wheels, and gears rotate smoothly without wear or misalignment.
- Replace worn-out parts: Swap damaged bricks, tires, or motors for optimal performance.
- Protect electronics: Keep sensors, battery boxes, and receivers safe from moisture and heat.
- Lubricate gears (if needed): Use Lego-safe products for better smoothness and reduced wear.
Taking care of these aspects ensures your car runs reliably and remains solid during use.
How to Store and Transport Your Creations
Proper storage and transport protect your Lego RC car from damage and loss.
- Use a storage box: Keep all parts in a sturdy container to shield them from dust.
- Organize components: Divide pieces like bricks, motors, and gears into labeled compartments.
- Disassemble for travel: Detach delicate sections to prevent breakage during transportation.
- Wrap sensitive electronics: Cover receivers and sensors with bubble wrap for extra security.
- Avoid extreme conditions: Store in dry, cool areas, away from direct sunlight or moisture.
- Use a carrying case: Opt for padded bags or hard-shell cases for safer transit.
Properly storing and transporting your Lego remote control car reduces risks and keeps your project ready for action. By following these maintenance tips, you ensure your creation stays reliable and enjoyable for the long term.