Introduction
Celebrating birthdays is an exciting occasion, and what better way to make it memorable than with a paper mache hot air balloon theme? These vibrant and artistic decorations not only enhance your party ambiance but also engage your guests in a fun and creative experience. With the right materials and techniques, you can craft beautiful paper mache hot air balloons that will leave a lasting impression. In this blog, we will explore various aspects of creating and utilizing these eye-catching decorations for your upcoming birthday bash.
The Art of Paper Mache
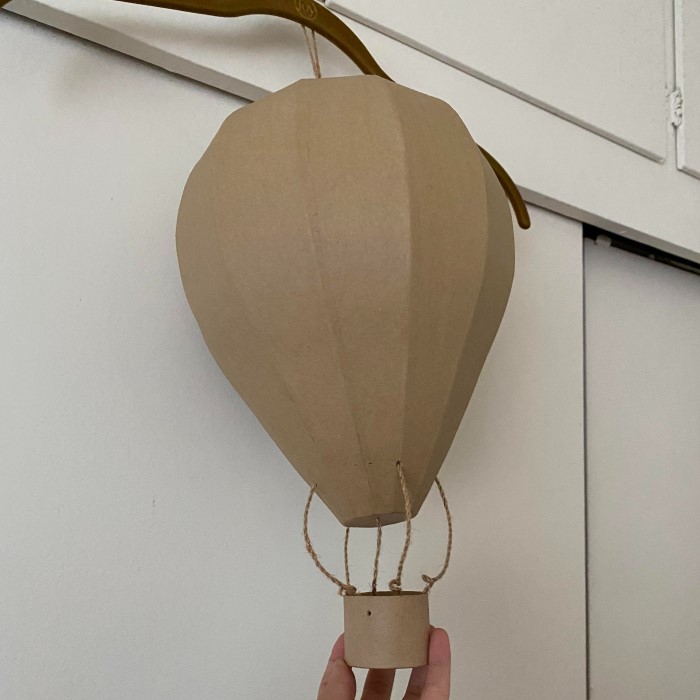
Paper mache is a versatile craft technique that involves using paper strips or pulp and a wet paste to create sculptures and decorations. The mixture is molded and dried to form sturdy structures. This technique has gained popularity due to its simplicity and the broad range of creative possibilities it offers. When it comes to making a paper mache hot air balloon, a few key steps can lead to beautiful results.
Materials Needed for Paper Mache:
- Paper: You can use newspapers, tissue paper, or any type of paper you have on hand.
- Adhesive: Common mixtures include flour and water or a ready-made paper mache paste.
- Balloon: A regular balloon serves as the base for your hot air balloon.
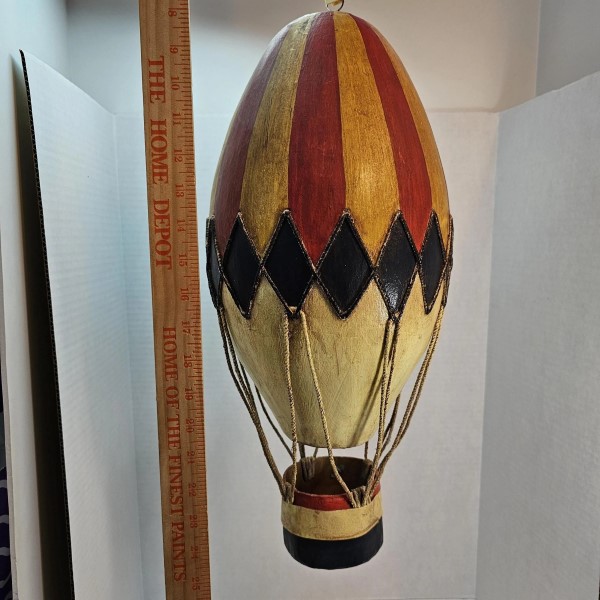
- Paint: Choose vibrant colors to decorate your finished hot air balloon.
- String and Baskets: To enhance the look, incorporate strings and small baskets to hang or display your creation.
By gathering these materials, you’re set to embark on a playful crafting journey that adds a delightful touch to birthday celebrations.
How to Make a Hot Air Balloon for Kids
Engaging children in craft activities is a fantastic way to celebrate birthdays. Creating a hot air balloon can be both educational and entertaining. To make a hot air balloon for kids, follow these simple steps:
- Inflate the Balloon: Start by inflating a balloon to your desired size. This will serve as the model around which you’ll build the paper mache.
- Create the Paper Mache Mixture: Mix flour with water to create a paste. This paste serves as an adhesive for your paper strips.
- Prepare the Paper Strips: Cut the paper into manageable strips. You can use an array of colors to add vibrancy to your balloon.
- Apply the Paper Mache: Dip the paper strips into the paste, then apply them onto the balloon. Overlap the layers for added strength.
- Drying Process: Allow the balloon to dry completely before popping it. This can take several hours or overnight, depending on the humidity.
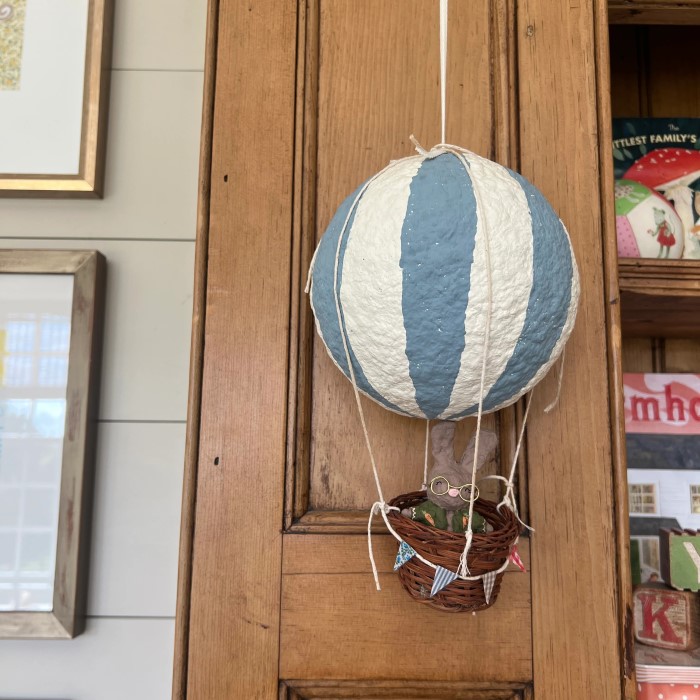
- Decorate: Once the paper mache is dry, pop the balloon and carefully remove it. Then, decorate the outer surface with paint, markers, and embellishments.
By involving kids in this project, you create not only decorations for the birthday party but also cherished memories through collaboration and creativity.
Techniques for Paper Mache Success
To ensure a successful paper mache project, there are several techniques to keep in mind:
Layering
- Building a Strong Base: The layering technique is fundamental to effective paper mache crafting. By applying multiple layers of paper, you create a robust and resilient structure for your project. Each layer adds strength, making your finished product less susceptible to damage.
- Optimal Number of Layers: Generally, three to four layers are considered sufficient for durability. This means starting with a base layer and building upon it incrementally. Each layer should build on the last, ensuring that the structure can withstand handling or environmental factors once it is finished.
- Layer Orientation: When applying each layer, consider alternating the orientation of the strips. For example, if the first layer is placed horizontally, the next can be applied vertically. This technique enhances the strength and integrity of the paper mache.
Smooth Surface
- Eliminating Wrinkles: As you apply each strip of paper, it’s important to smooth out any wrinkles or bubbles. This ensures that the paper adheres well to the structure and lays flat. Wrinkles can create weak points and detract from the overall appearance of the final product.
- Using Tools for Smoothing: To help smooth the paper, consider using tools like a paintbrush or your fingers. A gentle touch can help flatten the paper without tearing, ensuring an even surface as you build up layers.
- Quality of Finish: Achieving a smooth surface contributes significantly to the overall visual appeal of your crafted item. A polished surface enhances the look of finished project and prepares it for painting and decorating.
Drying Time
- Importance of Drying: Allowing each layer to dry completely before applying the next is crucial. If layers are added too soon, the moisture from the previous layers can cause the structure to remain soft. This can result in weak spots that may compromise the integrity of your project.
- Recognizing Dryness: To ensure adequate drying time, it can be helpful to touch the surface of the last applied layer. It should feel firm and dry to the touch before you proceed with the next layer. This attention to detail will lead to a stronger final product.
- Environmental Factors: Be mindful of the environment in which your project is drying. Humidity and temperature can both affect drying time. Ideally, place your project in a well-ventilated area at room temperature to facilitate effective drying.
Use of Paint
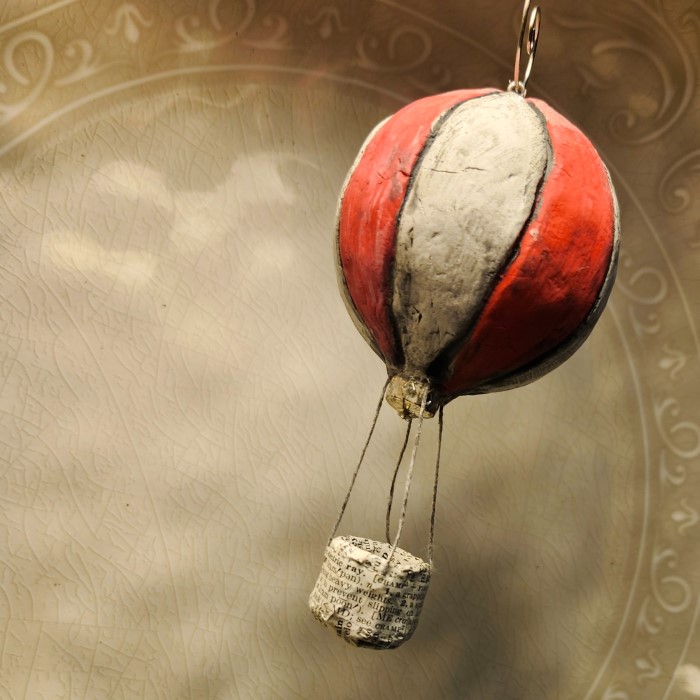
- Choosing the Right Paint: When it comes to decorating your paper mache project, acrylic paints are highly recommended. They offer bright colors, excellent coverage, and quick-drying capabilities. This means you can finish your project faster without compromising on aesthetics.
- Layering Paint for Depth: For vibrant results, consider applying multiple layers of paint. Start with a base coat and allow it to dry before adding additional colors or details. This method helps achieve the desired depth of color and enhances the overall appearance of your crafting piece.
- Sealing the Paint: Once your painted design is complete, applying a glossy sealant can add protection and a finished look. The sealant prevents the paint from chipping or fading over time, ensuring the longevity of your project. This step is particularly important if the item will be displayed in an area exposed to sunlight or moisture.
By mastering these techniques, your paper mache hot air balloon will not only look stunning but also be robust enough for display or party games.
Decoration Ideas for a Hot Air Balloon Theme
Once you have your paper mache hot air balloons finished, think about how to best integrate them into your birthday party décor. Here are some creative ideas:
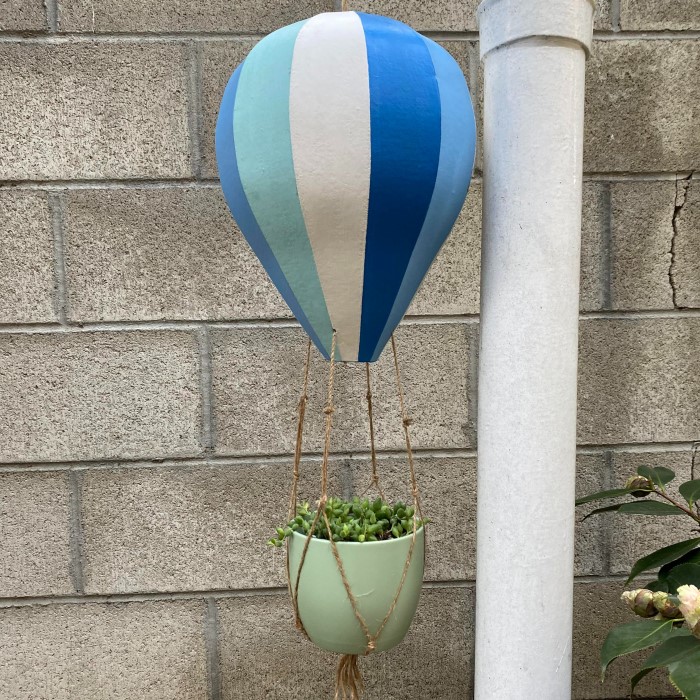
- Centerpieces: Use the hot air balloons as table centerpieces. Combine them with colorful table settings to create a festive atmosphere.
- Hanging Decorations: Suspend paper mache balloons from the ceiling to create a whimsical feel that mimics a sky full of balloons.
- Photo Booth Props: Place the balloons in a designated photo booth area. Guests can take memorable pictures with these unique props.
- Themed Invitations: Design birthday invitations featuring hot air balloons. This creates excitement for the party and sets the theme from the outset.
These decorative tips will enhance the overall experience of your birthday celebration, ensuring that your paper mache hot air balloon theme captivates all guests.
Incorporating Hot Air Balloon Crafts Into Party Activities
In addition to showcasing your decorative talents, think about engaging party activities centered around the hot air balloon theme. Here are some suggestions:
Craft Station
- Setting Up the Space: Designate a specific area for the craft station. Ensure it is well-lit, spacious, and equipped with tables or surfaces where guests can comfortably work on their mini hot air balloons.
- Materials Provided: Gather all necessary materials to facilitate crafting. Include lightweight paper, glue, scissors, string, and markers or paints for decoration. Consider providing templates or additional items like ribbons or stickers for customization.
- Clear Instructions: Develop clear, step-by-step instructions that outline the crafting process for making mini hot air balloons. These instructions should be easy to understand, allowing guests of all ages to follow along without assistance. For added clarity, consider demonstrating the process before guests begin their crafts.
Balloon Races
- Organizing the Race: Plan the logistics of the balloon races by selecting an open outdoor area with enough space for participants to compete safely. Set clear rules ahead of time, such as how the race will be conducted and what constitutes a fair competition.
- Creating a Fun Atmosphere: Enhance the excitement of the balloon races by encouraging children to cheer for their friends. Consider setting up a finish line with visual markers, and perhaps play upbeat music to create a festive ambiance.
- Prizes and Recognition: At the end of the races, offer small prizes or certificates for participants. This could include recognition for completing the race or fun categories like “Most Creative Balloon” to encourage a sense of accomplishment and celebrate everyone’s efforts.
Story Time
- Choosing the Right Books: Curate a selection of engaging books that focus on hot air balloons and their adventures. Look for stories that cater to various age groups, ensuring that children of all skill levels can enjoy and appreciate the content.
- Cozy Reading Corner: Create a cozy area for storytime with comfortable seating options like cushions or bean bags. This space should be inviting and provide children with an opportunity to relax as they listen to the stories.
- Interactive Story Sessions: Make story sessions engaging by incorporating questions and discussions about the hot air balloon themes. Encourage the children to share their thoughts and experiences related to balloons, fostering interaction and reinforcing learning in a fun way.
These activities can create an enjoyable atmosphere and encourage participation, making the birthday celebration even more memorable.
FAQ Section
How to Make a Hot Air Balloon for Kids?
As discussed earlier, making a hot air balloon for kids involves inflating a balloon, preparing a paper mache mixture, applying layers of paper, drying, and decorating. Kids will love the hands-on experience.
How to Paper Mache a Balloon with Flour?
To paper mache a balloon with flour, mix equal parts flour and water until you achieve a smooth paste. Dip strips of paper into the mixture and apply them to a balloon, ensuring even coverage. Allow it to dry completely before popping the balloon.
What Material Do They Use for Hot Air Balloons?
Hot air balloons are typically made from lightweight materials such as nylon or polyester, combined with a layer of fire-resistant coating. This design ensures they can effectively hold the hot air needed for flight.
Conclusion
Incorporating a paper mache hot air balloon theme into birthday celebrations not only adds a unique touch but also involves guests in a creative process. Whether it’s through making balloons, decorating, or engaging in fun activities, this theme fosters creativity and connection. Following the crafting tips and incorporating the décor ideas mentioned, you can ensure a colorful and memorable birthday experience. As you plan your next celebration, consider the charm of hot air balloons—they may just take your festivities to new heights!