Introduction: The Art of Paper Mache
Paper mache is a timeless craft that allows both children and adults to create stunning art pieces using just a few materials. One of the most crucial components of this craft is the paper mache paste recipe. Knowing how to make a successful paste can significantly enhance your crafting experience.
Whether you’re aiming to create a piñata, a decorative bowl, or any other art project, a proper paste can make all the difference. In this guide, we’ll delve into an easy DIY paper mache paste recipe that is not only simple and affordable but also fun to make! Let’s explore the ingredients, preparation method, and additional tips to help you achieve great results.
Understanding Paper Mache
- What is Paper Mache?
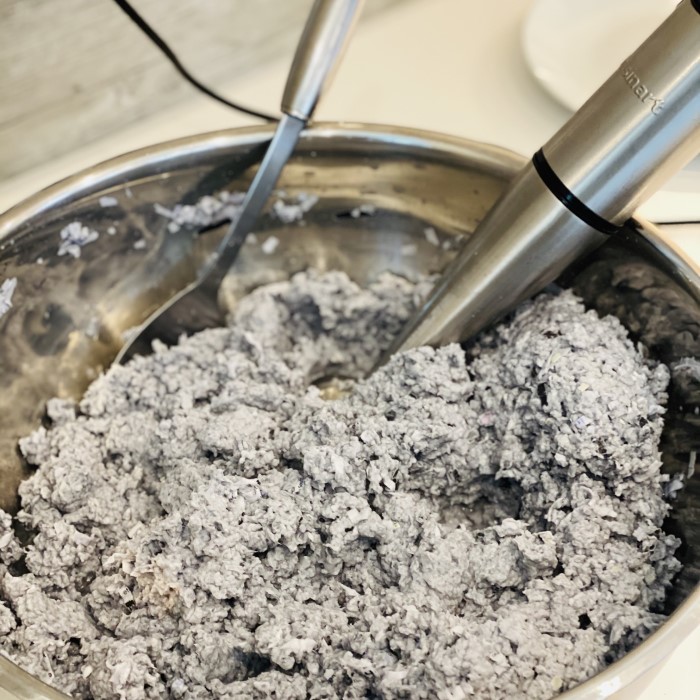
- Paper mache, which translates to “chewed paper” in French, involves combining paper strips or pieces with some form of paste, usually made from flour, glue, or water-based adhesives. The mixture creates a malleable substance that can be molded into various shapes.
- Why Use Paper Mache?
- This craft is popular because it is an economical way to create art. Commonly used in schools and at home, it encourages creativity while also allowing for experimentation with textures and designs.
- Applications of Paper Mache:
- Paper mache can be used for a wide range of artistic projects, including crafting masks, sculpting 3D forms, and making home decor items. Its lightweight nature makes it ideal for many creative endeavors.
Essential Ingredients for Paper Mache Paste
To make a successful paper mache paste, you will need a few basic ingredients. Understanding what these ingredients do will improve your paste-making experience.
- Flour:
- All-purpose flour is a common base for many paper mache paste recipes. It acts as a binder that helps the paper strips adhere together. Flour also adds thickness to the paste, allowing for better coverage.
- Water:
- Water is the most crucial ingredient in any paper mache paste. It is used to mix with the flour or other binding agents to form a smooth consistency. The water helps the flour dissolve and activate its adhesive properties.
- Sugar:
- Though optional, adding a small amount of sugar can help create a stronger bond by enhancing the binding properties of the paste, making it last longer. It also helps reduce mold growth in humid conditions.
- Salt and Vinegar:
- Including salt and vinegar in your mixture can act as preservatives. They help prevent the paste from spoiling over time, extending the shelf life of your homemade paste.
Step-by-Step Instructions for Making Paper Mache Paste
1. Prepare the Ingredients
- Gather your materials. You will need:
- 1 cup of all-purpose flour
- 1 cup of water (plus extra for adjustments)
- 1 tablespoon of sugar (optional)
- 1 tablespoon of salt (optional)
- 1 tablespoon of vinegar (optional)
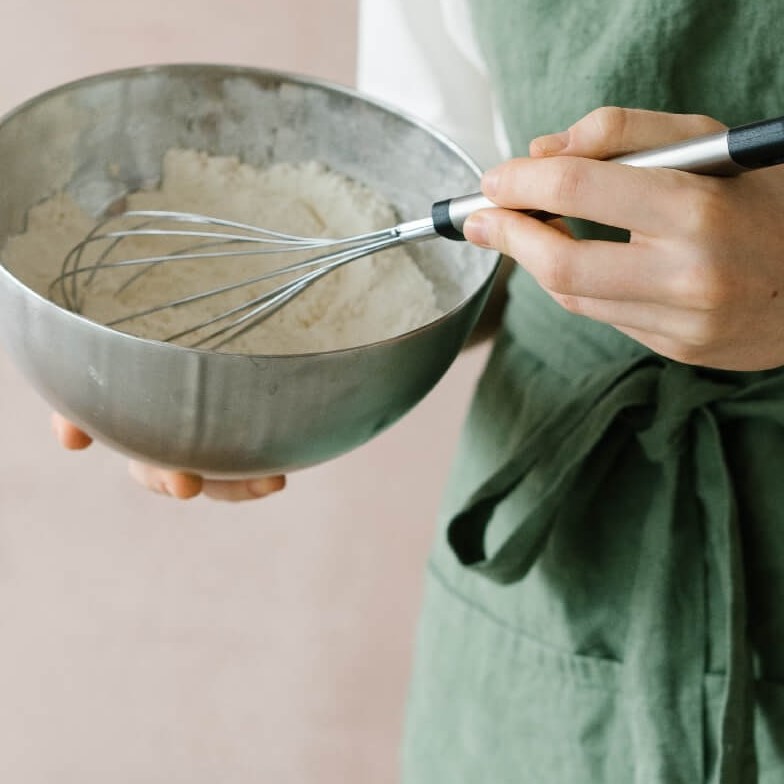
2. Mix the Dry Ingredients
- In a bowl, combine the flour and sugar. Stir them together until they are well combined. This ensures an even distribution of sugar throughout the paste.
3. Combine with Water
- Gradually add the water to the dry mixture. Start by pouring in half a cup and whisk it together to create a smooth mixture. Make sure there are no lumps present, as they can interfere with application later on.
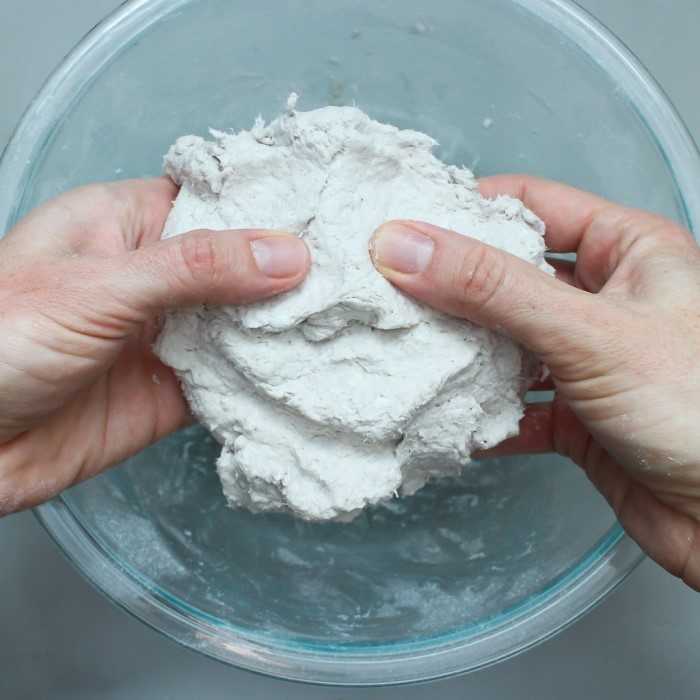
4. Adjust the Consistency
- If the mixture is too thick, gradually add more water until you reach the desired consistency. The paste should be creamy and easily spreadable but not too runny. Adjust according to your crafting needs.
5. Adding Preservatives
- If you want to prolong the shelf life of your paste, mix in the salt and vinegar. Stir well to ensure they are fully incorporated into the paste.
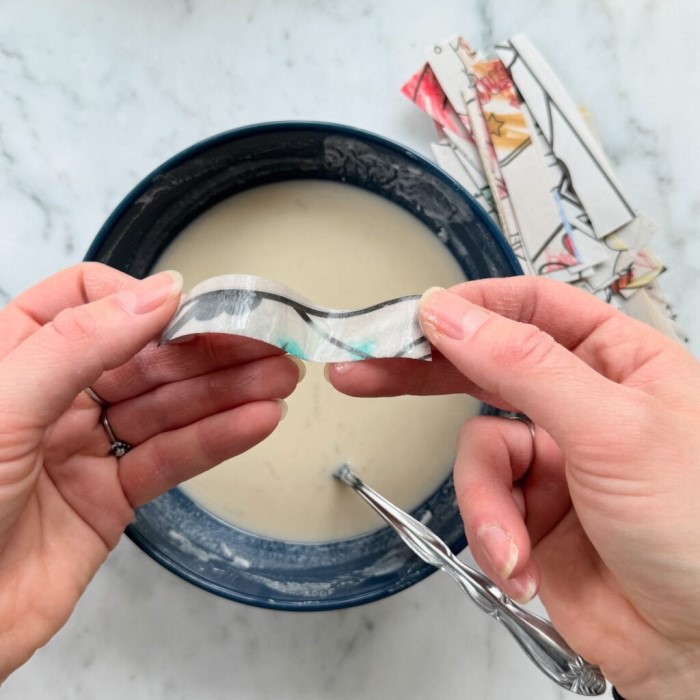
6. Test the Paste
- Before diving deep into your crafting project, it’s a good idea to test the paste. Apply a small amount to a piece of scrap paper and let it dry. This helps you determine if the texture and adherence are adequate for your project.
Tips for Using Paper Mache Paste
- Application Techniques:
- When applying the paste to paper, ensure that you coat the paper evenly. Use a brush, sponge, or your fingers, depending on the intricacy of your project.
- Layering for Strength:
- To create durable items, apply multiple layers of paper mache over a foundational shape. Allow each layer to dry completely before adding another.
- Drying Methods:
- After completing your project, allow it to dry in a well-ventilated area. Avoid direct sunlight, which can cause uneven drying or warping.
- Smooth Finish:
- For smooth results, consider using strips of newspaper or lightweight paper. They create a finer texture and are easier to work with when applying paste.
Cleaning Up After Crafting
After finishing your project, cleaning up is crucial.
Dispose of Excess Paste
- Perishability of Paste:
- It is important to note that any leftover paste is perishable, particularly if you have added preservatives or other ingredients. Understanding this helps in determining how to properly handle and dispose of excess paste to maintain hygiene and safety.
- Avoid Long-Term Storage:
- Do not allow excess paste to sit out for extended periods. As time passes, the paste can spoil, which can lead to unpleasant odors and the growth of bacteria or mold. This not only poses health risks but also renders the paste unusable for future projects.
- Proper Disposal Methods:
- If you need to dispose of the paste, do so by pouring small amounts down the sink while running warm water, or securely seal it in a bag and dispose of it in the trash. Avoid flushing large quantities down the toilet, as this can cause plumbing issues.
Wash Tools Immediately
- Immediate Cleaning:
- It is crucial to clean your brushes, mixing bowls, and any utensils right away after using paste. Prompt cleaning minimizes the risk of paste drying and sticking to the tools.
- Dried Paste Challenges:
- Once paste dries, it can become extremely difficult to remove, often requiring soaking or scraping that can damage brushes and utensils. This highlights the time-saving benefits of washing tools immediately.
- Effective Cleaning Procedures:
- Rinse your tools under warm water immediately after use. If the paste has thickened, use a sponge or brush with soap to scrub away any residue. Make sure to clean the bristles of brushes thoroughly to prevent them from hardening and making the brush unusable.
Store Leftover Paste
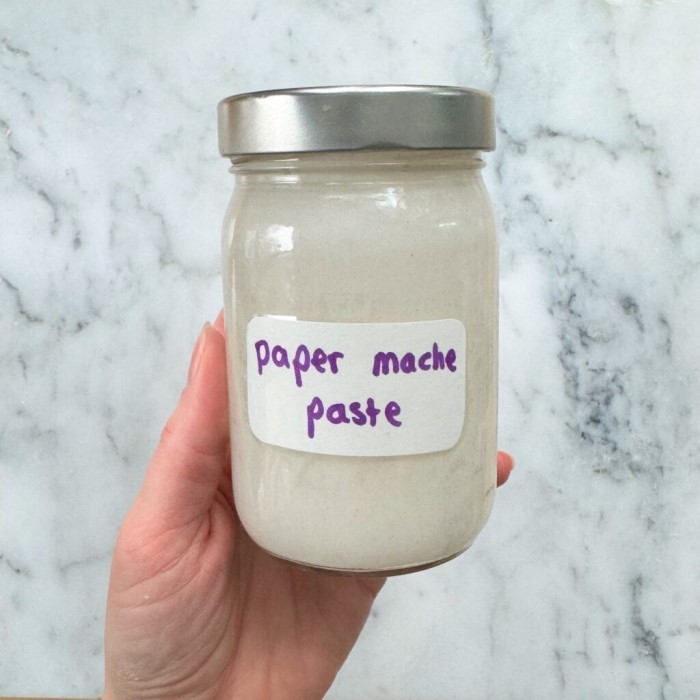
- Airtight Storage:
- If you find yourself with leftover paste, it’s important to store it properly. Place the paste in an airtight container to prevent air exposure, which could lead to spoilage.
- Refrigeration for Longevity:
- Store the sealed container in the refrigerator. The cool temperature can help extend the paste’s freshness and usability, reducing the likelihood of spoilage compared to leaving it at room temperature.
- Recommended Usage Timeline:
- For the best results, it’s advisable to use refrigerated paste within a week. This guideline ensures that you are working with a fresh product that retains its ideal consistency and effectiveness for your projects.
FAQs about Paper Mache Paste
What is the best paste for paper mache?
The best paste for paper mache can vary based on personal preference. Many prefer a mixture of equal parts flour and water, which is effective and easy to make. Others may opt for glue-based pastes.
What are the 4 ingredients for paper mache?
The four main ingredients for a basic paper mache recipe include all-purpose flour, water, sugar, and salt. Commercial options may also include glue or additional binders for stronger adhesion.
Can I use all-purpose flour for paper mache?
Yes, all-purpose flour is commonly used in paper mache recipes. It provides excellent adhesion and is easily available for most people.
What to boil in an electric kettle to clean it?
While this last question is unrelated to paper mache, when cleaning an electric kettle, you can boil a mixture of vinegar and water to help remove mineral deposits and limescale.
Conclusion: Enjoy the Fun of Crafting
In conclusion, mastering the paper mache paste recipe is essential for anyone interested in paper mache crafts. With this simple, affordable DIY paste, you can transform your creative ideas into tangible art projects.
Incorporating vinegar and baking soda enhances your crafting experience, allowing for more durable and beautiful creations. Remember to practice proper techniques and cleaning methods to ensure successful projects and a smooth crafting environment.
By following the tips and steps outlined in this guide, you’ll enjoy endless hours of crafting fun while creating unique paper mache art. Whether for school projects, family activities, or simply expressing your artistic side, paper mache is an enjoyable and rewarding craft that brings everyone together! Happy crafting!