Introduction
Paper mache cones are one of the most versatile and accessible materials for artists of all ages. The unique structure of these cones allows creators to experiment with various applications, from functional objects to beautiful decor. As more people turn to eco-friendly and DIY projects, paper mache cones stand out as an excellent choice for anyone looking to explore their artistic abilities.
In this article, we will delve into the versatility of paper mache cones in art and craft. We will look at different techniques, innovative uses, and creative ideas that can inspire your next project. Whether you are a beginner or an experienced crafter, paper mache cones offer endless possibilities for self-expression and creativity.
What Are Paper Mache Cones?
Definition and Composition
Paper mache cones are created using the paper mache technique, where paper is layered with an adhesive substance to form a solid structure. This technique typically involves mixing water, glue, and flour or using pre-made adhesives. The result is a lightweight and durable cone that can be used in various craft projects.
The beauty of paper mache lies in its reusability. Artists can use old newspapers, magazines, and other recycled paper, making this method cost-effective and environmentally friendly. Additionally, once the cones are painted and decorated, they can significantly enhance the aesthetic of any space.
Types of Paper Mache Cones
There are several types of paper mache cones, each serving different purposes. Here are a few common examples:
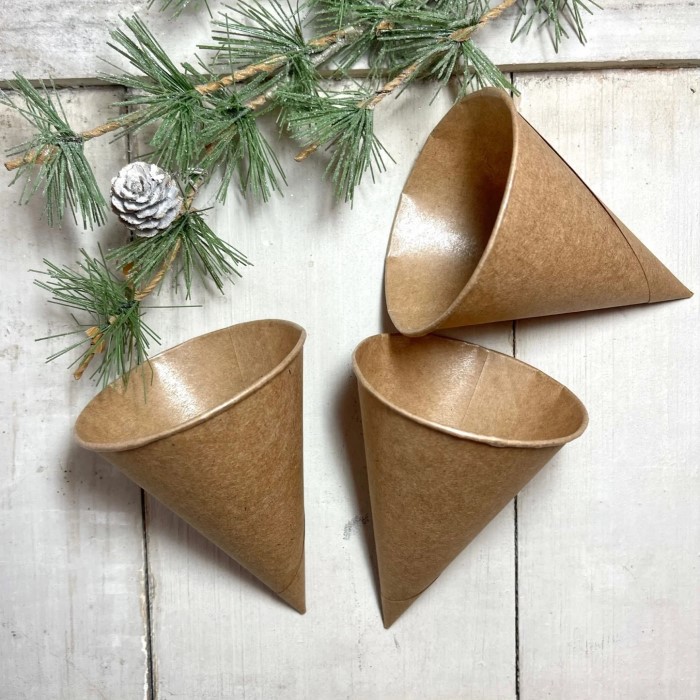
Traditional Cones
Traditional cones are foundational crafting materials made from layers of paper mache, offering a sturdy yet lightweight structure.
These cones can serve as versatile bases for various other craft projects, allowing for creativity and customization.
As standalone decorative pieces, traditional cones can be painted, adorned with embellishments, or used in seasonal decor, such as holiday displays or themed events.
Their simple design makes them an ideal choice for crafters of all skill levels, from beginners to experienced artisans.
Functional Cones
Functional cones are designed with a specific purpose in mind, making them practical tools in various settings.
These cones can be used as holders for party decorations, such as balloons, streamers, or floral arrangements, helping create eye-catching displays.
In addition, they can serve as centerpieces for events, adding height and interest to table settings while complementing the overall theme.
Beyond decoration, functional cones can also be repurposed as organizers for stationery items, such as pens and pencils, offering both style and practicality in home or office environments.
Miniature Cones
Miniature paper mache cones are smaller-scale versions that can be crafted for specific uses, such as in dioramas or small artistic displays.
These tiny cones allow for intricate detailing and provide crafters with the opportunity to experiment with creativity in mini arrangements.
Because of their size, miniature cones can combine with other small elements, enhancing the visual storytelling aspect in projects like dioramas or model displays.
They are perfect for adding subtle accents to larger scenes or as decorative highlights in a collection of miniatures, appealing to both hobbyists and professional artists.
Creative Uses
1. Decorative Items
One of the most popular uses for paper mache cones is creating decorative items. With paint, embellishments, and innovative designs, you can transform simple cones into stunning home decor. For example, they can paint and decorat with ribbons, flowers, or sequins to create beautiful centerpieces for special occasions.
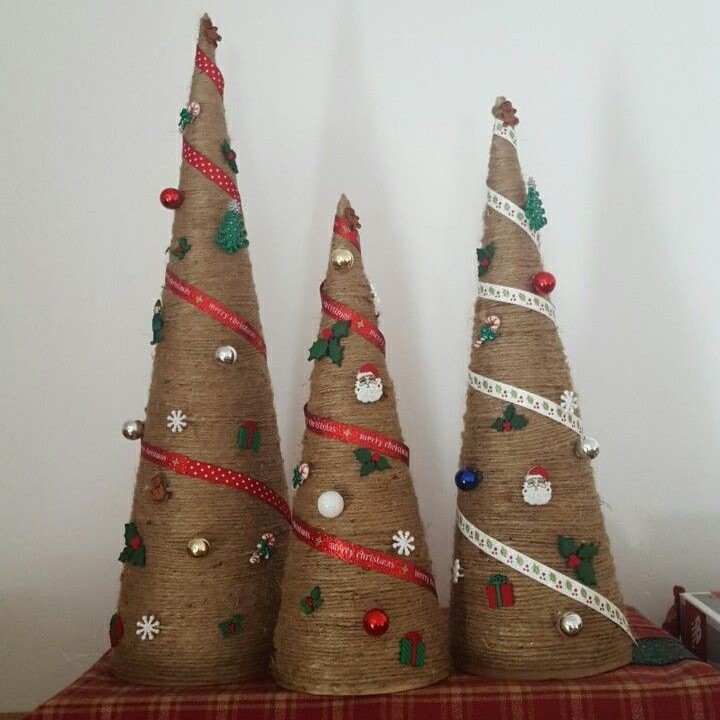
2. Holiday Decorations
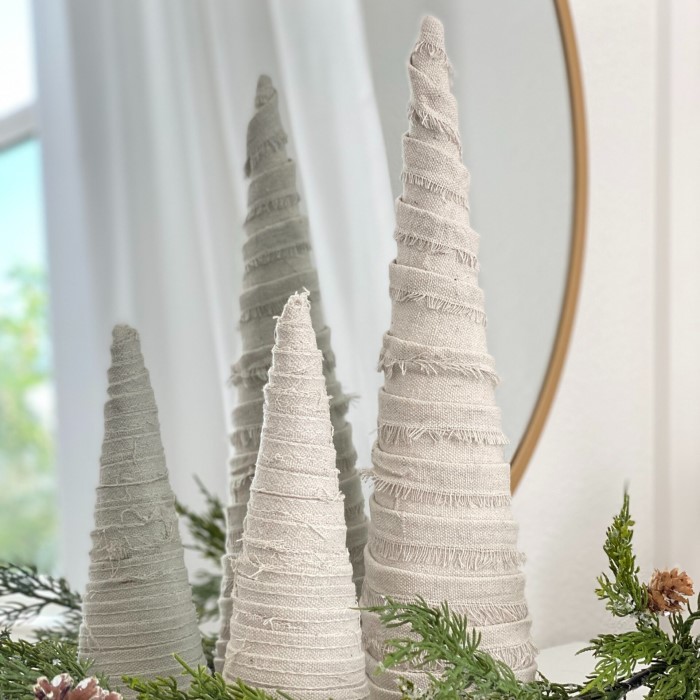
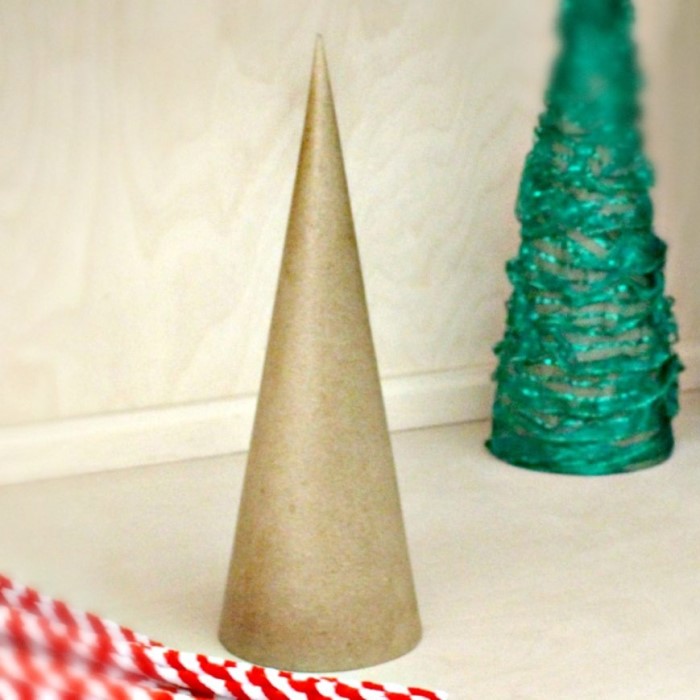
Paper mache cones are particularly popular during the holiday seasons. They can turn into Christmas trees, party hats, or Halloween decorations. By using appropriate colors and patterns, you can create unique and festive decor that adds charm to your celebrations.
3. Vases and Holders
Another practical application of paper mache cones is as vases or holders for flowers and other decorative items. You can create a cone shape that opens at the top and use it to hold fresh or dried flowers. This allows for versatile arrangements that can enhance the aesthetic of any room.
4. Educational Projects
Paper mache cones can be incredibly useful for educational projects. Teachers can use them for science projects, art demonstrations, or as part of learning crafts. By using this medium, students can gain hands-on experience while learning about environmental sustainability through recycling materials.
Benefits of Using
1. Eco-Friendliness
One of the most significant benefits of paper mache cones is their ecological impact. By utilizing recycled paper materials, you contribute to reducing waste. The process of making these cones is both sustainable and environmentally friendly.
2. Cost-Effectiveness
Crafting with paper mache is budget-friendly, as many households have old newspapers or cardboard that can be repurposed. The minimal cost associated with additional supplies, like glue and paint, makes it an accessible choice for many crafters.
3. Flexibility and Customization
The versatility of paper mache cones allows for endless customization. You can paint them in any color, add various textures, and incorporate different embellishments. This level of personalization enables artists to create unique pieces that perfectly align with their style.
Techniques for Creating
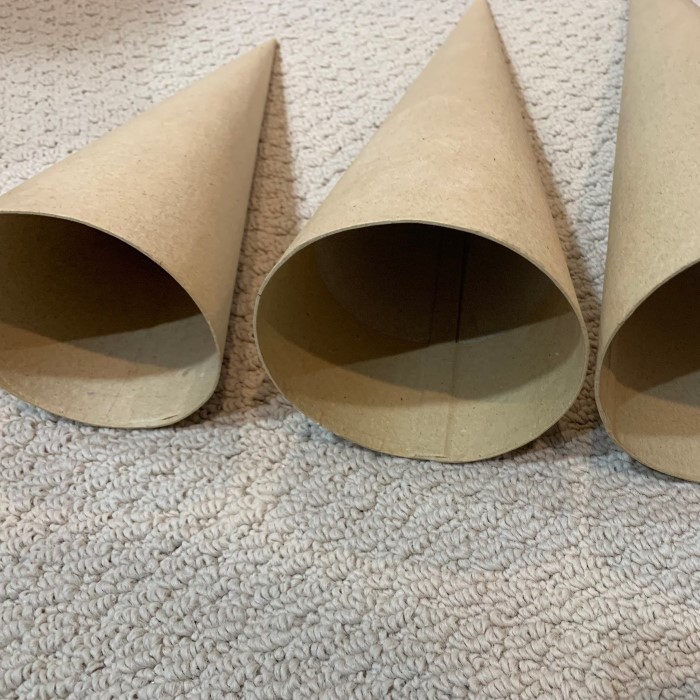
1. Preparing the Base
Before diving into the creation of your paper mache cones, it’s vital to prepare a sturdy base. You can use a cone-shaped object like a cardboard cone or create one using rolled paper or plastic bags. Alternatively, you can shape the cone directly with layers of paper mache as you build it up.
2. Layering the Paper
Start applying layers of paper strips soaked in the paper mache mixture. It’s essential to overlap the strips to ensure strength and durability.
3. Drying and Finishing
- Drying Location
- Once you have finished the layering process of your paper mache cone, it is essential to select an appropriate drying location.
- Choose a dry, well-ventilated area that is free from direct sunlight and moisture, as these conditions can affect the drying process and the integrity of the completed cone.
- Drying Time
- Allow the cone to dry completely, which typically takes about 24 hours.
- It is crucial to be patient during this phase, as insufficient drying may lead to an unstable structure or cause the paint to peel later on.
- To ensure thorough drying, avoid touching or moving the cone during this time, as movement can disrupt the layers and affect the final result.
- Removing the Base
- After the cone has dried completely, you can proceed to gently remove the base if you used one during the layering process.
- Ensure that you do this carefully to avoid damaging the structure of the cone.
- Preparing for Decoration
- Once the base is removed, the cone is ready for the next stage: painting or decorating.
- At this point, you can choose your preferred colors and materials, such as acrylic paints, markers, or embellishments like glitter, ribbons, or fabric.
- Consider planning your design beforehand to ensure a cohesive look and efficiency as you begin to decorate the cone.
FAQs
How to prepare papier-mâché for casting cones?
To prepare papier-mâché for casting cones, you need to combine equal parts of flour and water, then gradually mix in some glue for added strength. You can also use commercial papier-mâché paste for convenience.
What is the difference between papier-mâché and paper mache?
There is no significant difference between “papier-mâché” and “paper mache.” The term “papier-mâché” is French for “mashed paper,” while “paper mache” is the English version. Both refer to the same crafting technique of layering paper with an adhesive.
How long will paper mache last?
When properly prepared and cared for, paper mache can last for many years. However, it is important to keep it away from moisture, as it can weaken the structure over time. A coating of clear sealant can help protect the finished piece.
How to make homemade paper cones?
To make homemade paper cones, start by cutting a piece of paper into a triangular shape. Roll it into a cone shape and secure it with glue. You can then apply paper mache to strengthen the cone if desired.
Conclusion
In summary, paper mache cones offer endless artistic possibilities for crafters. Their versatility allows artists to create stunning decorative pieces, functional items, and engaging educational tools. With eco-friendly aspects and cost-effective materials, paper mache is a rewarding craft for all ages.
As you explore the world of paper mache cones, let your creativity flow, and experiment with different styles and techniques. Whether you are creating holiday decorations, decorative elements for your home, or a fun craft project with your children, paper mache cones can be adapted to suit your needs and preferences. Begin your journey into the world of paper mache today and discover the full potential of this delightful medium.