Introduction
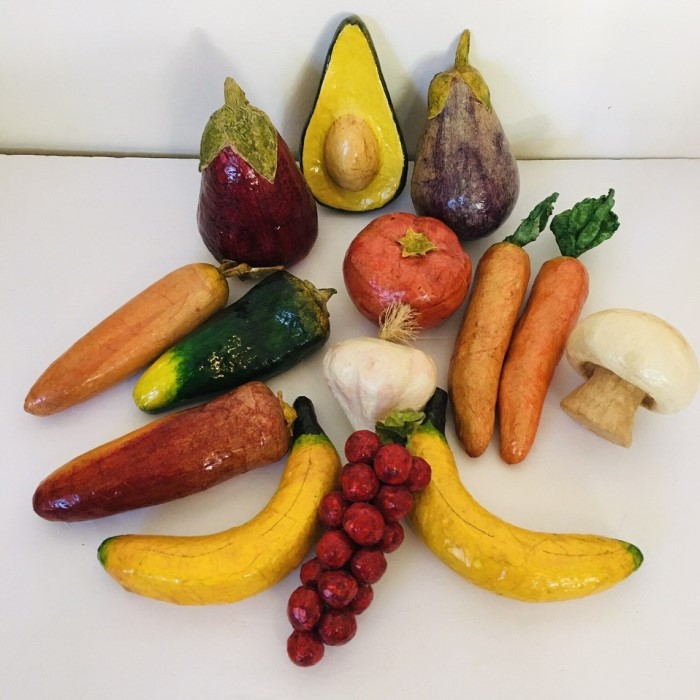
Creating eye-catching centerpieces can transform any space into a visually appealing environment. One unique and sustainable way to achieve this is by using paper mache food. This method allows you to craft vibrant, artistic focal points that not only serve a decorative function but also promote eco-friendliness. Paper mache, with its versatility and creativity, is an excellent material for crafting replications of food and other objects. In this article, we will explore how to create stunning centerpieces using paper mache food, focusing on techniques, materials, and design tips that enhance your artistic skills while being sustainable.
Understanding Paper Mache as a Craft Medium
Before diving into the creation process, it’s crucial to understand what paper mache is. At its core, paper mache consists of paper pieces mixed with a binding agent, such as glue or flour paste. This mixture hardens when dry, making it durable and lightweight. The brilliant aspect of paper mache is that it can take on almost any shape, allowing for an endless array of designs.
Benefits of Using Paper Mache
- Eco-Friendly Material: Paper mache primarily uses recycled paper items. Whether it’s old newspapers or wrapping paper, utilizing these materials significantly reduces waste.
- Cost-Effective: Creating paper mache food is relatively inexpensive, as most materials are readily available at home or local recycling centers.
- Customizable: Whether you want to replicate a fruit, vegetable, or a decorative platter, paper mache can be molded into almost any shape. This flexibility encourages your creative expression.
- Safe for All Ages: Paper mache is non-toxic and can be a fun activity, suitable for children and adults alike. This makes it an ideal project for family gatherings or school activities.

Getting Started: Materials You Will Need
To create stunning centerpieces, gather the following materials:
- Paper: Old newspapers, magazines, or any type of scrap paper will work well.
- Adhesive: You can use a flour-water paste or craft glue. Make sure to create a ratio that gives the best adhesion for your papers.
- Mold: Balloons, cardboard boxes, or plastic containers can serve as helpful molds. Your choice of mold will influence the final shape of your centerpiece.
- Paint and Decor Supplies: Use acrylic paints for vibrant colors, along with brushes, sponges, or other tools to apply them. Consider adding embellishments like glitter, ribbons, or fake flowers to enhance your creation.
- Sealer: Once the centerpiece is complete, a clear sealant will provide a protective coating and enhance the aesthetics.
Step-by-Step Guide to Creating Paper Mache Food Centerpieces
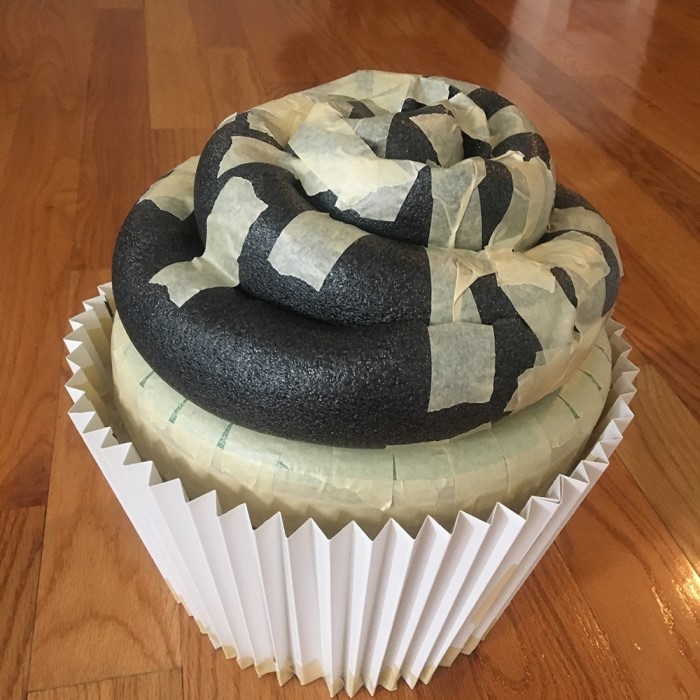
Step 1: Prepare the Mold
Begin by preparing your mold. If using a balloon, inflate it to the desired size of your centerpiece. For cardboard or plastic molds, ensure they are clean and dry. You may want to line the mold with plastic wrap to make the removal easier later on.
Step 2: Create the Paper Mache Mixture
To make the paper mache mixture, combine one part flour with two parts water. Stir until you achieve a smooth consistency. If opting for glue, mix equal parts with water to create a glue-water mixture. Both methods work effectively.
Step 3: Tear the Paper
Tear your chosen paper into strips, ensuring they are about one inch wide. Various textures and colors will add depth to your finished piece. Experiment with patterns as you tear for visually appealing designs.
Step 4: Apply the Paper Mache
Dip each strip into the adhesive mixture, ensuring it is thoroughly coated. One by one, apply the strips to your mold, overlapping them to create a sturdy structure. Make sure to cover the entire surface. Layering is essential for durability; aim for at least three layers.
Step 5: Allow It to Dry
After applying the strips, let the mold dry completely. This may take anywhere from 24 to 48 hours, depending on humidity and thickness. Ensure it is kept in a well-ventilated area.
Step 6: Remove the Mold
Once dry, carefully remove the mold. If you used a balloon, you can pop it gently and use the deflated parts to help pull out the paper mache. For rigid molds, gently peel the paper mache away.
Step 7: Paint and Decorate
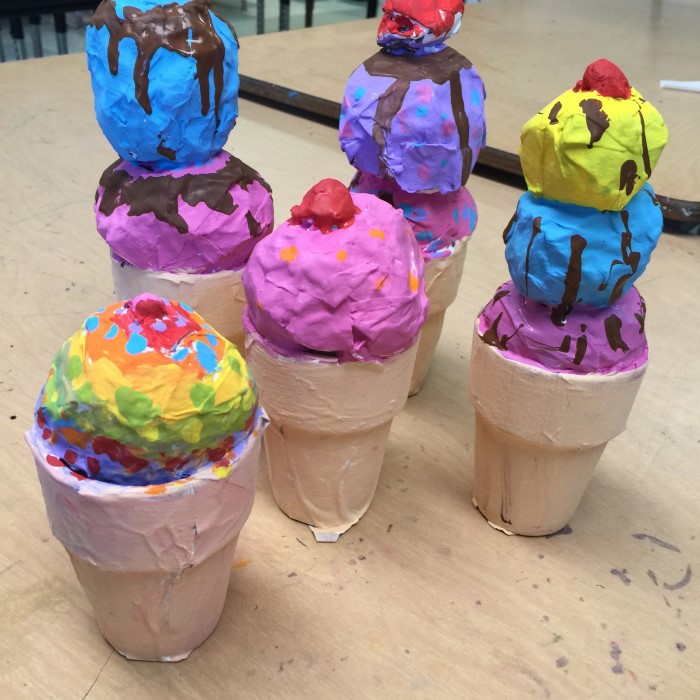
Now comes the exciting part: painting and decorating your paper mache food centerpiece. Use vibrant acrylic paints to bring your piece to life. Consider designing realistic food replicas or going for a whimsical, colorful aesthetic to suit your decor theme.
Additional Ideas for Decorations
- Texture: Add texture with sponges or brushes for a more realistic appearance. For example, when painting fruits, use various shades to mimic their natural tones.
- Natural Elements: Incorporate items like dried leaves, small twigs, or faux florals to enhance the thematic feel of your centerpiece.
- Themes: Create seasonal decor by depicting relevant foods. For example, pumpkins and gourds in the fall or vibrant fruits in the summer.
Displaying Your Paper Mache Food Centerpiece
Once your paper mache food centerpiece is complete, it’s time to display it! Here are some creative ways to showcase your work:
Dining Table Centerpiece
- Highlight the Table’s Focal Point: Placing your paper mache food centerpiece in the middle of the dining table naturally draws the eye. This strategic positioning can enhance the overall aesthetic of your dining space.
- Encourages Interaction: A well-crafted centerpiece will spark curiosity among your guests. As people gather around the table, the centerpiece becomes a conversation starter, making mealtime more engaging and enjoyable.
- Thematic Enhancement: Coordinate the colors and styles of your centerpiece with your table settings. For example, during a holiday meal, opt for seasonal colors and shapes that complement your holiday decorations, creating a cohesive look.
- Reflects Personal Style: Your centerpiece can showcase your creativity and personality. Each design choice you make allows you to express your unique tastes, adding a personal touch to your dining experience.
- Versatile Design Options: Depending on the occasion, you can change the design of your centerpiece. Switch out elements seasonally or create specific themes for different family gatherings or celebrations.
Event Decorations
- Tailor to the Occasion: When using paper mache food as centerpieces for parties, weddings, or special events, customize your designs to reflect the occasion. Choose colors and shapes that align with the event’s theme.
- Impress Your Guests: Unique and creatively crafted centerpieces can leave a lasting impression on your guests. They will appreciate the thought and effort put into the decor, enhancing their overall experience.
- Cost-Effective Decor: Creating your own centerpieces can save money compared to purchasing elaborate floral arrangements. Paper mache is a budget-friendly alternative that allows you to produce stunning décor without breaking the bank.
- Integrate with Other Decor Elements: Align your paper mache food pieces with other decorative elements at the event. For example, ensure that they complement table linens, tableware, and other displays for a harmonious look.
- Easy to Transport: Unlike fragile flowers or glass vases, paper mache centerpieces are lightweight and easy to carry. This makes them ideal for transporting to different venues without the risk of damaging your display.
Home Decor
- Enhance Various Spaces: Incorporate paper mache food pieces into multiple areas of your home. From shelves to mantels, these eye-catching decor items can draw attention and elevate your interior design.
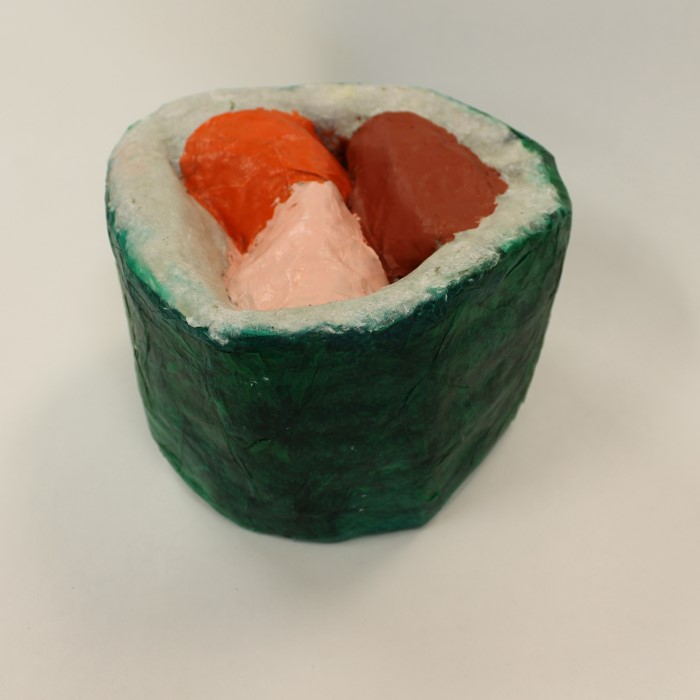
- Create a Focal Point: Positioning a standout piece, such as a large paper mache fruit bowl, on a shelf or tabletop can create a focal point that catches the eye, enhancing the visual appeal of the surrounding decor.
- Seasonal Variations: Change your home decor seasonally by utilizing different paper mache pieces. For example, during fall, display a harvest-themed arrangement with pumpkins, while spring can feature colors and shapes more aligned with blossoms and fresh produce.
- Conversation Starters: Unique and handmade items often provoke interest and conversation. Guests will be intrigued by your paper mache pieces and are likely to ask about their creation, giving you an opportunity to share your crafting journey.
- Personal and Artistic Expression: Incorporating handmade decor items allows you to express your individuality. Showcasing your paper mache creations can be a reflection of your artistic style and creativity within your living space.
Interactive Displays
- Engage the Senses: Creating interactive displays with paper mache food can engage guests on multiple levels. For instance, combining tactile elements, such as real fruits or themed snacks, makes the display more appealing and enjoyable.
- Inviting Atmosphere: Positioning real food items alongside paper mache creations invites guests to interact with the display. It can foster a welcoming atmosphere that makes guests feel at ease and encourages them to mingle.
- Themed Snack Pairing: For themed events, pair your paper mache centerpieces with relevant snacks. If you’re hosting a fiesta, for example, complement the decor with vibrant salsas and chips for a colorful and inviting look.
- Encourage Participation: Design your display in a way that encourages participation. Consider allowing guests to “pick” faux fruits or interact with elements of the decoration. This can bridge the gap between art and experience.
- Creative Culinary Pairings: Use your paper mache creations to inspire the culinary aspect of your event. The visual appeal of your centerpiece can influence menu choices, encouraging themed dishes that match the decorations on your table.
Embracing Sustainable Crafting
Embracing sustainable crafting practices goes beyond merely using recycled materials. Here are additional steps you can take to incorporate eco-friendly ideas into your projects:
- Educate Energetically: Share your experiences with crafting to promote sustainability within your community. Teach others how to create their own paper mache projects, emphasizing the use of recycled materials.
- Connect with Like-Minded Crafters: Join local crafting groups or online communities focused on sustainability. Engage in discussions and share tips on eco-conscious crafting.
- Repurpose and Recycle: Encourage others to find new uses for items they might typically throw away. Crafting can be a delightful approach to considering waste and environmental impact.
Conclusion: Crafting with Purpose
In conclusion, creating eye-catching centerpieces with paper mache food offers an engaging and eco-friendly crafting experience. By selecting sustainable materials and techniques, you can produce beautiful, custom-made pieces that enhance any setting.
Crafting with purpose not only allows for individual expression but also contributes positively to our environment. Embrace the art of paper mache, and you’ll find it not only enriches your creativity but also inspires those around you. As you explore new designs and themes, remember that your crafting journey promotes sustainability, one delightful centerpiece at a time.
So gather your materials and unleash your creativity with paper mache food. Get started today, and experience the joy of crafting while making a positive impact on your surroundings!