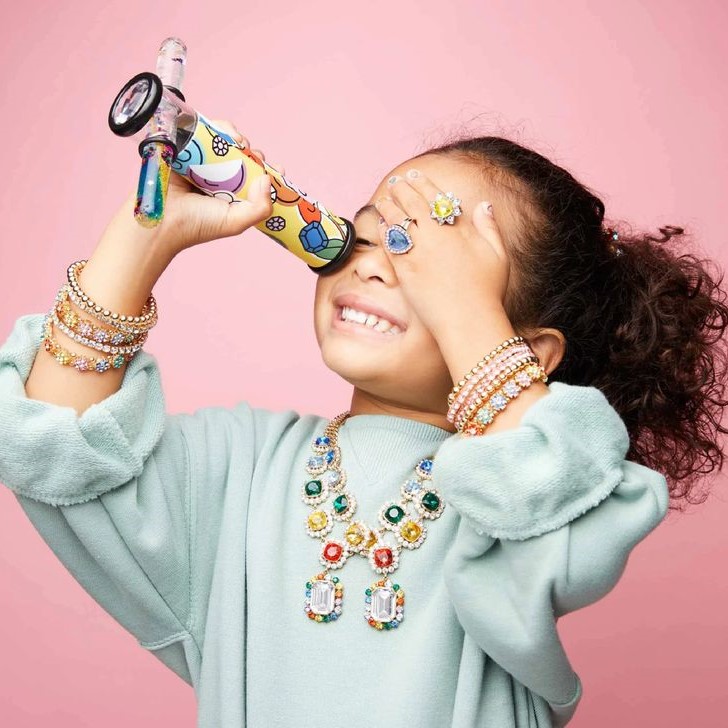
Introduction to Kaleidoscopes: History and Function
Kaleidoscopes captivate with their symmetrical patterns and vibrant colors. Invented in 1816 by David Brewster, a Scottish physicist, the device quickly became a popular item for entertainment and optical exploration. Brewster named it ‘kaleidoscope’ from the Greek words ‘kalos’ (beautiful), ‘eidos’ (form), and ‘scope’ (to look at). It functions by reflecting light through mirrors or reflective materials arranged in a triangle inside a tube. Small, colorful objects placed at the end of the tube create the mesmerizing patterns as they reflect and multiply through the mirrors. This toy not only delights but also serves as an educational tool to explore symmetry, light, and color in a playful way. How to make a kaleidoscope? Kaleidoscopes show us how simple components can work together to turn ordinary light into a fascinating spectacle of repetitive beauty.
Materials Needed for a DIY Kaleidoscope
How to make a kaleidoscope? Creating your own kaleidoscope starts with gathering materials. Here’s what you’ll need:
- Reflective material: Mirrored sheets or reflective paper work best for creating clear images. Mylar is commonly recommended due to its high reflectivity.
- Cardboard tube: This forms the body of the kaleidoscope. Toilet paper or paper towel tubes are great choices.
- Scissors and tape: Needed for cutting and securing your materials. Double-sided tape or a hot glue gun can be especially helpful.
- Ruler: To measure the reflective materials and ensure precise cuts.
- Decorative papers or paint: These can be used to customize the exterior of your tube.
- Transparent beads, cellophane, or colored glass: These go into the object chamber to create beautiful patterns when viewed.
- Flexible straw and cardstock: Useful for the viewing end and to hold design elements inside the kaleidoscope.
Gathering these items beforehand can make your kaleidoscope-building experience smooth and enjoyable.
Step-by-Step Guide to Constructing Your Kaleidoscope
Crafting your own kaleidoscope can be an exciting and enriching project. Follow this step-by-step guide to create your own optical masterpiece with ease.
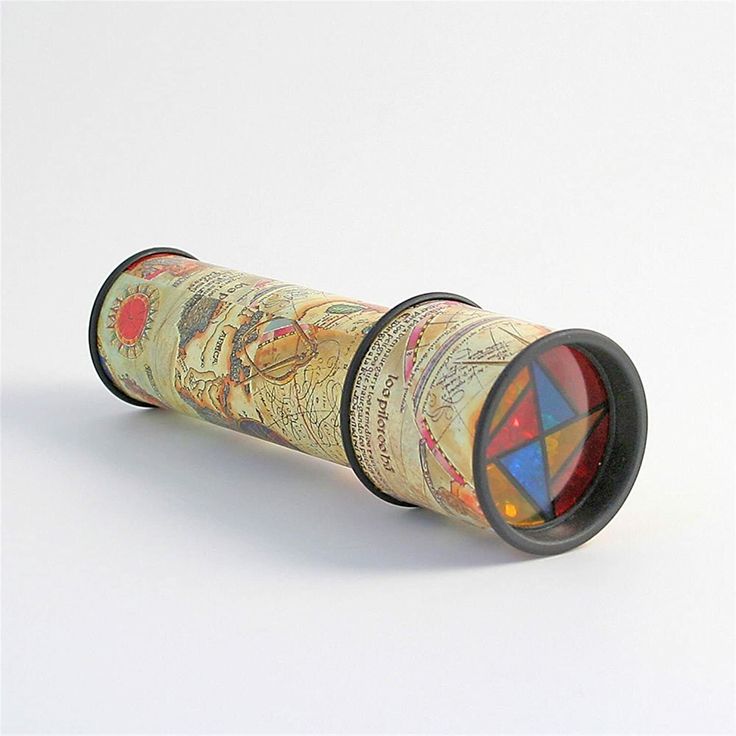
Selecting and Preparing Reflective Materials
To start, choose reflective materials like mirrored sheets or reflective paper. Mylar is preferred for its shiny surface. Measure and cut three equal strips that will fit snugly inside your tube. The length should match your cardboard tube’s length.
Assembling the Mirrors and Tube
Once your reflective materials are ready, align and tape the strips together with the reflective side inward. Form them into a triangular prism and secure with tape. Then, insert the prism into your cardboard tube. Ensure it is tight so it won’t shift when moved.
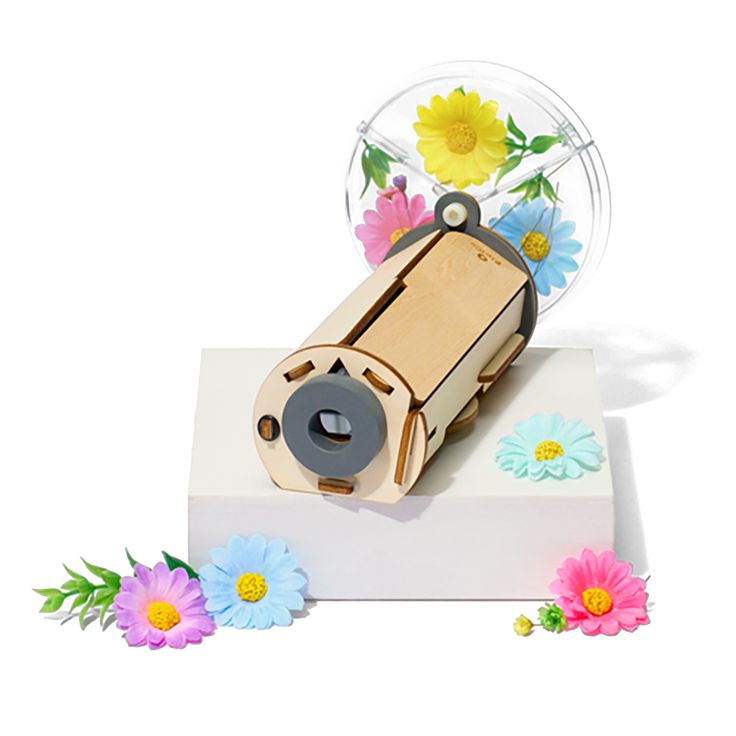
Creating the Object Chamber
Now, you’ll need transparent objects like beads or cellophane to fill the object chamber. This chamber goes at one end of the tube. You can attach it with a flexible straw, allowing you to rotate and change the items inside easily. Once the chamber is secure and filled, your kaleidoscope is nearly complete. Seal the end with a circle of cardstock, making sure it can rotate, for endless pattern possibilities.
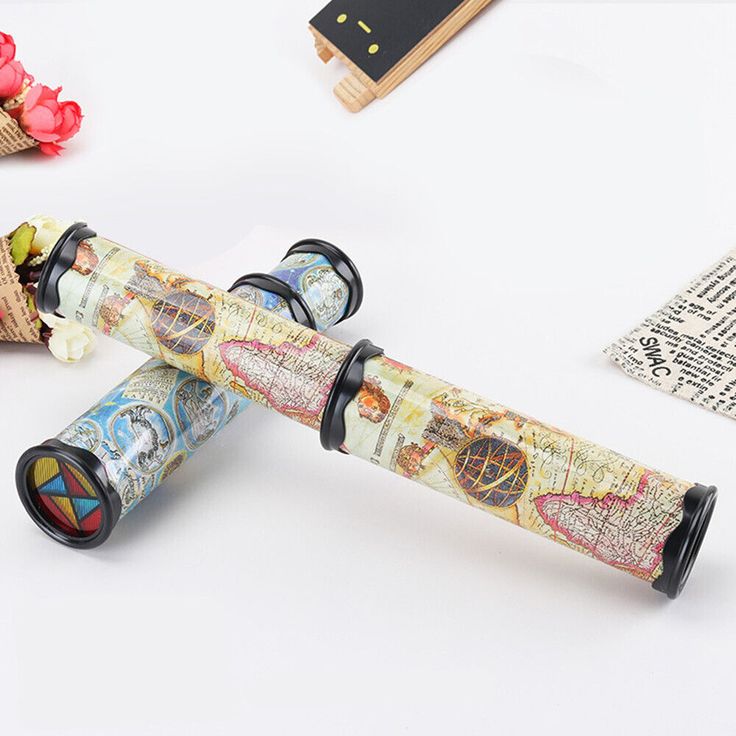
Customizing Your Kaleidoscope with Decorative Elements
Once you’ve assembled the basic structure of your kaleidoscope, it’s time to infuse it with personality! Customizing the outer appearance of your kaleidoscope doesn’t just make it unique; it adds to the fun of creation. Here are some ways to decorate your kaleidoscope:
Choose Decorative Papers
- Selecting Vibrant Patterns: Start by selecting vibrant and patterned decorative papers that resonate with your personal style. Think about colors and designs that inspire you—whether bold geometric shapes, whimsical florals, or playful polka dots. The objective is to choose papers that not only appeal to your aesthetic but also enhance the visual experience of your kaleidoscope.
- Wrapping the Tube: Once you’ve made your selection, wrap the decorative paper around the exterior of the cardboard tube. Ensure the paper overlaps slightly to create a seamless look. Depending on the length of your tube, you may need to cut the paper to fit properly. After positioning the paper as desired, secure it in place with glue or double-sided tape. This step ensures the paper adheres well, providing a sturdy and visually appealing surface.
- Layering Options: If you’re feeling adventurous, consider layering different types of decorative papers for a unique effect. Combining two or more patterns can create visual interest, adding depth and texture to your kaleidoscope. Just be sure the combined colors and patterns harmonize well to avoid overwhelming the design.
Paint
- Unleashing Creativity: Let your creativity shine as you explore painting options for your kaleidoscope. Use bright colors or create intricate designs that reflect your personality. You can choose to paint the entire tube or focus on specific sections, depending on the look you envision.
- Using Quality Paint: Select acrylic paint or fabric paint, as these types adhere well to cardboard and offer vibrant finishes. Avoid paints that run or bleed, which can create a messy look. Use brushes or sponges to apply the paint evenly, allowing for creative techniques like stippling or blending colors.
- Drying Time: After applying paint, remember to let it dry completely before handling or proceeding to the next steps. This drying period ensures that the paint sets correctly and prevents smudging. Consider placing the painted tube in a well-ventilated area to expedite the drying process.
Stickers and Embellishments
- Adding Dimension: Once your tube is decorated, enhance its appearance with stickers and embellishments. Options include gemstones, sequins, or glitter, which can add sparkle and a dynamic 3D effect to your kaleidoscope.
- Strategic Placement: When applying stickers or embellishments, think about the patterns and colors you used on the paper or paint. Strategically place these items around the tube to complement the existing designs. Consider creating clusters of embellishments for a more focal and decorative look.
- Combining Elements: Feel free to mix various embellishments, experimenting with different textures and sizes. The combination of smooth stickers and rough sequins can create a visually exciting contrast. Use adhesive glue or a hot glue gun for more significant embellishments to ensure they stay in place.
Colorful Tape
- Using Decorative Tape: Incorporate washi tape or colored electrical tape to add stripes or other fun patterns to your kaleidoscope. These tapes come in various colors and designs, allowing for easy customization.
- Crafting Patterns: Use tape to create geometric shapes, stripes, or random patterns along the exterior of the tube. This step is an excellent way to add neatness to your design while allowing for quick adjustments if you’re not satisfied with the initial placement.
- Easy Switch-Up: One of the fantastic features of using tape is that it can be removed and reapplied. If you’re inspired to change the look later on, this makes it easy to experiment without damaging the underlying design.
Personalize It
- Making It Unique: To truly make your kaleidoscope your own, add personal touches that reflect your individuality. Write your name or initials on the tube using permanent markers or paint pens. This will make your kaleidoscope distinctly yours.
- Creative Symbols and Artwork: Draw symbols or images that hold significance to you, whether they’re favorite shapes, stars, or abstract designs. Feel free to use stencils for neatness if you prefer a more structured look.
- Incorporating Cutouts: Use magazine cutouts or printed images to further personalize your kaleidoscope. Glue these items to the exterior for a mixed media effect. This approach allows you to create a unique narrative or theme that represents your interests or hobbies.
By following these steps, you can create a visually stunning and personalized kaleidoscope. Every decorative choice and embellishment reinforces your unique style, resulting in a keepsake that is not only fun to use but also reflects your artistry and imagination. Enjoy the process of crafting, and delight in the beautiful reflections your one-of-a-kind creation will bring!
Tips for an Enhanced Kaleidoscope Viewing Experience
Creating your own kaleidoscope is just the beginning. To maximize your enjoyment, consider these suggestions:
- Use Bright and Varied Objects: Choose colorful beads, glass pieces, or cellophane for dynamic patterns.
- Experiment with Light: Shine a flashlight through your kaleidoscope in a dim room and observe the changing colors.
- Change Your Viewpoint: Look through your kaleidoscope at different angles and backgrounds, like a clear blue sky or a patterned wallpaper.
- Rotate Gently: Turn the object chamber slowly to see the evolving designs.
- Share the Experience: Invite friends or family members to look and discuss the unique patterns they see.
- Maintenance: Keep the mirrors clean and the tube intact for a clear view every time.
These tips can take your kaleidoscope watching to the next level. See how light and color blend into beautiful patterns that captivate and amaze. Enjoy your handmade creation and the wonders it reveals.
Ideas for Interchangeable Kaleidoscope Designs
Creating interchangeable kaleidoscope designs can greatly enhance your enjoyment and exploration. Here are several ideas you might find intriguing and easy to apply:
- Swap Different Reflective Patterns: One simple way to change your kaleidoscope’s visuals is by alternating between different reflective materials. Reflective papers with various patterns or textures can dramatically alter the visual output.
- Use Color Filters: Adding colored transparent films over the object chamber or at the end of the tube can transform the light entering your kaleidoscope, creating stunningly different effects with the same internal objects.
- Interchangeable Object Chambers: Design your kaleidoscope with a detachable object chamber. This allows you to switch between different sets of beads, glass pieces, or other transparent materials easily.
- Theme-based Capsules: Fill small, clear capsules with items based on themes, like seasonal colors or holiday-related objects. Swap these capsules in your object chamber for themed visual experiences.
- Dynamic Motion Elements: Introduce elements that move, like tiny feather pieces or lightweight confetti, which will flutter differently each time you turn the kaleidoscope, offering new patterns.
These interchangeable designs not only extend the life of your handmade kaleidoscope but also keep the experience fresh and exciting each time. Experiment with these concepts to discover how various changes affect the patterns and engage your senses in new ways.
Fun Activities and Experiments with Your Kaleidoscope
Once you’ve built your kaleidoscope, the fun really begins. Here are several activities and experiments to enhance your experience and explore the world of optics and light:
Explore Different Environments
Walk around with your kaleidoscope. Try it indoors and outdoors. Notice how different lights and backgrounds change the visuals inside your kaleidoscope. Each location brings its own unique patterns.
Color Mixing Experiments
Use colored transparent films. Place them at different ends of your kaleidoscope. See how colors blend and create new patterns. Experiment with multiple colors to discover new combinations.
Reflection Challenge
Find various reflective surfaces. Think mirrors or water bodies. Point your kaleidoscope towards these surfaces. Watch how the reflected environment alters the views inside your kaleidoscope.
Interactive Art
Draw or print various colorful, intricate designs. View these through your kaleidoscope. Rotate the kaleidoscope to explore how the patterns shift and transform. This can turn into an art project, where you create images specifically for kaleidoscopic viewing.
Science of Symmetry
Study symmetry using your kaleidoscope. Look at objects like leaves, flowers, and symmetrical patterns. Observe how your kaleidoscope duplicates and arranges these into beautiful symmetrical designs.
These activities can help children understand principles of optics and design, while also providing hours of entertainment. Share these kaleidoscope adventures with friends and family for even more enjoyment.
Conclusion: The Joy of Crafting and Exploration
How to make a kaleidoscope? Crafting your own kaleidoscope is a journey filled with fun and learning. Every step, from gathering materials to viewing through the finished product, offers a unique blend of creativity and scientific exploration. This project isn’t just about making something; it’s about understanding the principles of light, color, and symmetry.
The joy of creation is evident as you see colorful patterns form through custom-made designs. Engaging with such a tactile, interactive craft allows learners of all ages to see the immediate effects of their efforts and innovations.
Moreover, this activity isn’t just a solitary endeavor; it’s a perfect opportunity for collaboration. Invite friends or family members to join in and see how different ideas can transform into beautiful visual symphonies. Sharing the process enhances the fun and spreads the fascinating aspects of kaleidoscope magic.
This crafting experience underscores the beauty of hands-on learning and the enchantment of optical illusions. It illustrates how simple materials can be transformed into a mesmerizing educational tool that delights the eyes and stimulates the mind.
So take pride in your DIY kaleidoscope. Let it remind you of the beauty that can be created with simple objects and a bit of ingenuity.