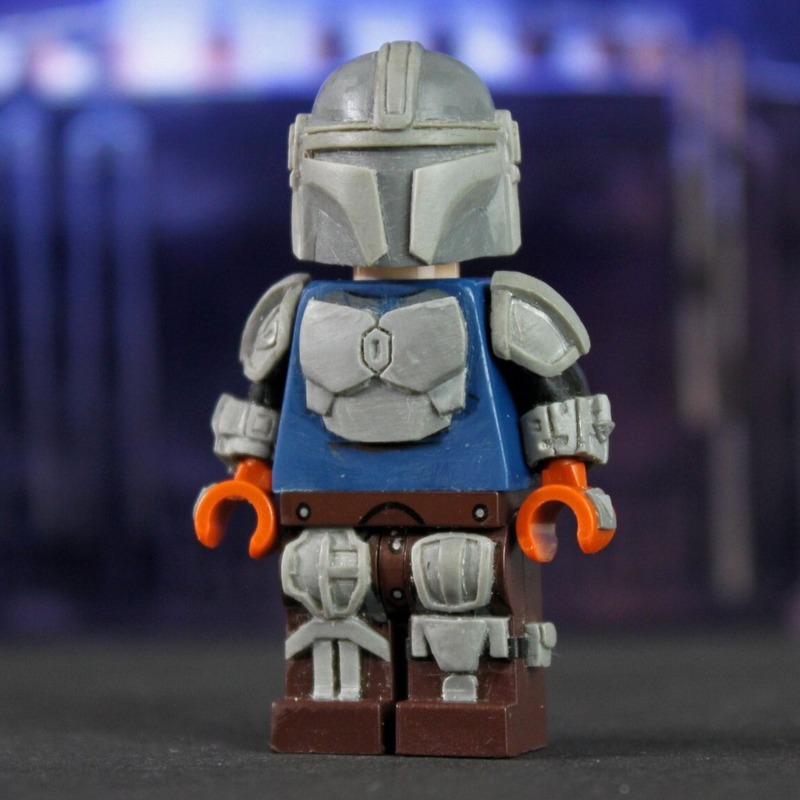
Introduction to Custom LEGO Minifigures
LEGO mini-figures, often known as ‘minifigs,’ are the heart of LEGO’s charm. These tiny characters bring a world of imagination to life, from space explorers to warriors from ancient times. For enthusiasts looking to add a personal twist to their LEGO sets, custom lego people offer endless fun and creativity. Custom LEGO Minifigures are tailor-made to suit your vision. They can reflect a favorite character, a historical figure, or even your own image.
The process of making Custom LEGO Minifigures can range from simple modifications to complex designs. Whether you’re a hobbyist or an artist, making custom minifigs can be a joyful and fulfilling experience. In this guide, we’ll explore the basics of creating these unique pieces. You will learn what tools and materials you need, how to design and build your figures, and ideas for customization. Let’s embark on this creative journey and craft minifigs that are one-of-a-kind!
Designing Your Custom LEGO Minifigures
Designing Custom LEGO Minifigures starts with a vivid idea. Think about the character you want to bring to life. Is it a superhero, an original character, or a replica of yourself? Once you have a concept, sketch it out. A drawing helps translate your thoughts into a visual form. It guides your customization process.
Note the colors you will use, the accessories needed, and any unique markings. For facial features, decide on expressions and if you’ll go for a classic LEGO smile or something different. When planning your design, also consider how your figure will fit in with existing sets.
The more details you include in your plan, the easier the next steps will be. With a solid design in place, the creation of your custom lego people begins to take shape. Remember, creativity is key. Don’t be afraid to experiment with different looks until you find the perfect one for your mini-figure.
Tools and Materials Needed for Custom LEGO Minifigures
Embarking on the journey to craft Custom LEGO Minifigures requires gathering the right tools and materials. First, you’ll need a workspace. A clean, stable surface with good lighting is ideal. Here’s a simple list of essentials you must have:
- LEGO Figurine Parts: Start with basic LEGO body parts, including torsos, legs, heads, and hairpieces. Having a variety of pieces gives you more options to play with.
- Fine-Tip Markers or Paints: To add detailed designs, use waterproof markers or acrylic paints. They offer precision and come in many colors.
- Fine Brushes: If you choose to paint, invest in a set of fine brushes. They allow for intricate work on small surfaces.
- Adhesive: A strong adhesive helps attach non-LEGO accessories or to modify pieces. Use a glue suitable for plastics.
- Acetone or Nail Polish Remover: For removing existing prints on the lego parts. Always handle with care.
- Sealant: Once your design is complete, a sealant helps protect the paint and prolong its life.
Additional tools like tweezers or a magnifying glass can help with small, delicate adjustments. Collecting these items will set the foundation for creating unique and specialized Custom LEGO Minifigures. Ensure you have a comfortable setup, with all materials within reach, before starting your project.
Step-by-Step Guide to Creating a LEGO Mini-Figure
Creating Custom LEGO Minifigures is an exciting and rewarding process. Let’s break it down into manageable steps. To begin, assemble all your tools and materials. Ensure you have a variety of LEGO body parts as well as your coloring tools, adhesive, acetone, and sealant ready to go. Set up your workspace with good lighting, ideally at a comfortable desk.
Step 1: Select the Parts. Choose the legs, torso, head, and hairpiece that best fit your character’s design. Consider the color and shape for your figure’s overall look.
Step 2: Remove Existing Prints (if necessary). Use acetone or nail polish remover carefully to erase factory prints on LEGO parts. Use it sparingly to avoid damaging the pieces.
Step 3: Paint or Marker Application. Draw or paint on your mini-figure’s body parts. Use fine-tip markers or brushes for details. Always allow the paint to dry before handling.
Step 4: Attach Accessories. Glue on any accessories that aren’t part of the standard LEGO sets to your figure. Tweezers may help in placing tiny items accurately.
Step 5: Assembly. Once the paint is dry and accessories are secure, carefully put together the body parts of your mini-figure.
Step 6: Apply Sealant. To make sure your customizations last, cover your mini-figure with a light coat of sealant. This protects the paint and adhered details.
Repeat these steps as you refine your design. If you’re not happy with a result, don’t be afraid to start over. Each try brings you closer to a mini-figure you can be proud of. Remember to enjoy the process, as creating Custom LEGO Minifigures is all about the joy of building something unique.
Painting and Customizing Techniques
When painting and customizing your Custom LEGO Minifigures, precision and patience are vital. Here’s how you can perfect your mini-figure’s look:
- Select the Right Paint: Choose acrylic paints for their durability and color variety. Make sure it is suitable for use on plastic.
- Work in Layers: Apply thin paint layers and let each layer dry completely. This method prevents smudging and preserves details.
- Practice Fine Detailing: Use fine-tip markers or brushes for delicate features. For instance, use a fine brush for facial expressions or costume details.
- Mix Colors: If needed, mix colors to get the perfect shade. Do this on a palette or small dish before applying.
- Apply Techniques: Experiment with techniques like shading to add depth or dry-brushing to highlight textures.
- Keep Tools Clean: Regularly rinse brushes and wipe markers. Clean tools aid in applying smooth, clean lines.
- Test First: Try your paint or markers on a scrap piece first. This step ensures the color dries as expected without damage.
- Seal Your Work: After painting, apply a clear sealant. It protects your mini-figure from scratches and peeling.
Following these techniques, you can achieve professional-looking Custom LEGO Minifigures. Take your time with each figure, and remember that practice will increase your skill level with each project.
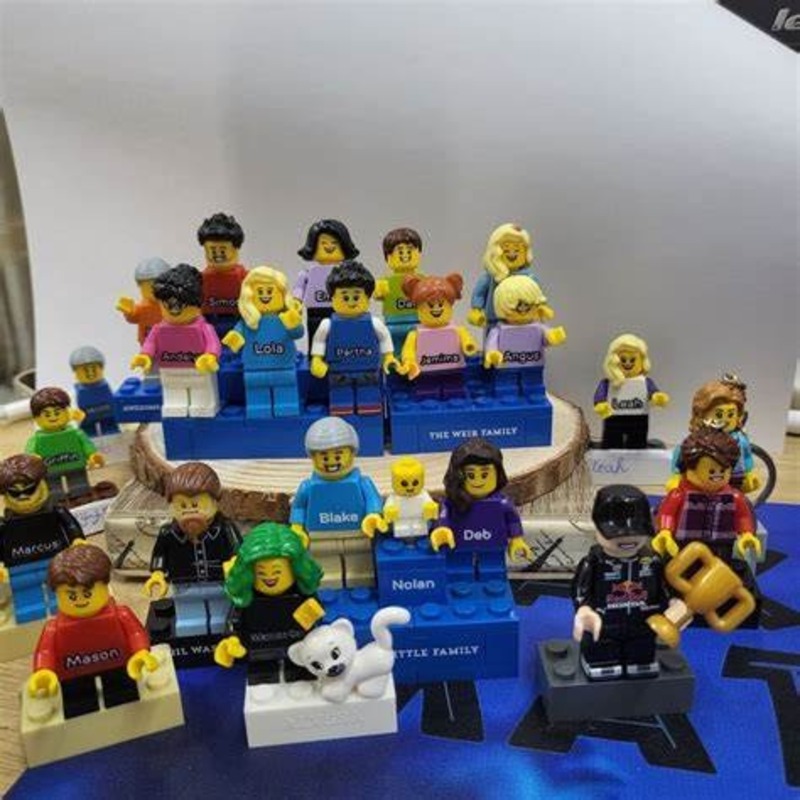
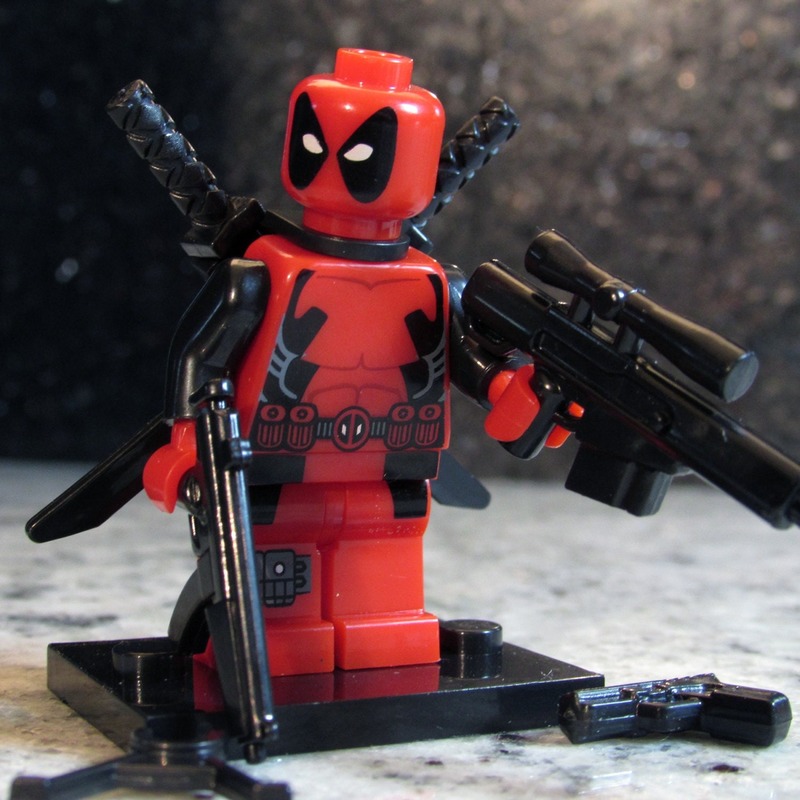
Where to Find Inspiration for Your LEGO Creations
Finding inspiration for creating Custom LEGO Minifigures can come from various sources. Whether you seek to capture the essence of a favorite movie character, design a historical figure, or bring an original concept to life, the possibilities are endless. Here are some starting points to spark your creativity:
- Movies and TV Shows: Think of the characters you love. Consider how you can recreate their look using LEGO parts.
- Comics and Books: Draw inspiration from the pages of your favorite stories. Imagine how you can translate a two-dimensional character into a three-dimensional figure.
- History and Current Events: Look back at well-known figures or dress up your mini-figure in modern attire that reflects today’s fashion.
- Nature and Wildlife: Take cues from the animal kingdom or natural elements to create fantasy creatures or Earth-inspired characters.
- Everyday Life: Sometimes ordinary people make extraordinary mini-figures. Look around you at different professions and hobbies.
- LEGO Forums and Social Media: Join online communities where fellow LEGO fans share their own creations. This can give you new perspectives and techniques.
- Your Own Imagination: Trust your creative instincts. Sketch out the characters that come to your mind, no matter how whimsical.
Remember, the goal is to have fun and let your passion for Custom LEGO Minifigures shine. Use these ideas as a launching pad and build a mini-figure that is uniquely yours. Keep exploring and experimenting with different themes and styles to expand your LEGO universe.
Tips for Maintaining and Displaying LEGO Mini-Figures
Protecting and showcasing custom LEGO people can be just as enjoyable as creating them. Here are some tips to help:
- Clean Gently: Use a soft brush or cloth to dust off your figures. Keep them looking fresh.
- Avoid Sunlight: Display away from direct sunlight to prevent colors from fading.
- Display Cases: Use clear cases to protect from dust and handling. This keeps your figures safe.
- Temperature Control: Store in a cool, dry place. Extreme temperatures can damage the plastic.
- Rotate Displays: Change which figures are on display to keep interest alive. Swap them out regularly.
- Anchor Them Down: If you’re displaying on open shelves, use a little sticky tack to secure the figures’ feet.
- Label Your Creations: Place a small label near each figure. Share its name or the inspiration source.
These maintenance and display strategies help preserve your Custom LEGO Minifigures for years to come. Take care in handling and enjoy showing off your creations!

Advancing Your Skills: Professional Customization Tips
To elevate your Custom LEGO Minifigures, here are professional tips:
- Refine Your Tools: Upgrade to high-precision tools for better detailing. This can make a big difference.
- Study Color Theory: Learn which colors work well together. This knowledge will improve your designs.
- Use Decals: For intricate designs, create or buy decals. They can add clean, detailed graphics.
- Sculpting Skills: Try sculpting new pieces from scratch. This gives unique shapes to your figures.
- Airbrushing: For a smooth finish, learn to airbrush your figures. It allows for even paint coverage.
- Join Workshops: Attend workshops or watch tutorials from seasoned creators. Hands-on learning can help.
- Networking: Connect with other builders. Sharing ideas can lead to new insights and techniques.
- Stay Inspired: Keep looking for new ideas. Challenge yourself with complex builds.
- Document Your Work: Take photos and notes. Track your progress and share your work online.
- Safety First: When using chemicals or sharp tools, remember safety. Wear gloves and eye protection.
With these tips, you can bring a professional touch to your Custom LEGO Minifigures. Keep practicing and learning, and your skills will grow!