Introduction to the Rubik’s Triangle
The Rubik’s Triangle, also known as the Pyraminx, is a fascinating twisty puzzle. As a challenging cousin to the classic Rubik’s Cube, it captures the interest of puzzle enthusiasts worldwide. In this guide, we’ll dive into the methods on how to solve a Rubik’s Triangle, ushering beginners through the basics and towards mastery.
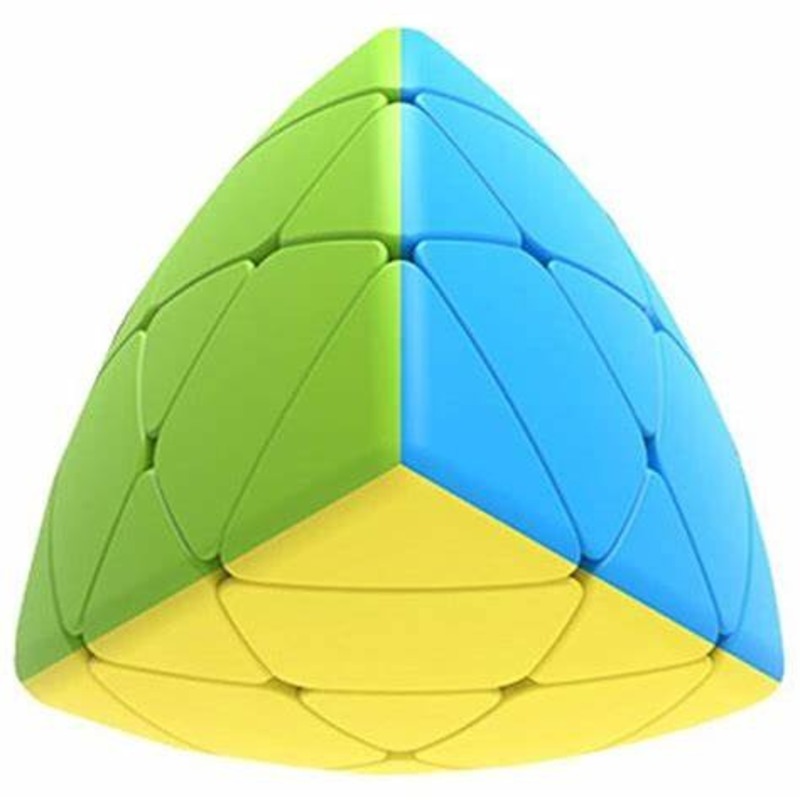
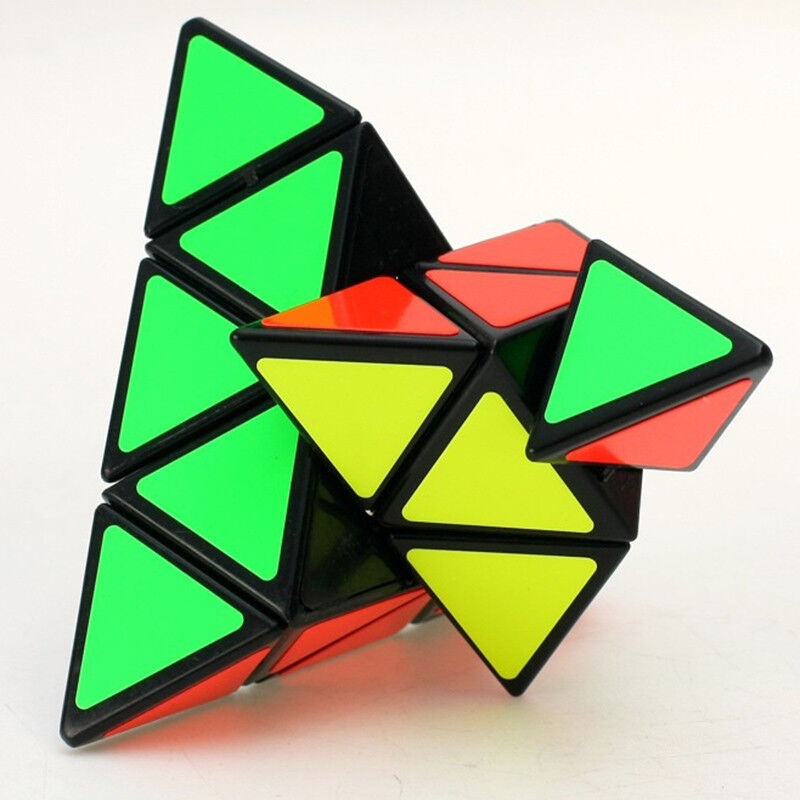
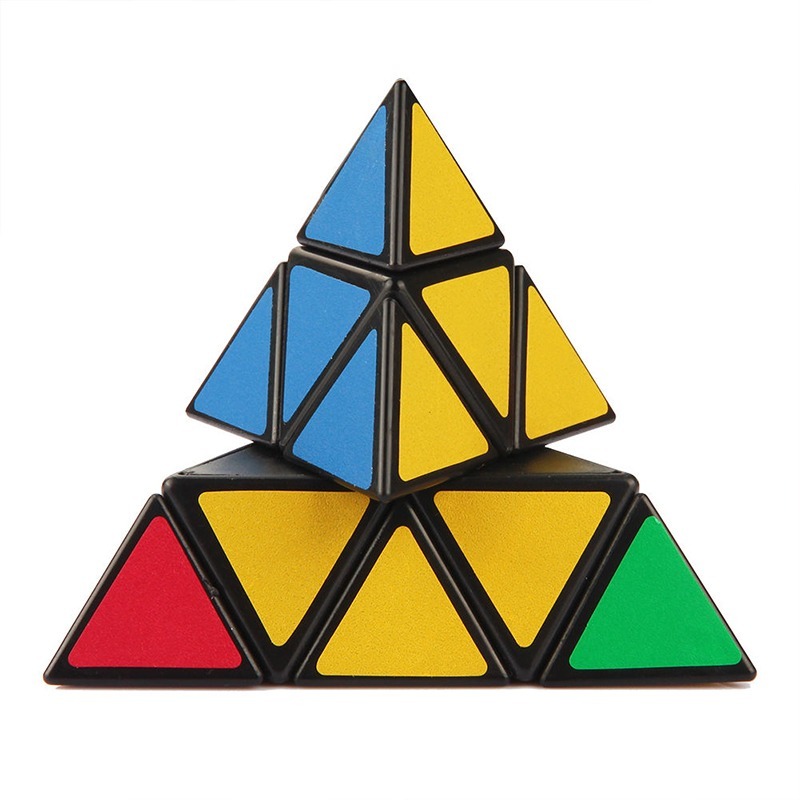
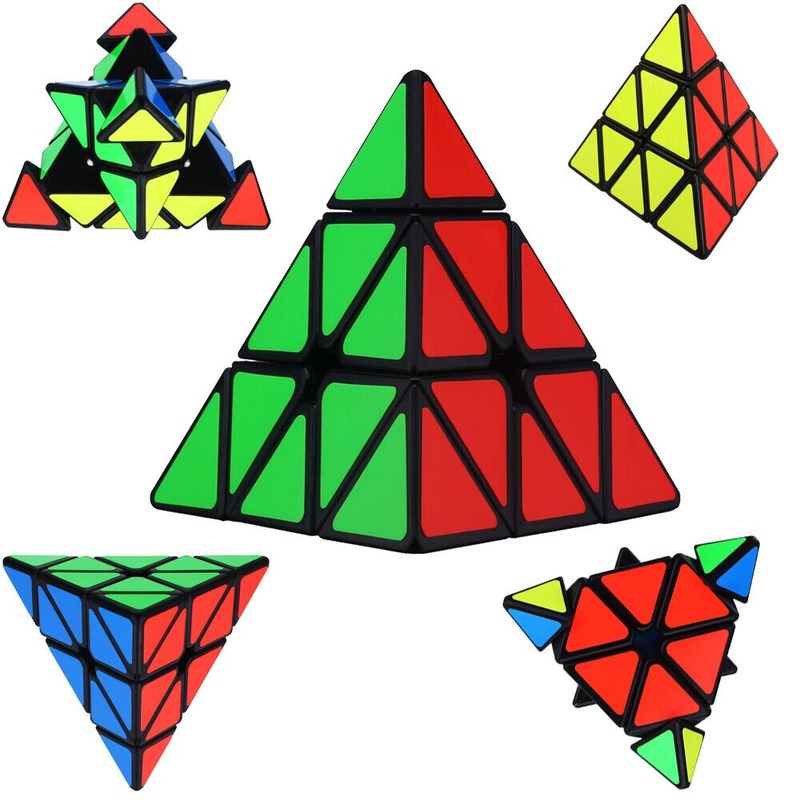
Before we tackle the strategy for solving, it’s crucial to familiarize ourselves with this puzzle’s unique features. Unlike its cubic counterpart, the Rubik’s Triangle has a pyramid shape with four faces. Each face is a different color and consists of nine movable pieces that form a smaller triangle. When mixed up, the goal is to twist and turn these pieces back to their original, color-coordinated state.
For many, the Rubik’s Triangle may seem daunting at first glance. However, with the right approach and understanding, it becomes an engaging and rewarding experience. Our step-by-step guide will lay out clear instructions and visuals to help you conquer this puzzle. Whether you’re attempting it for the first time or looking to improve your skills, stick with us as we explore the captivating world of the Rubik’s Triangle.
Basic Concepts and Terminology
Before diving into solving the Rubik’s Triangle, it’s important to grasp the basic concepts and terminology associated with this puzzle. This foundation will help you better understand the forthcoming instructions. Here are key terms to familiarize yourself with:
- Vertex: The corner point where three different colors meet. The Pyraminx has four vertices.
- Edge: The line connecting two vertices. The Rubik’s Triangle has six edges.
- Base: The broadest face of the triangle, and usually the starting point for solving.
- Rotation: A twist of any layer of the Rubik’s Triangle to move pieces to a different location.
- Sprocket: Little knobs located at each vertex that allow rotations. These are unique to the Rubik’s Triangle.
Once you’re comfortable with these terms, the process of how to solve the Rubik’s Triangle will be much clearer. Each movement or strategy can now be described with specificity, allowing for precise and accurate guidance around each twist and turn required. Keep these terms in mind as we move on to the first step in the puzzle-solving process.
Step 1: Understanding the Puzzle Structure
Before you can begin to master how to solve a Rubik’s Triangle, it’s vital to understand its structure. This knowledge provides a strong base for the steps to follow. Let’s look at the puzzle’s physical aspects and how they affect the solving process.
- Size and Shape: The Rubik’s Triangle, or Pyraminx, is smaller than the Rubik’s Cube. Its pyramid shape has a base and three other faces, each made up of nine smaller triangles.
- Centers and Tips: Each of the four faces has a center piece which shows the face’s true color, and these don’t move. The tips of the Pyraminx are the pieces at each vertex, which can rotate independently.
- Layers: When discussing moves and algorithms, we think in terms of layers. You can turn the layers around the vertices, which involves rotating the entire layer of pieces.
By understanding these components, you establish a mental map of the puzzle. This map will be key in visualizing movements as you solve it. Keep these structural aspects in mind as we advance to the next steps where we’ll tackle solving the first layer of the Rubik’s Triangle.
Step 2: Solving the First Layer
After grasping the Rubik’s Triangle’s structure, we now embark on the initial and crucial step: solving the first layer. This is an engaging piece of the puzzle, serving as the foundation for subsequent layers. Here’s how to navigate this stage:
- Choose a color: Select one color as your base layer. Most solvers start with the largest face.
- Position the tips: Rotate the vertex tips so they match the center colors. This is simple and quick.
- Align edges: Focus on matching the edge pieces with the base color centers. This sets up the layer.
- Rotate pieces: Use rotations around the vertices to move the edges into the correct positions.
- Check alignment: Ensure that the base’s edges and centers align with the corresponding tips.
By methodically addressing each step, the first layer will come together. It sets the stage for the more complex middle layer. Remain patient and precise; it’s normal for this part to require some practice.
Step 3: Middle Layer Algorithms
After successfully solving the first layer of the Rubik’s Triangle, it’s time to tackle the middle layer. This involves using specific algorithms that you’ll need to practice and memorize. Here are some steps and tips to help you work through the middle layer:
- Identify the unsolved pieces: Look for the pieces that belong in the middle layer but are not in the correct position.
- Understand the algorithm: There are certain moves, known as algorithms, that you’ll use to position these pieces without disrupting the solved layer.
- Apply the algorithm: Execute the algorithm step by step to move each unsolved piece into its correct position.
- Repeat as necessary: You may need to apply the algorithm several times for different pieces until the middle layer is solved.
- Ensure first layer remains intact: As you solve the middle layer, it’s crucial to preserve the first layer you’ve already solved.
The algorithms for the middle layer will require some time to learn. Start slowly, focusing on understanding how each move changes the puzzle. With practice, you’ll gain speed and confidence. Remember, maintaining the solved layers as you go is essential. Be patient and methodical, and you’ll have the middle layer solved in no time.
Step 4: Completing the Final Layer
Once the first and middle layers of the Rubik’s Triangle are in place, it’s time to complete the final layer. This step can be tricky, but with the right approach, you can master it. Follow these guidelines to finish solving your puzzle:
- Locate the unsolved pieces: First, identify the remaining pieces that need to be positioned correctly.
- Position the final edges: You will now need to maneuver the final edges into their correct locations.
- Align the colors: Make sure that the colors on the edges match the rest of the colors on the final layer.
- Use specific algorithms: There are certain sequences of moves, or algorithms, designed for this stage. Learn and apply them carefully.
- Rotate the final tips: Once the edges are aligned, the last step is to rotate the tips of the vertices to match the corresponding colors.
- Double-check each side: Go over each face of the Rubik’s Triangle to ensure every color is correctly aligned. If not, reassess and make adjustments.
While learning how to solve a Rubik’s Triangle, completing the final layer may require patience and repetition. The algorithms for this stage are distinct and may take several attempts to master. Practice is key to becoming proficient. Don’t rush, and take your time with each move to maintain the integrity of the already solved layers.
Troubleshooting Common Issues
When you’re learning how to solve a Rubik’s Triangle, you might encounter some common problems. Being able to identify and fix these issues is a key part of the solving process. Here are solutions to a few of the most typical hurdles you might face:
- Misaligned Layers: If you notice that one layer seems out of place, check if you’ve rotated a sprocket by mistake. Carefully turn it back to realign the layers.
- Stuck Pieces: Sometimes, pieces can feel like they’re stuck. Remember not to force a turn. Instead, gently wiggle the piece back and forth until it moves smoothly.
- Wrong Piece Positioning: If a piece is in the right place but oriented incorrectly, use the corresponding algorithm again. This usually flips the piece into the correct orientation.
- Confusion with Algorithms: It’s easy to get algorithms mixed up. Always double-check the sequence to ensure you’re applying the correct one. Practice each algorithm slowly until it becomes familiar.
By addressing these issues with patience and persistence, solving the Rubik’s Triangle will become much simpler. Remember, solving puzzles is about learning from mistakes and improving your technique step by step.
Tips and Tricks for Faster Solving
Once you’ve grasped how to solve a Rubik’s Triangle, the next goal is to do it more quickly. Below, we will share some tips and tricks that can help speed up the process.
- Master the Algorithms: Knowing the algorithms by heart is key. Practice until you can perform them without hesitation.
- Reduce Unnecessary Moves: Pay close attention to each turn you make. Avoid redundant moves that don’t directly contribute to solving the puzzle.
- Improve Dexterity: Work on your finger speed and agility. The faster you can move, the quicker you’ll solve the puzzle.
- Continuous Practice: As with any skill, the more you practice, the faster you’ll become. Set aside time each day for practice sessions.
- Use a Timer: Timing your solves can motivate you to improve. Track your progress and set time-based goals.
- Study Advanced Techniques: Once you’re comfortable with the basics, learn advanced solving methods used by speed cubers.
- Stay Relaxed: Keep a relaxed grip and maintain light, flexible movements. Tension can slow you down.
- Optimize Your Puzzle: Ensure your Rubik’s Triangle is well-lubricated and turns smoothly to minimize friction during twists.
By applying these tips, you’ll gradually increase your solving speed for the Rubik’s Triangle. Stick with it, and remember that consistency is the secret to getting faster.
Conclusion and Additional Resources
Mastering how to solve a Rubik’s Triangle, also known as the Pyraminx, is an accomplishment to be proud of. Through understanding its structure, learning the algorithms for each layer, and overcoming common issues, you’ve equipped yourself with valuable problem-solving skills. Remember, the key to becoming proficient is patience and consistent practice. It’s a journey that involves visual and mental sharpness, and the rewards reach far beyond the puzzle itself.
For further improvement, seek additional resources to elevate your solving techniques. There are numerous online communities, forums, and YouTube tutorials filled with fellow enthusiasts and expert guidance. You’ll find advanced algorithms, tips for speed solving, and supportive platforms to share experiences. Puzzle-solving events and competitions are excellent opportunities to connect with others and test your skills.
With each solve, you not only improve your time and dexterity but also engage your brain in a fun and stimulating way. So, keep twisting, turning, and learning, and you’ll soon notice your times getting better. Don’t hesitate to challenge yourself with new, more complicated puzzles as you grow. Every puzzle mastered is a new milestone on your journey in the vibrant world of twisty puzzles.
To all the solvers out there, whether you’re just starting or already racing the clock – keep up the great work!