How to Solve 3×3 Rubik’s Cube
Learning about how to solve 3×3 Rubik’s Cube offers numerous benefits. It enhances cognitive skills, improves memory, and boosts problem-solving abilities. Additionally, it provides a sense of accomplishment and can be a fun activity to share with friends and family. This guide aims to empower you with the knowledge and techniques needed to conquer the 3×3 Rubik’s Cube. Let’s dive into the world of twists and turns!
The 3×3 Rubik’s Cube is not just a toy; it’s a globally recognized puzzle that has captivated minds for decades. Since its invention in 1974 by Ernő Rubik, this colorful cube has transformed from a simple teaching tool to a beloved challenge for millions of people worldwide. In recent years, it has gained even more popularity, with speedcubing competitions and a dedicated community of puzzle enthusiasts.
Understanding the Basics of the 3×3 Rubik’s Cube
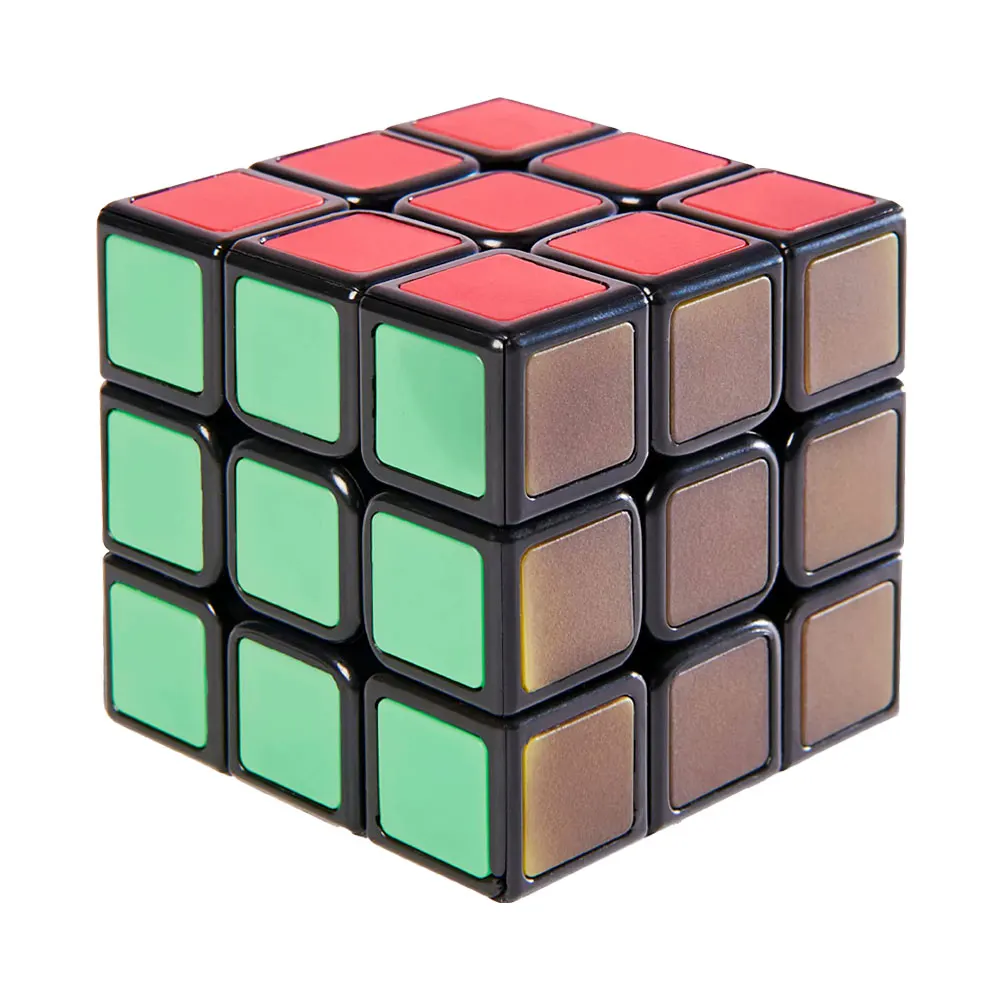
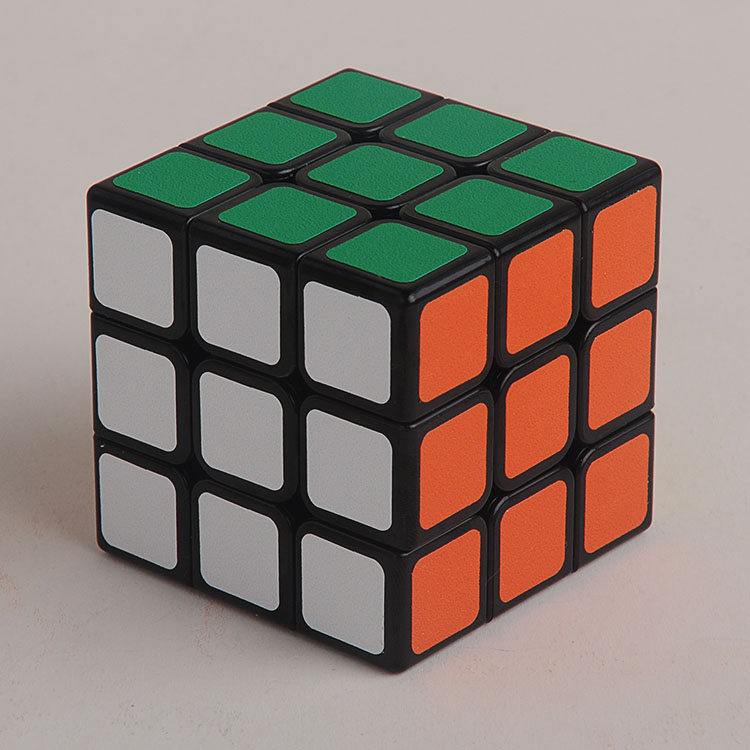
Before we embark on solving the Rubik’s Cube, it’s essential to understand its components. The cube consists of 26 smaller pieces: a central core, 12 edges, and 8 corners. Each face of the cube is made of stickers, usually in six distinct colors: white, yellow, red, orange, blue, and green. The goal is to align all stickers so that each face showcases a single color.
Notation Used in Solving
Understanding the notation for moves is crucial. Each move can be represented by a letter:
– R (Right): Rotating the right face clockwise.
– R’ (Right Inverse): Rotating the right face counter-clockwise.
– L (Left): Rotating the left face clockwise.
– L’ (Left Inverse): Rotating the left face counter-clockwise.
– U (Up): Rotating the top face clockwise.
– U’ (Up Inverse): Rotating the top face counter-clockwise.
– D (Down): Rotating the bottom face clockwise.
– D’ (Down Inverse): Rotating the bottom face counter-clockwise.
– F (Front): Rotating the front face clockwise.
– F’ (Front Inverse): Rotating the front face counter-clockwise.
– B (Back): Rotating the back face clockwise.
– B’ (Back Inverse): Rotating the back face counter-clockwise.
Familiarizing yourself with this notation will allow you to follow the solving algorithms more easily.

Step-by-Step Guide to Solving the 3×3 Rubik’s Cube
Now, let’s move on to the heart of the article: the step-by-step guide on how to solve a 3×3 Rubik’s Cube. We will break down the process into manageable steps, making it easier for beginners to follow.
Step 1: Solve the White Cross
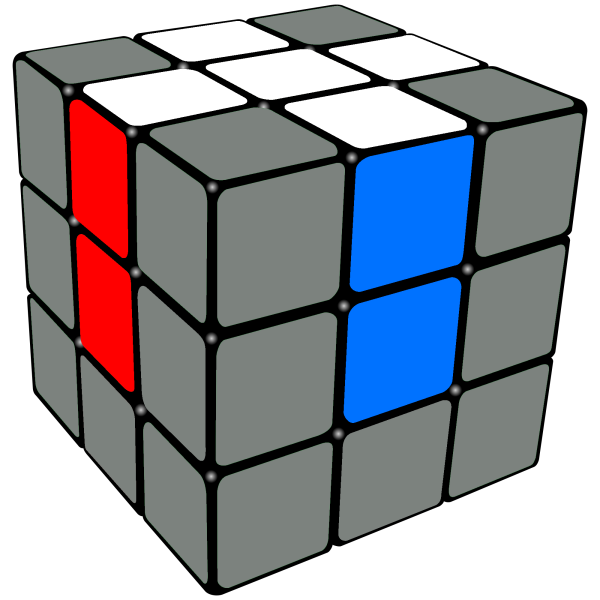
The first step is to create a white cross on the top face. Position the white center piece at the top and align the edge pieces so that the colors match both the white center and the adjacent faces. Focus on placing the edges correctly before worrying about their orientation.
Step 2: Solve the White Corners
Once the white cross is complete, the next step is to place the white corner pieces. Look for white corner pieces in the bottom layer. Use the following algorithm to position the corner pieces correctly:
1. Rotate the bottom face to bring the corner piece beneath its correct position.
2. Apply the algorithm `R U R’ U’` until the corner is in place, then repeat for each corner.
Step 3: Solve the Middle Layer Edges
After completing the top layer, move to the middle layer. Identify the edge pieces that belong in this layer. Position them under their respective locations and use the following algorithms:
– For edges needing to go counter-clockwise: `U R U’ R’ U’ F’ U F`
– For edges needing to go clockwise: `U’ L’ U L U F U’ F’`
Repeat this process until the middle layer is complete.
Step 4: Solve the Yellow Cross
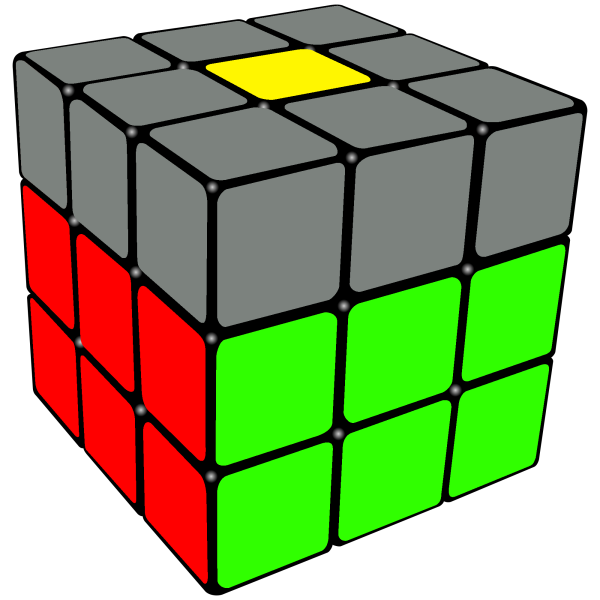
The next step involves forming a yellow cross on the top face. You may have different cases here: no yellow edges, two edges, or four edges.
– If you have no yellow edges facing upwards: Use the algorithm `F R U R’ U’ F’`.
– If two yellow edges are facing you in a line: Use the same algorithm above. Ensure you perform it until the yellow cross is formed.
Step 5: Position Yellow Corners
With the yellow cross complete, it’s time to position the yellow corners. They may not be oriented correctly yet. Use this algorithm to position them correctly without disturbing the yellow cross: `U R U’ L’ U R’ U’ L`.
Step 6: Align the Yellow Edges
Finally, you need to properly align the yellow edges. If any edge is out of place, turn the cube so they are in the front and apply the algorithm `R U R’ U R U2 R’`. Continue until all edges are aligned.
Congratulations! You have now learned how to solve a 3×3 Rubik’s Cube step by step.

Basic Algorithms for Solving the Cube
Understanding the basic algorithms is crucial for effectively solving the Rubik’s Cube. Here are some essential algorithms you’ll use:
1. R U R’ U’: This algorithm is pivotal in positioning the corner pieces.
2. U R U’ R’: Key to forming the yellow cross and positioning edges.
3. F R U R’ U’ F’: Helps create the initial cross on the white face.
4. U R U’ L’ U R’ U’ L: Useful for repositioning yellow corners.
Repetition and practice with these algorithms will help you become proficient in solving the cube. As you practice, you may also discover alternative algorithms that suit your style.
Tips and Tricks for Solving cube Faster
While learning how to solve a 3×3 Rubik’s Cube is rewarding, many enthusiasts seek to increase their solving speed. Here are some tricks to enhance your skills:
1. Practice Regularly: Frequent practice helps reinforce the algorithms and teaches muscle memory.
2. Use Finger Tricks: Develop finger tricks to execute moves quickly without having to reposition your grip.
3. Learn Advanced Techniques: Explore more advanced methods, like the Fridrich method or Roux method, for improved efficiency.
4. Watch Tutorials: Resources such as YouTube tutorials can provide visual demonstrations of different techniques and algorithms.
5. Join Online Communities: Engaging with others in forums or social media groups can provide motivation and new strategies.
Speedcubing is a journey, and with dedication, you can continually improve your times.
Common Challenges and Solutions
As you learn how to solve a 3×3 Rubik’s Cube, you may encounter challenges. Here are some common issues and tips for overcoming them:
1. Misaligned Pieces: If pieces fail to fit correctly, double-check your last moves. Often, reversing the last steps can reveal mistakes.
2. Algorithm Confusion: If you lose track of algorithms, write them down and refer to notes while practicing.
3. Frustration: Learning can be challenging, so take breaks! Stepping away can help clear your mind before returning to the puzzle.
Through persistence and practice, solving the Rubik’s Cube will become a rewarding skill.

Conclusion about solution
In summary, learning how to solve a 3×3 Rubik’s Cube offers a rewarding and enriching experience. From enhancing cognitive abilities to simply having fun, mastering the cube can lead to personal growth and enjoyment.
As you embark on your journey, remember to follow the steps closely, practice regularly, and embrace the learning process. Celebrate your small wins and insights, and soon you’ll be solving the cube with confidence! Whether you are solving for fun, competing, or teaching, the 3×3 Rubik’s Cube remains a timeless and captivating challenge.
Now that you’re equipped with the knowledge, it’s time to grab your cube and start practicing! Enjoy the journey of becoming a Rubik’s Cube master!


